 1 / 5
1 / 5Beschrijving van de maker
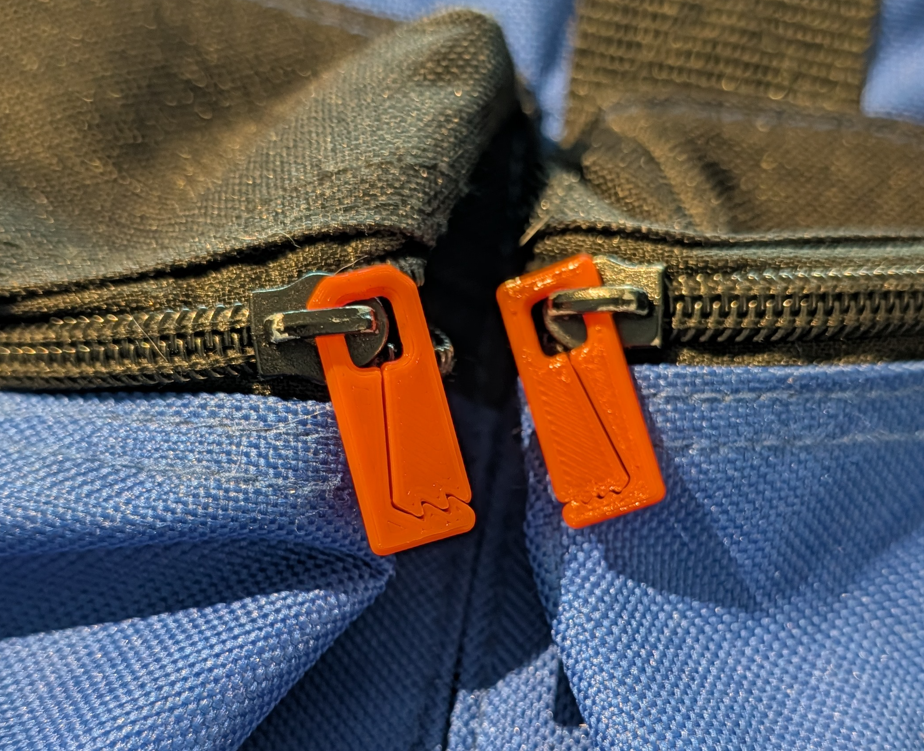
Origineel in het EngelsMight be slightly over-engineered, but I always keep a few different sizes on my key-chain. That way I'm always ready, when a zipper pull on or around me breaks. Saved me and my friends a bunch of times already.
Print recommendations: 100% infill; vertical shell perimeter until the loop is fully covered for highest strength; due to very small margin between the “two parts”: avoid over extrusion; no ironing and consider lowering print speed or nozzle temp
CAUTION: Risks of cuts - especially with version 1. If necessary, use pliers to “break” the two rows of teeth gently apart if over-extrusion fused them together.
Installation: Remove any remains of the previous zipper pull. Simply bend the teeth apart to slide the thin outer part through the hole in the slide of your zipper. A bit of force might be necessary - depending on the slide. Once in place snap the teeth back together. Pulling on it only makes the handle hold better together.
EDIT: Version 2 with rounded edges on the inside replaces the original file. That should reduce the need for pliers to detach and reduce the risk of cuts from the sharp edges
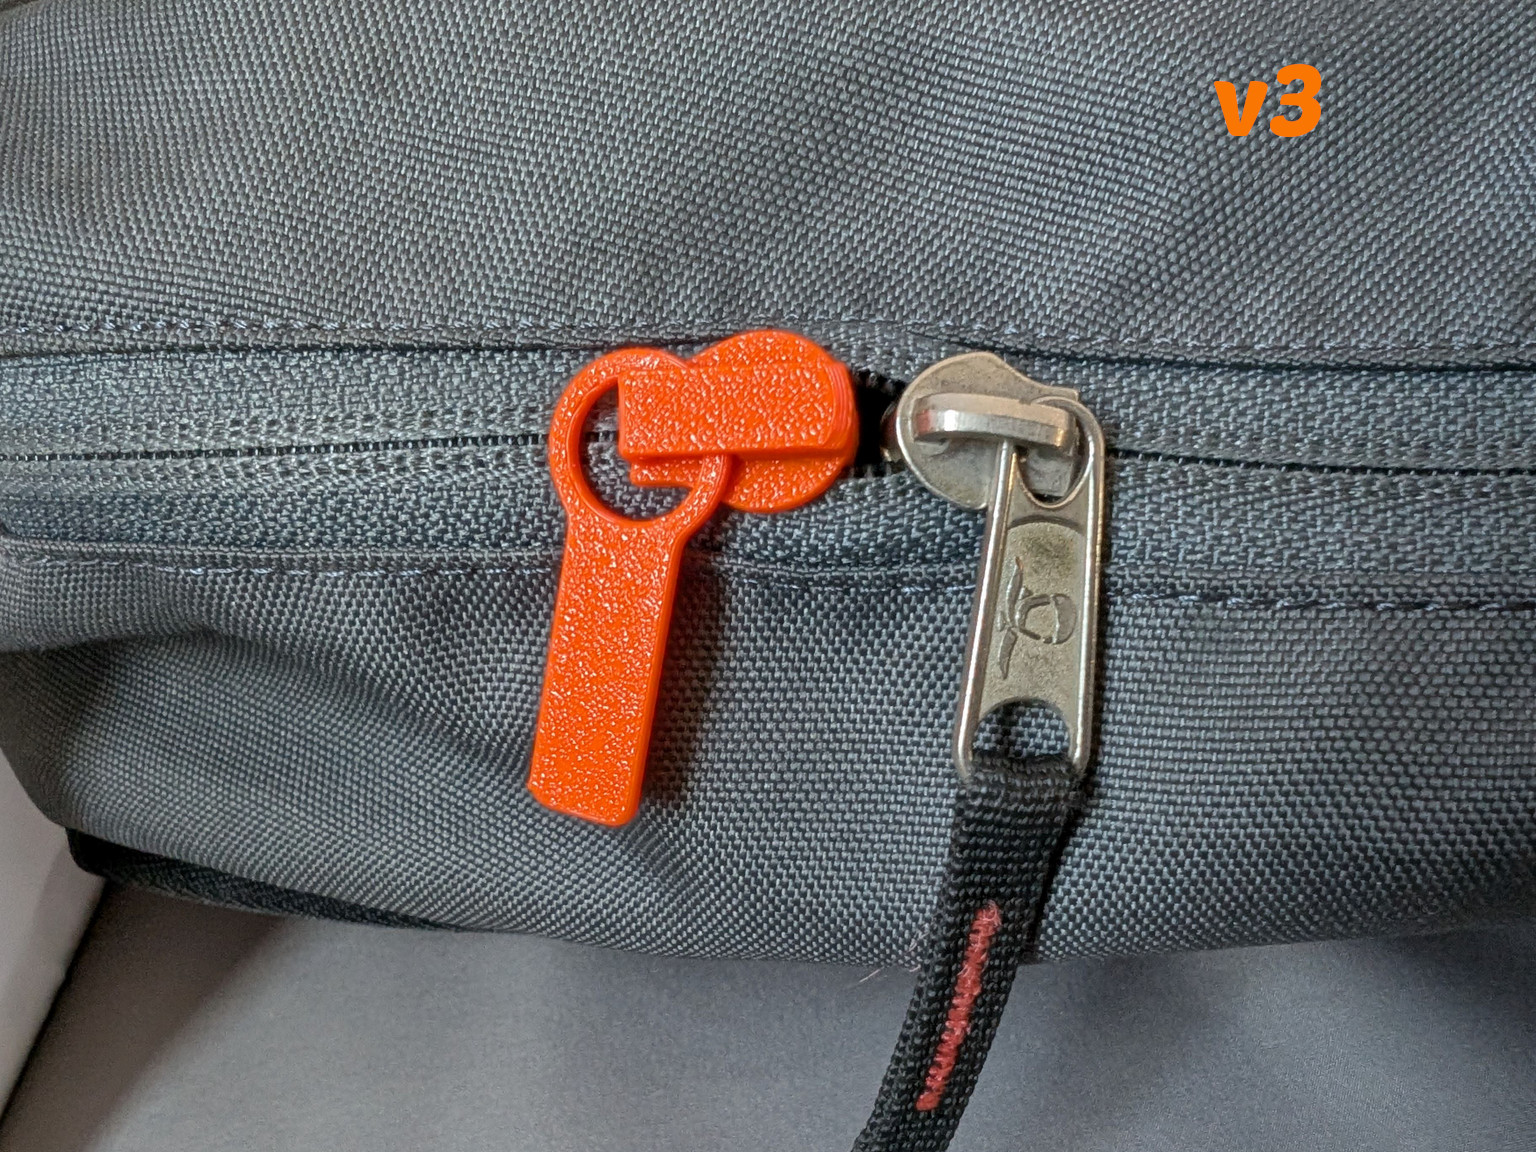
EDIT2: I added a version with rounded loop, for those of you who requested it. You can easily scale it to fit your need, but I also added my 3 most used sizes.
Thanks for the feedback so far. Let me know what you think.
Geprint door de community
Bij de bron al 78 keer geprint. Laat hier als eerste zien hoe het bij jou werd.
Reacties 0
Ook handig in reparatie
meer zoals dit
 Extern
 Externpast op Apple Lightning- en USB-C-kabel
 past op GTV
 past op Microsoft Xbox One-controller (standaard en Elite)
 past op Philips OneBlade