 1 / 6
1 / 6Beschrijving van de maker
Origineel in het Engels👇 See sizing instructions below 👇
Original Tingivese Description
This is a remix on ohmg's tape measure holder. Thank you for providing the STEP file!
My wife's tape measure had a rivet holding on the metal end, so I had to make a notch in it for that. I was also having a hard time with the finger hole because it was providing asymmetrical pressure on the outer piece. This increased the friction and made it hard to spin. At lease that was the case for me. Your mileage may vary.
So I just removed the finger hole and added a cross handle so that it winds up like those old metal wind-up toys
Updates
March 23, 2023
- Included Parametric Fusion 360 File
- Included new sizes
- heights from 16-20mm in 1mm steps
- diameters from 45-55mm in 1mm steps
April 13, 2023
- Added the 16X45mm base, which was missing for some reason
- Organized all of the STLs into folders by height and ordered the files within each folder by diameter
- Added note about going below 16mm on the height
May 23, 2023
- Added a 20x60 base per special request.
- Please leave a comment if there is a special size you need and I will try to get to it when I can. Thanks!
How to choose the right size
When it comes to getting the right size, you have 2 options. You can use the pre-sized stl files, or to really dial in the size you can open up the f3d file in Fusion 360 and change the parameters to the exact measurements of your tape measure. Either way, follow the procedure below for a great fit:
Step 1 - Measure the width of your tape

Step 2 - Print the winder part
- If you are using the STL files, select the winder (inner) part that is as tall, or slightly taller than your tape measure is wide.
- If you are using the Fusion 360 file, open the parameters panel and set the
tape_heightto your measurement.- NOTE: Going below 16mm will start to affect the geometry of the winder. It may still function but it will be missing some faces.
- Print the winder part
Step 3 - Wind your tape and measure the diameter
Once the winder part is printed, wind your tape on it to get an accurate measurement of the overall diameter.

Step 4 - Print the base
- If you are using the STL files, select the base that has the same height as the winder you printed and a diameter that is equal to or slightly larger than your measurement.
- If you are using the Fusion 360 file, set the
inside_diameterparameter to your measurement - Print the base part
Step 4 - Assemble
- carefully snap the parts together
- wind your tape
- enjoy 😀
Geprint door de community
Bij de bron al 500 keer geprint. Laat hier als eerste zien hoe het bij jou werd.
Reacties 0
Ook handig in gereedschap
meer zoals dit
 Extern
Schroefmaatmeter voor metrische bouten M2 tot M10
door Boogie

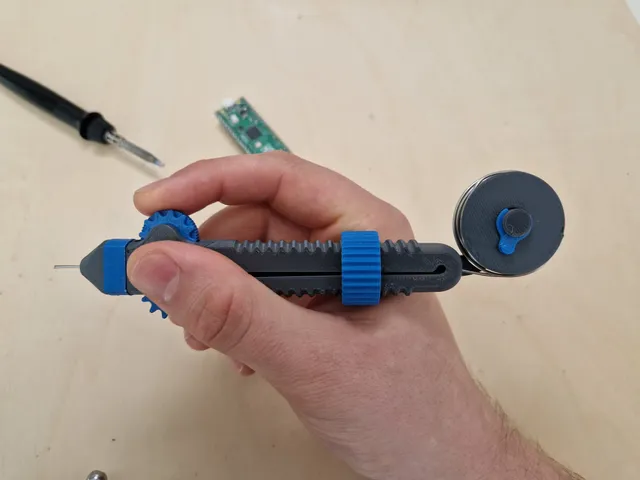
Soldeertinpen met scrollwiel voor ergonomisch solderen
door Victor

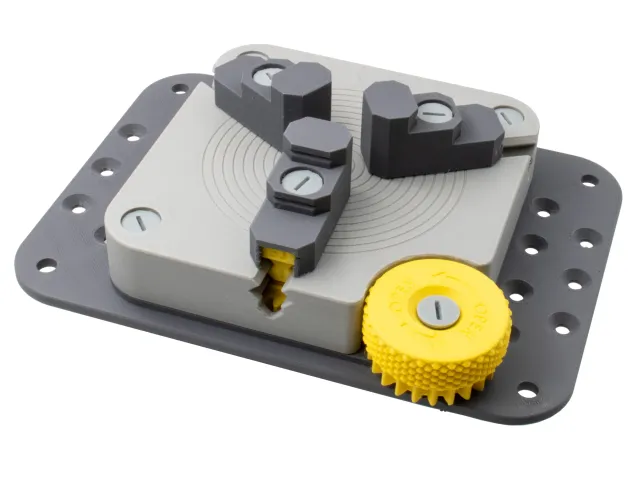
Klauwplaatbankschroef met 2, 3 of 4 bekken voor de werkbank
door Sneaks

Compacte radiusmal voor rondingen van 1 tot 20 mm
door Michal Blazek
