 1 / 6
1 / 6Wat heb je nodig?
Naast de geprinte onderdelen:
- volgens handleiding×tongnaalden voor breimachine
- 1 set×bouten, moeren en veren volgens stuklijst
Beschrijving van de maker
Origineel in het EngelsTHANK YOU Mom for being My MOM! You are Amazing and the best MOM ever!
Please Give my Mom a HEART she deserves it!

My Mom is always sewing and knitting for others. When my Cousins' wife was sick with cancer and lost her hair. My mom hand-knit matching winter hats for her and her daughter. When my neighbor's son comes to help out in the winter at her house (clearing snow), she hand-knits him socks to keep his feet warm! She is always making and creating things for others…So I wanted to make this for her when she asked me. I and my Big brother and my mom worked together and collaborated on this project.
We build a Circular Sock Knitting machine last year for my Mom. We had done extensive upgrades to it. She made socks, learned a lot, and had a ton of fun using it.
She had seen this Legare Circular Sock Knitting Machine W/Ribber, by Steve Turner (MrRoboto19). We decided to Redesign, Remix, and built it out this winter as an upgrade for her. We combined different remixed projects and we did a lot of redesigning for whatever she needed or asked for.
My Big Brother helped a lot with the metal cutting, metal shaping, and cutting the table. He's really skilled with wood and metal and chopping trees.

We are redesigning the machine to improve many aspects of the original design. We are making it easier to build, better organized, and more accessible to everyone who would like a machine like this. We are remixing multiple projects into one project. It is a Legare Style Circular Sock Knitting Machine, with Ribber, and Yarn Stand.
UPGRADES
We have done extensive upgrades and redesigns to the original projects that we remixed including……
-
Organized multiple Remix projects and added them to one project.
-
Renamed project parts to keep them organized and easy to understand at a glance.
-
Put together a blender file with all the parts in a build layout so you can see exactly how the machine is put together.
-
Reduced the hardware needed to build by improving the design and function, and constructing custom printable hardware.
-
Flattened the collar under the Collar Tension Cam nut adjuster for better grip.
-
Remodeled and lightened the Frame for faster printing and less plastic used.
-
I have remodeled an optional shorter frame and a separate Yarn Stand Mount. They both use the same Frame Bolt Back for mounting. The full frame is 216mm x 190mm x 102mm optional Frame Shorter is 177mm x 190mm x 102mm.
-
Added 4 x mounting bolt holes in the frame for table mounting with printable bolts, nuts, and washers. You may use your own hardware if you wish.
-
Added sunken-in-frame bolts for just under the Cam gear. This allows for better frame mounting to a table. It's very sturdy with four strong mounting points.
-
Added markers to the Yarn Carrier horizontal and Yarn Carrier Stem vertical adjustment.
-
Added markers for the Collar Tension Cam nut adjuster.
-
Remodeled the Collar for better knitting performance.
-
Remodeled and redesigned the Tension Cam for better knitting performance.
-
Remodeled the Tension cam vertical movement along with the collar to help widen the stitch availability of Small/Large stitches.
-
Added a new mount for the tension cam that uses a single bolt and nut with a bolt holder. Works excellent.
-
Keyed the Tension cam into the collar for better needle track performance. Got rid of the open track design for the needles as they travel below the tension cam in the collar.
-
Designed a Keyed drop in Counterweight needle lift… they are easier to print and install and perform very well. It is much easier to use and install than the original design which required springs, brass tubing, and glue. Print these at 100% infill. No extra hardware is needed! This is detailed in the hardware section below.
-
Flattened the top of all the Cylinders. This helps with creating more surface area for successful prints. Print them with the top on the bed for fewer supports faster print time and the best overall quality.
-
Placed every STL in its optimal print position for your slicer.
-
Added the ribber stop to each cylinder made it smaller and embossed the cylinder slot number into the ribber stop for each cylinder for easy identification. I am including the original Cylinders without ribber stops so you have a choice of what you want. I am also including the Ribber Stop itself so you can print it out and glue it in if you want to.
-
Embossed the number of the slots into each ribber dial for easier identification.
-
Added better lettering to the Ribber Tappet.
-
Shortened the Yarn Stand Weight by ⅓ height so it's more compact…the full size was too heavy without weights for doing heels. It was also too big for the height my mom wanted for her yarn stand. Opened up the center of the Yarn Stand Weight a little to make it slide on the ¼" metal rod much easier. My mom said the original was getting stuck.
-
Added a notch to the Yarn Stand Brake so the yarn can flow through it when it is in its uppermost position. The old version was trapping yarn on the hook on the Yarn Stand Guide. My Mom was hand feeding the yarn and doing it that way was easier with this Brake. I am including the original Yarn Stand Brake for those that want that style. It works good with yarn off a cone.
-
Added a longer crank arm for more torque.
-
Added a needle lift tool.
-
Added a Lubricant port on the Collar Gear this will allow you to put a little lubricant right down to the Collar Gear Spacer and the Collar Gear. DO not use water based lubricants with plastic!
-
Added a full hardware build section to make it easier to build…see below.
Here is some short videos of the machine in operation!
The machine in these videos was built from the exact files you will be downloading.
https://www.youtube.com/shorts/HqbQPxJuZwE
https://www.youtube.com/shorts/BgUBi-enyi4
https://www.youtube.com/shorts/6Ms8-BK3Nho
Our table is a little wobbly we are going to upgrade that soon with something more stable.
We put a new 100% infill Cylinder on and some of the needles were a little tight in the slots. So I gave it a good 5 minute fast run and it became much smoother. Your machine may have a break in period don't be afraid to run it nice and fast to help speed that up. It won't hurt anything and it will help it run smoother.
https://www.youtube.com/shorts/-pBsu83sGhI
User DaniAngel had provided this break in video, of their machine operating.
https://www.youtube.com/shorts/m5fujWRpokw
https://youtube.com/shorts/ga0v32p4P6E?feature=share
Here is DaniAngel socks made from their machine,

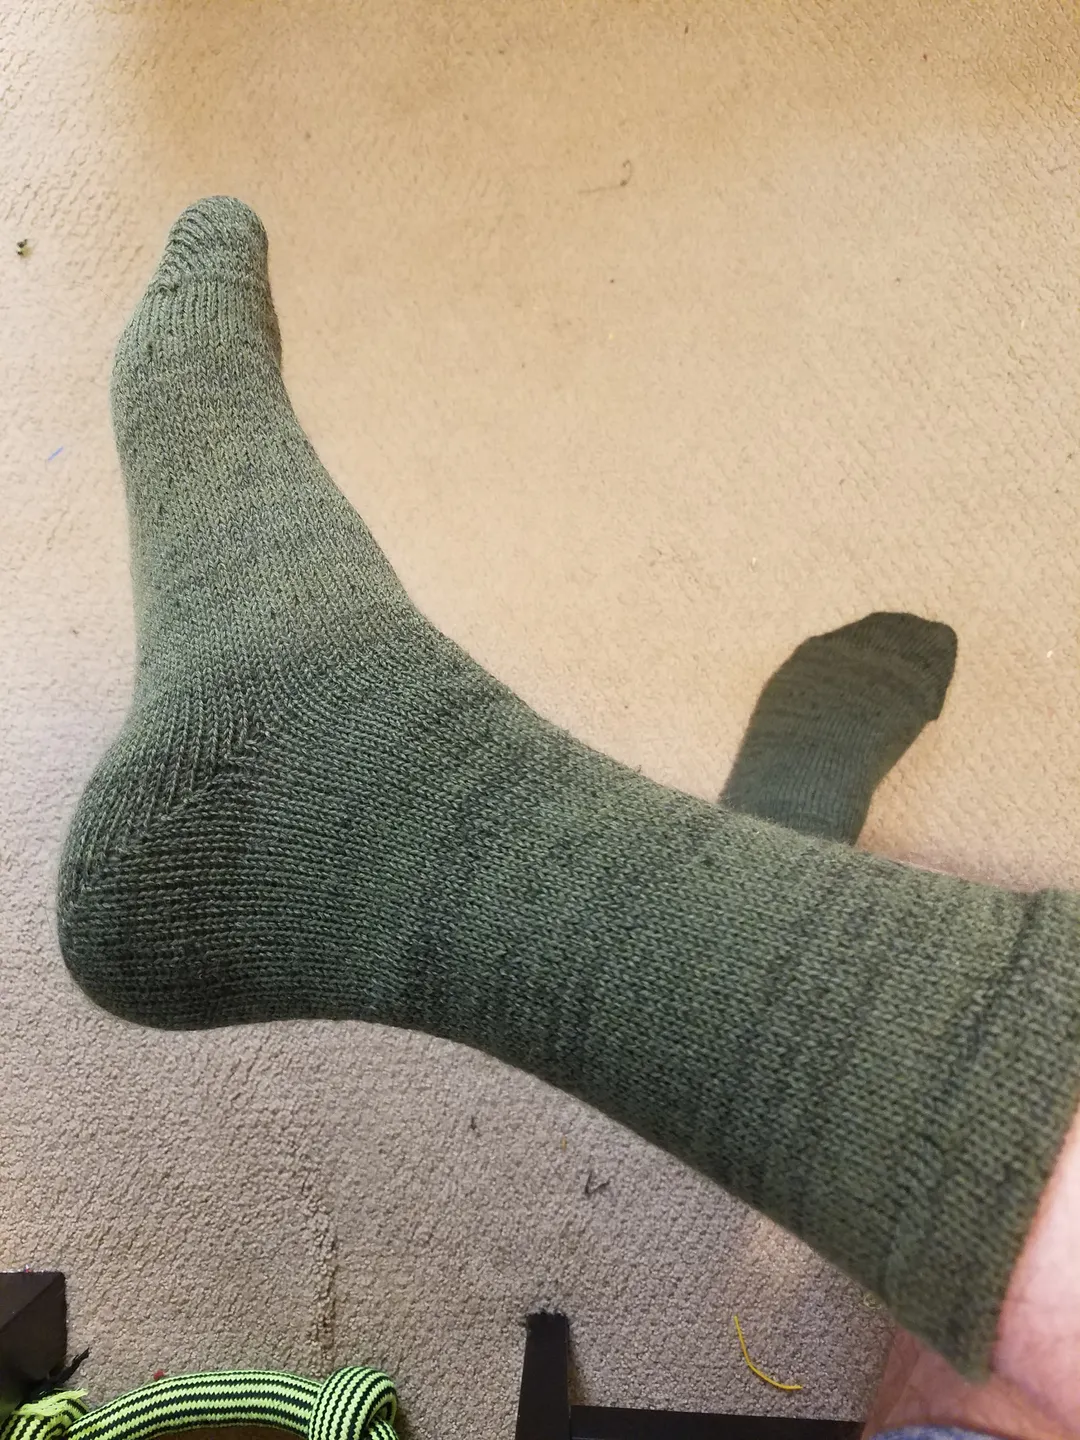

Here is a pair of nice socks made by lomalley,
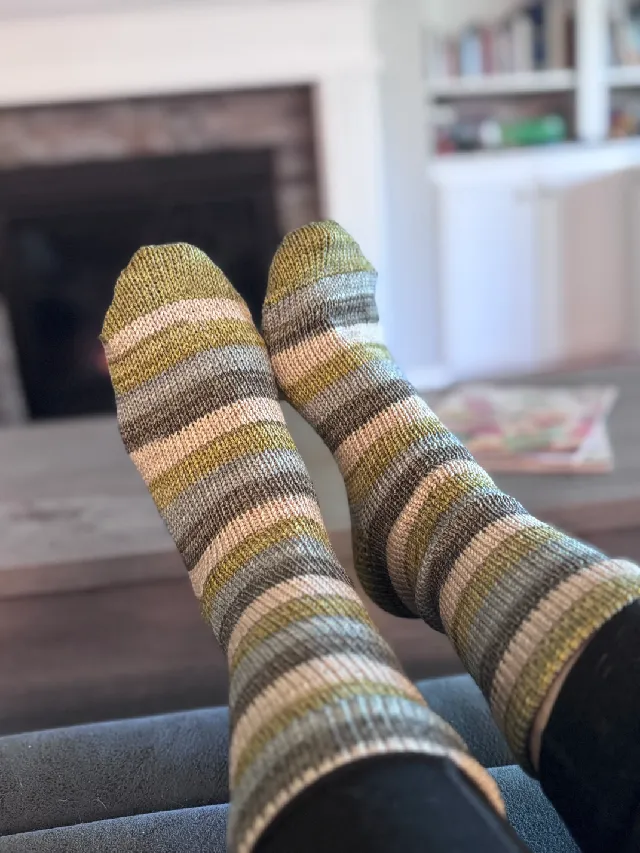
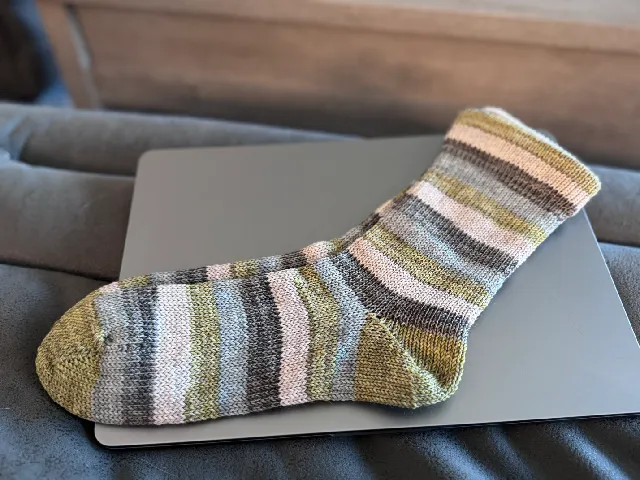
Lomalley has additionally made a detailed video user guide for the machine. It covers the machine, additional hardware to use, and making a sock in detail. Thank you for this video.
HARDWARE Build and Tips Guide!
If you have questions please ask we will help as much as we can.
Thank You so much for your time and effort in making these videos for everyone!
I organized everything here for your build. Please read everything there are a lot of tips here.
You will be cutting metal rods, for the Ribber Tappet, Yarn Stand, Crank Gear, and Yarn Stand Guide. You will be bending wire for the Yarn Stand Guide. The rest is metric bolts and hex nuts. It's not hard to build. It does take a little time and effort. It's worth it! You can do it!
The machine is completely laid out in the blender file, reviewing it will help you a lot in understanding how the machine is put together. Blender is a free program anyone can download.
The ribber is an add-on, it is not necessary for making socks or the operation of the main machine!
Spudalyn provided a list of purchased and printed parts in a google docs sheet. There is a tab on the sheet for printed parts and purchased parts.
https://docs.google.com/spreadsheets/d/1ekFBfPp5ksyJQnCJ8EGeqL52WseqzEwYYYYtkaiGpdk/edit?usp=sharing
The 1/4” rod on the docs sheet link to a 12” length it needs to be about 18-22” to have sufficient length. I would highly still recommend reading through the hardware section to familiarize yourself with the hardware before ordering parts.
Hex Socket Head Cap Bolts
I buy the smaller pack also for the M3x25 with hex nuts. If you can find those somewhere you wouldn't need the smaller pack.
https://www.amazon.com/gp/product/B08QDHMTSL/ref=ox_sc_act_title_1?smid=A286O29JJYZD4N&th=1
- For various parts.
8x22x7 mm Skate Board Bearings
-
These go into the frame and ribber tappet and ribber arm.
-
I pound these in using a flat piece of wood and hammer.
LCD Punch Counter Digital 5 Digit Proximity Switch W/Magnetic
- The magnet is included, 13mm, and will f
Geprint door de community
Bij de bron al 113 keer geprint. Laat hier als eerste zien hoe het bij jou werd.
Reacties 0
Ook handig in gereedschap
meer zoals dit
 Extern
Schroefmaatmeter voor metrische bouten M2 tot M10
door Boogie

Soldeertinpen met scrollwiel voor ergonomisch solderen
door Victor

Klauwplaatbankschroef met 2, 3 of 4 bekken voor de werkbank
door Sneaks

Compacte radiusmal voor rondingen van 1 tot 20 mm
door Michal Blazek
