 1 / 6
1 / 6Wat heb je nodig?
Naast de geprinte onderdelen:
- naar behoefte×WAGO 221-lasklem (412, 413 of 415)
- naar keuze×magneten of schroeven voor bevestiging
Beschrijving van de maker
Origineel in het EngelsThis is a power distribution block that uses Wago 221 connectors. It comes with many different mounting options and a base model is available in STEP and STL to easily remix and make your own mounts.
You can use it for whenever you need an electricity input. For prototyping, testing, power input for your 3d printers, etc.
CAUTION: Mains voltage is hazardous. Improper use may result in serious injury or death. Consult the official documentation for the connectors and follow the safety codes that apply in your area. The wires in the illustrations below are for illustrative purposes only.
Compatible Connectors
It supports the Wago 221 series connectors for conductors from 0.14mm² up to 4mm² (221-4xx). The 6mm² connectors (221-6xx) are not compatible.
STL filenames include the last 3 digits of the connector number.
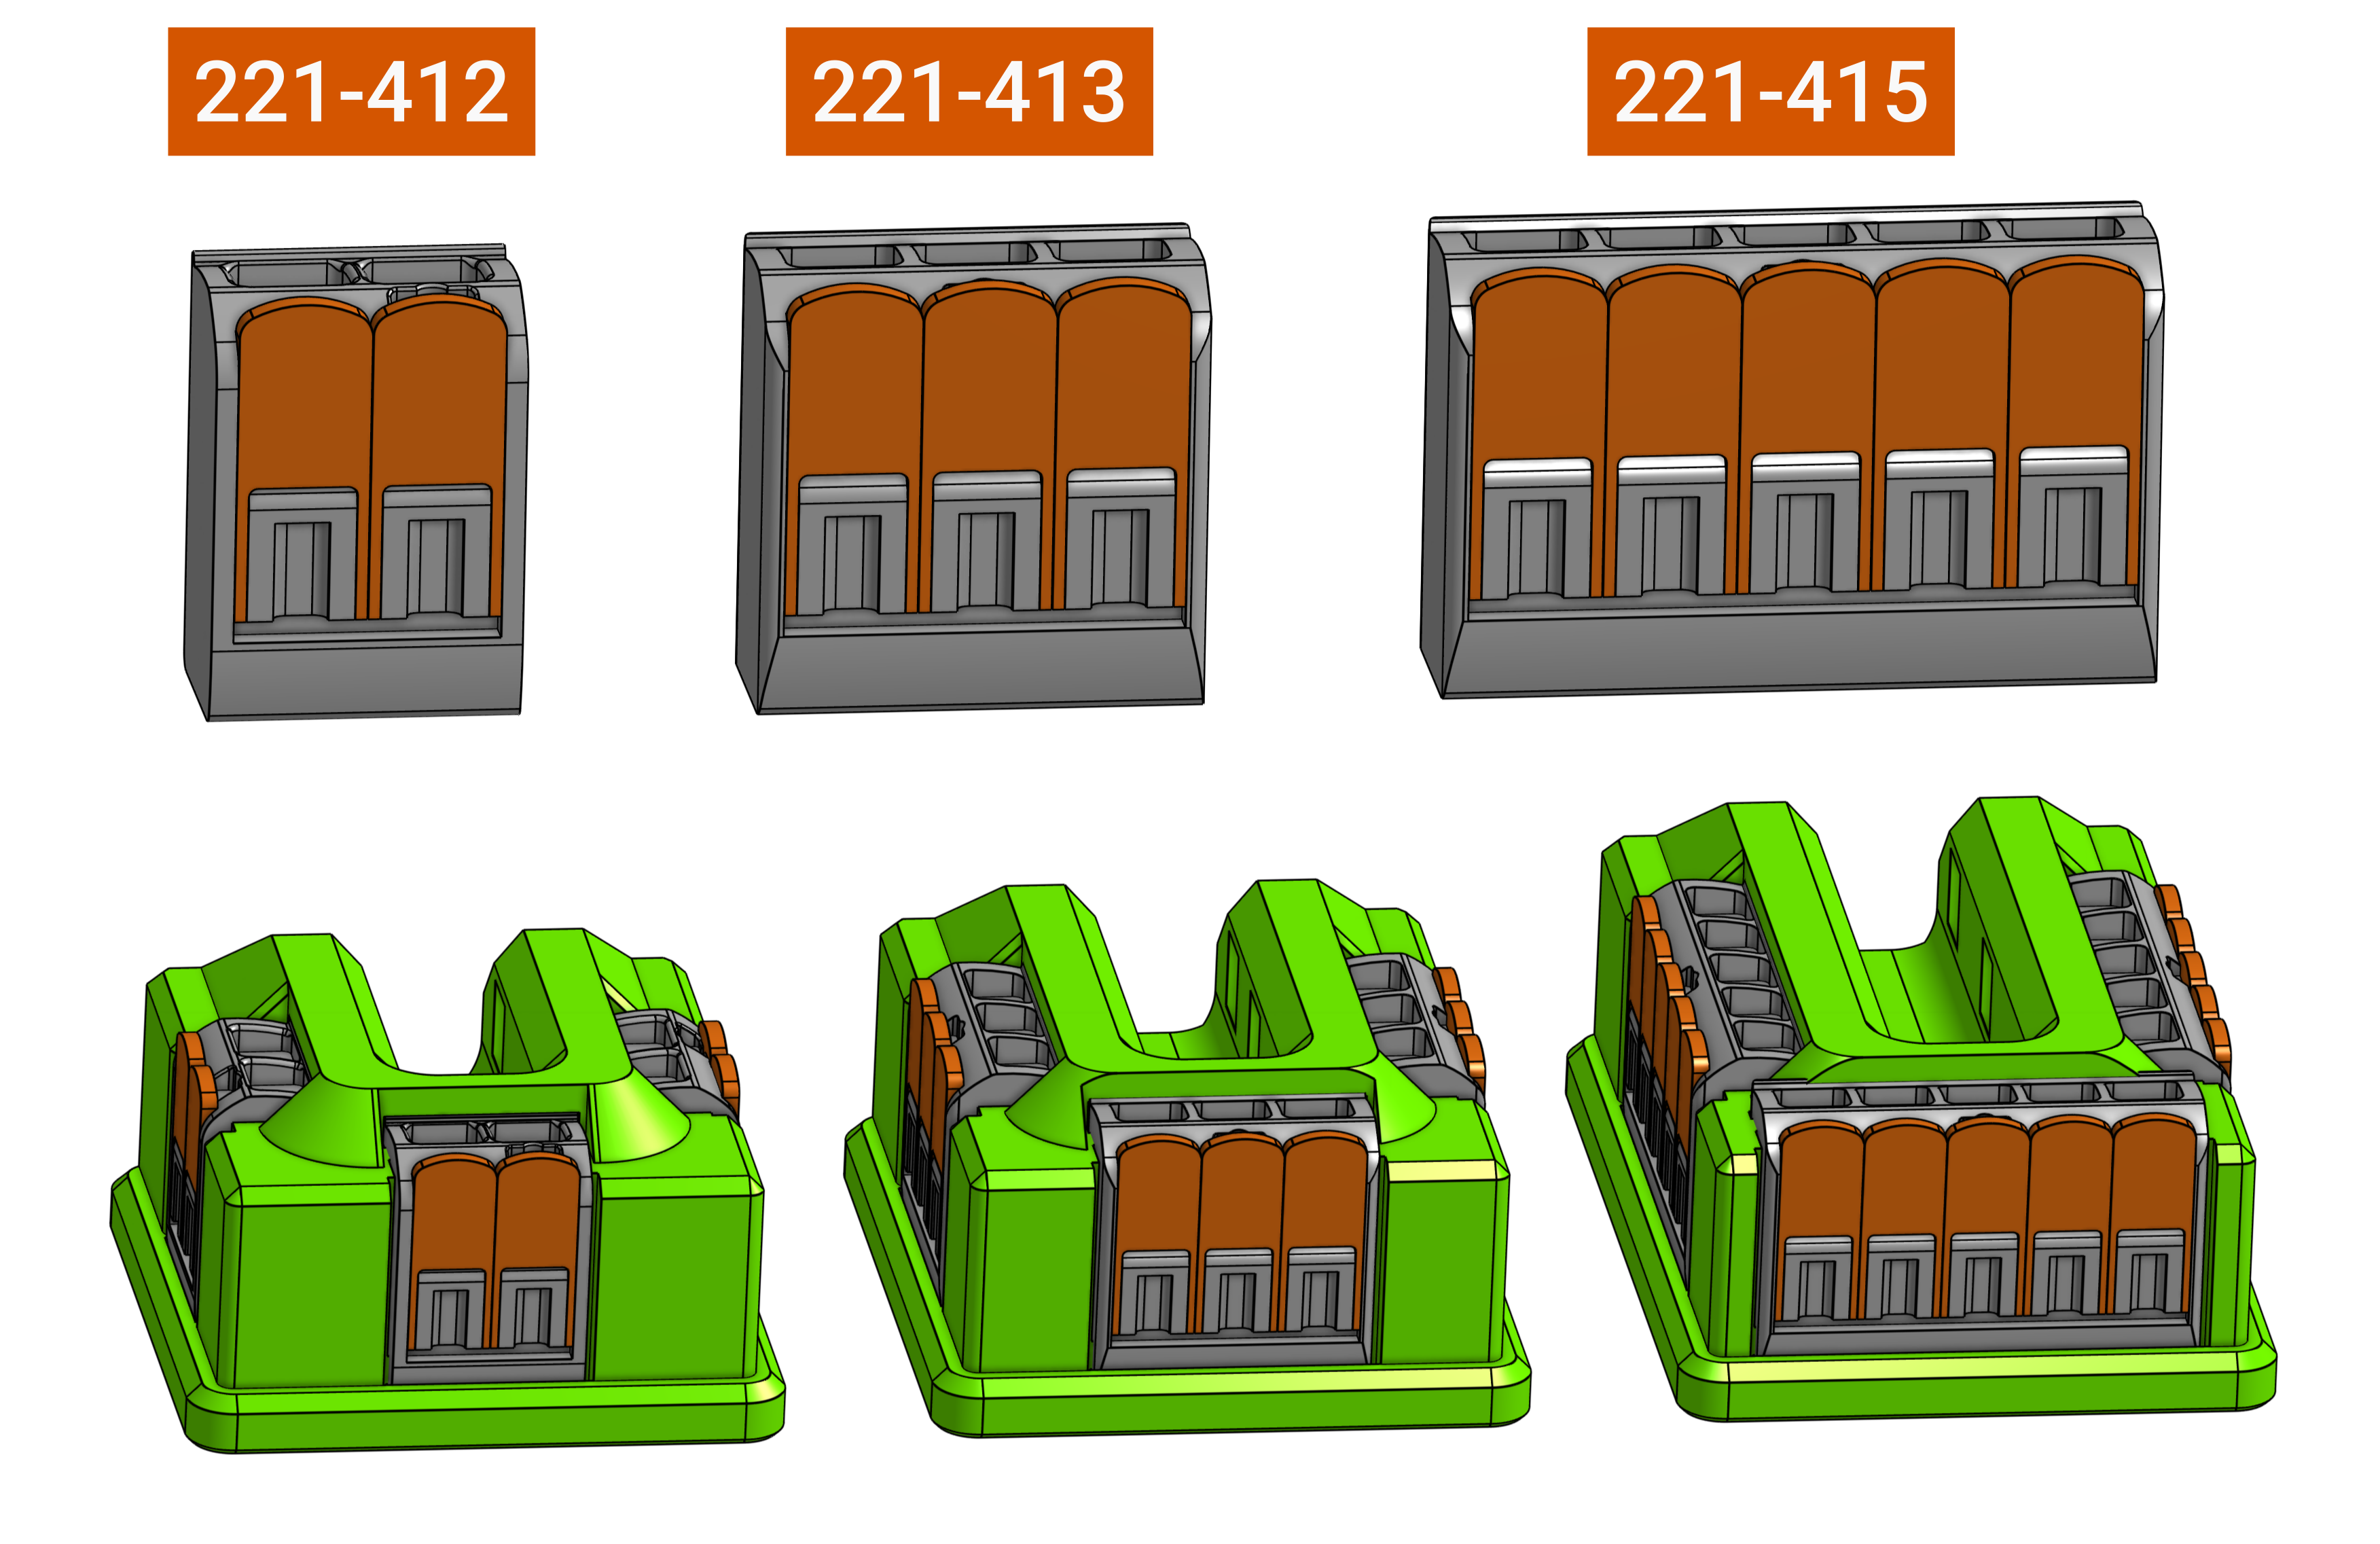
Required Hardware
Qty
Description
3
Wago 221-412, 221-413, or 221-415 connectors
1-2
Zip ties
1
Power cord with 3 conductors suited for the voltage and current of your application.
Additional hardware may be required depending on the mounting option you choose.
Printing
Print all parts in the original orientation. All STL files are pre-rotated for printing.
- Material: PLA, PETG, ASA, ABS, etc.
Consider using self-extinguishing material, such as Prusament PETG V0, if your application requires it. - Extrusion width: 0.45mm
- Layer height: 0.2mm
- Perimeters: 3
- Infill: 15%
- Top and bottom solid layers: 4-5
- Supports: No
Assembly
Install the connectors by pushing them in from the top all the way down until it clicks in. The fit is intentionally tight so that the connectors don't come loose. You may have to push quite a bit. If it's impossible to install the connectors you may have to calibrate your printer's e-steps or the extrusion multiplier as you might be over extruding too much.
While it's possible to remove the connectors again, it's not designed for regular removal and reassembly. Read below for removal instructions.
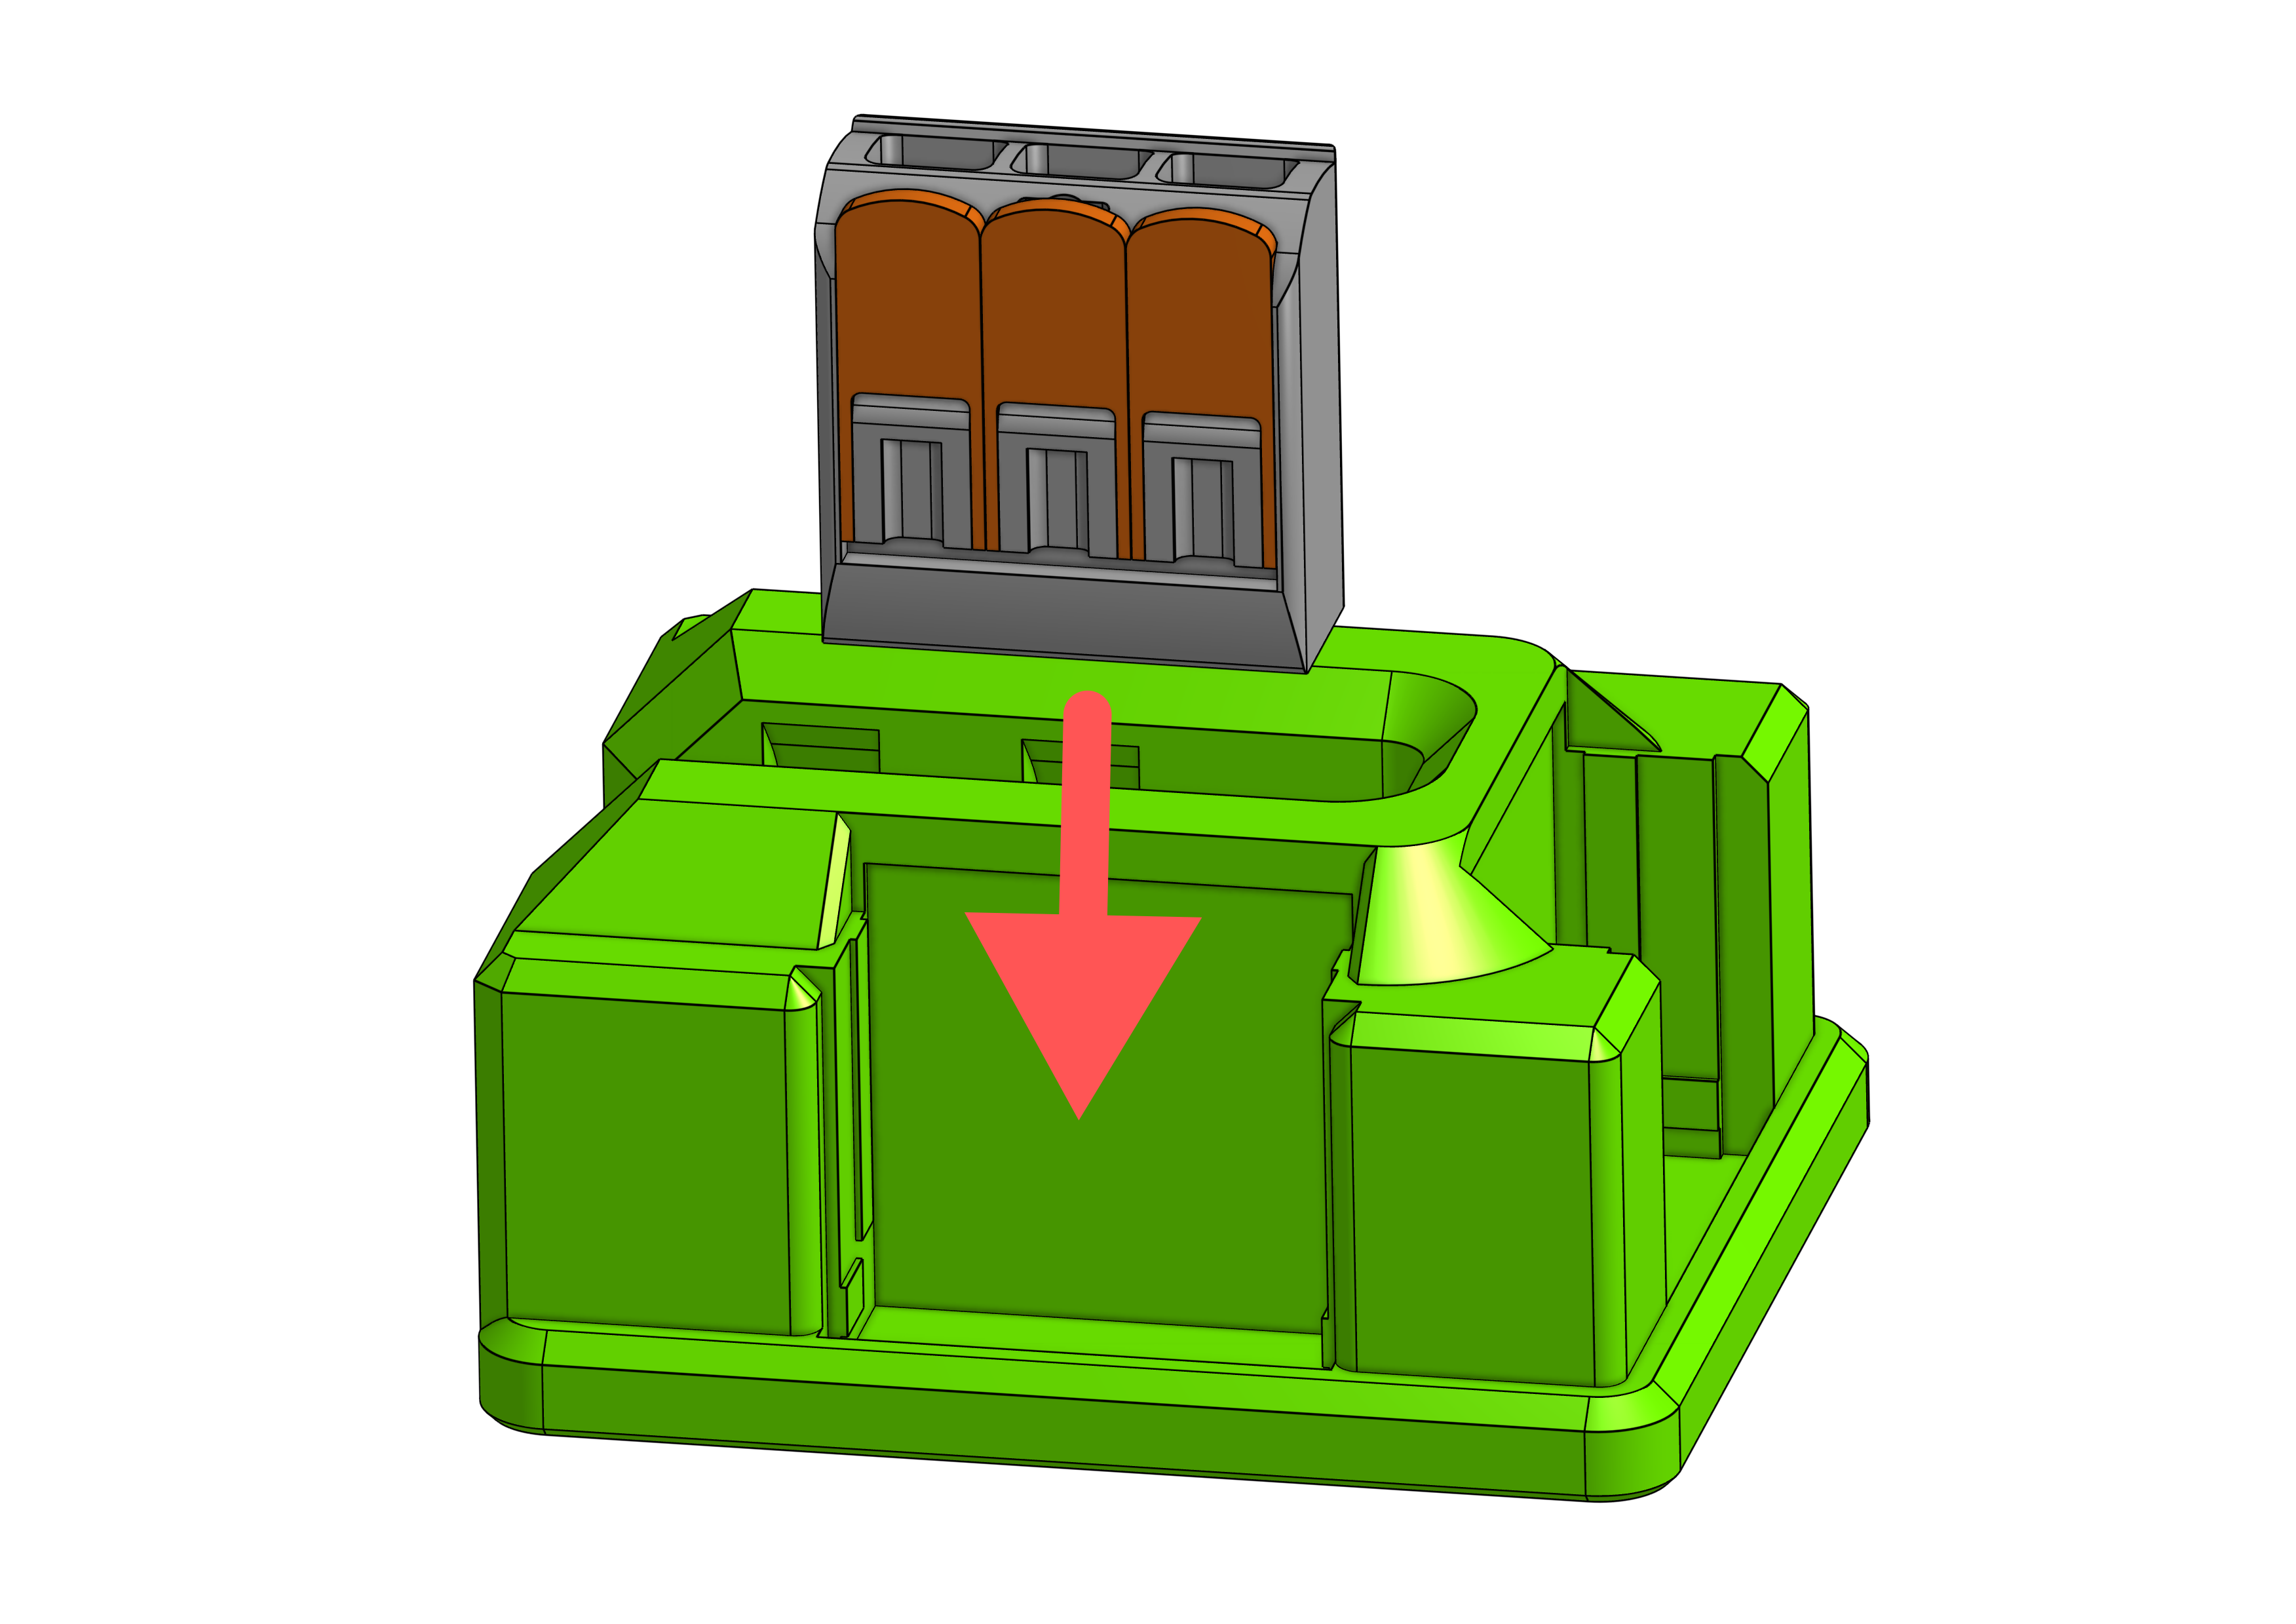
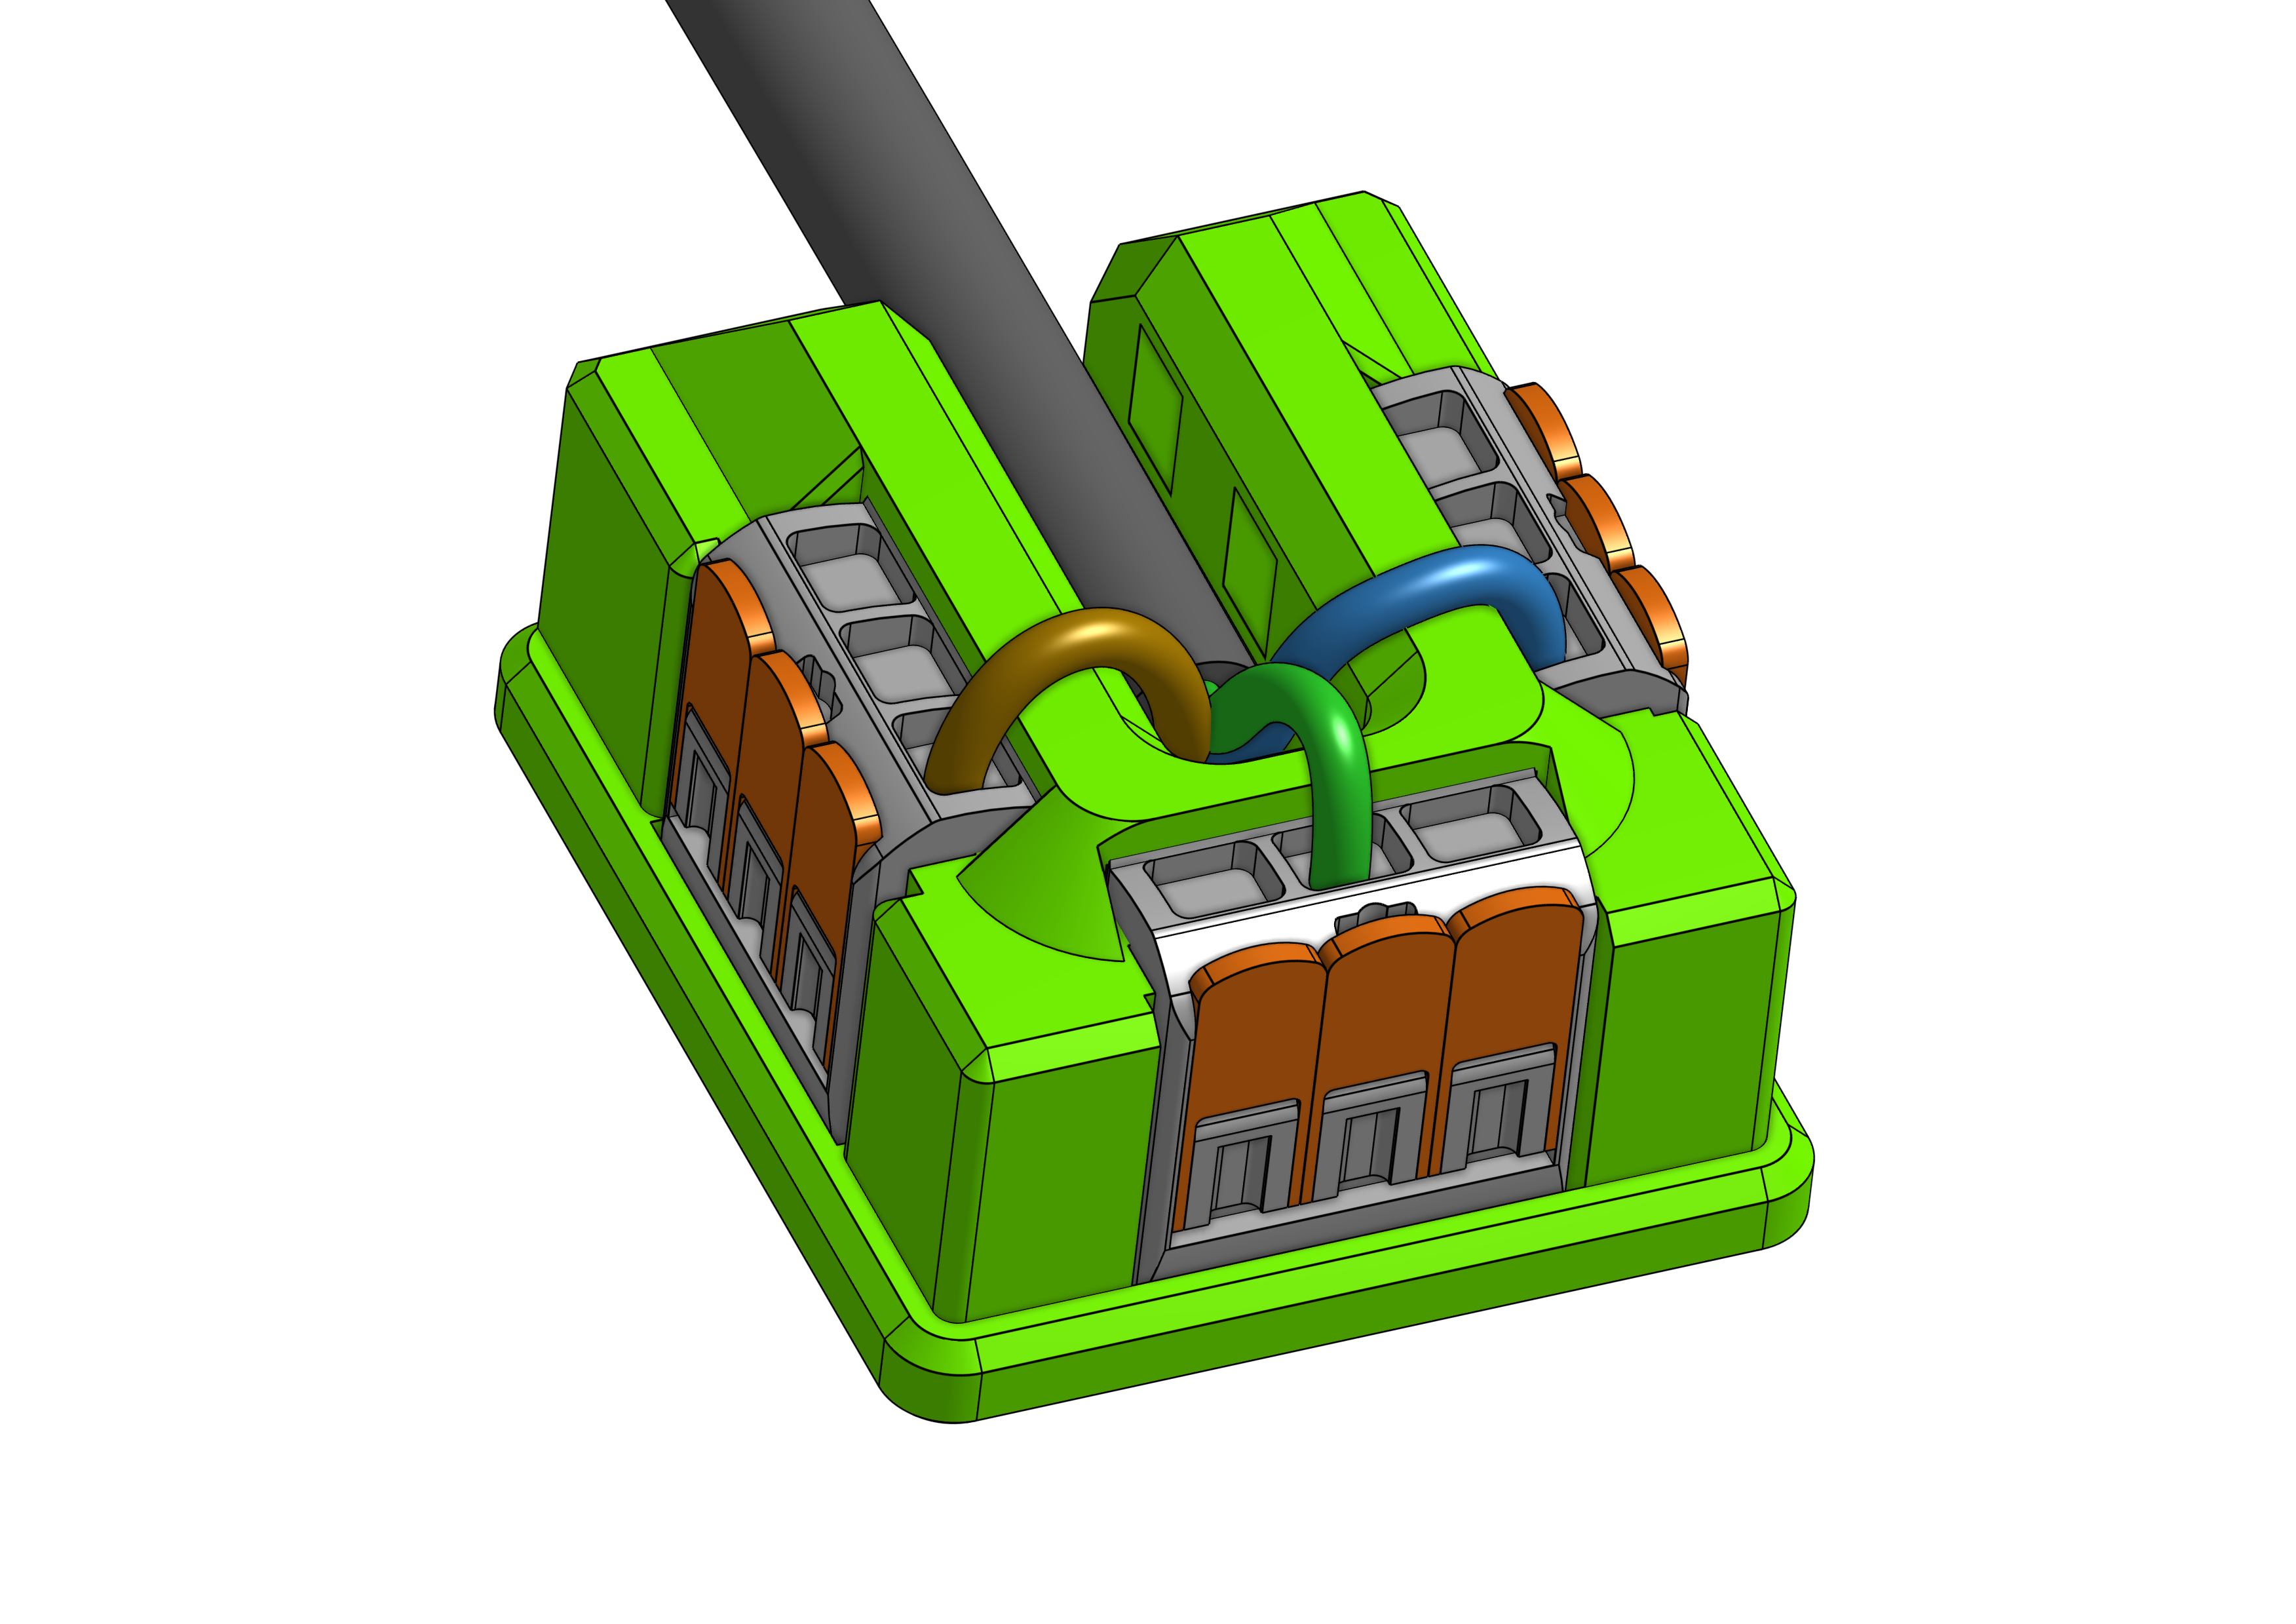
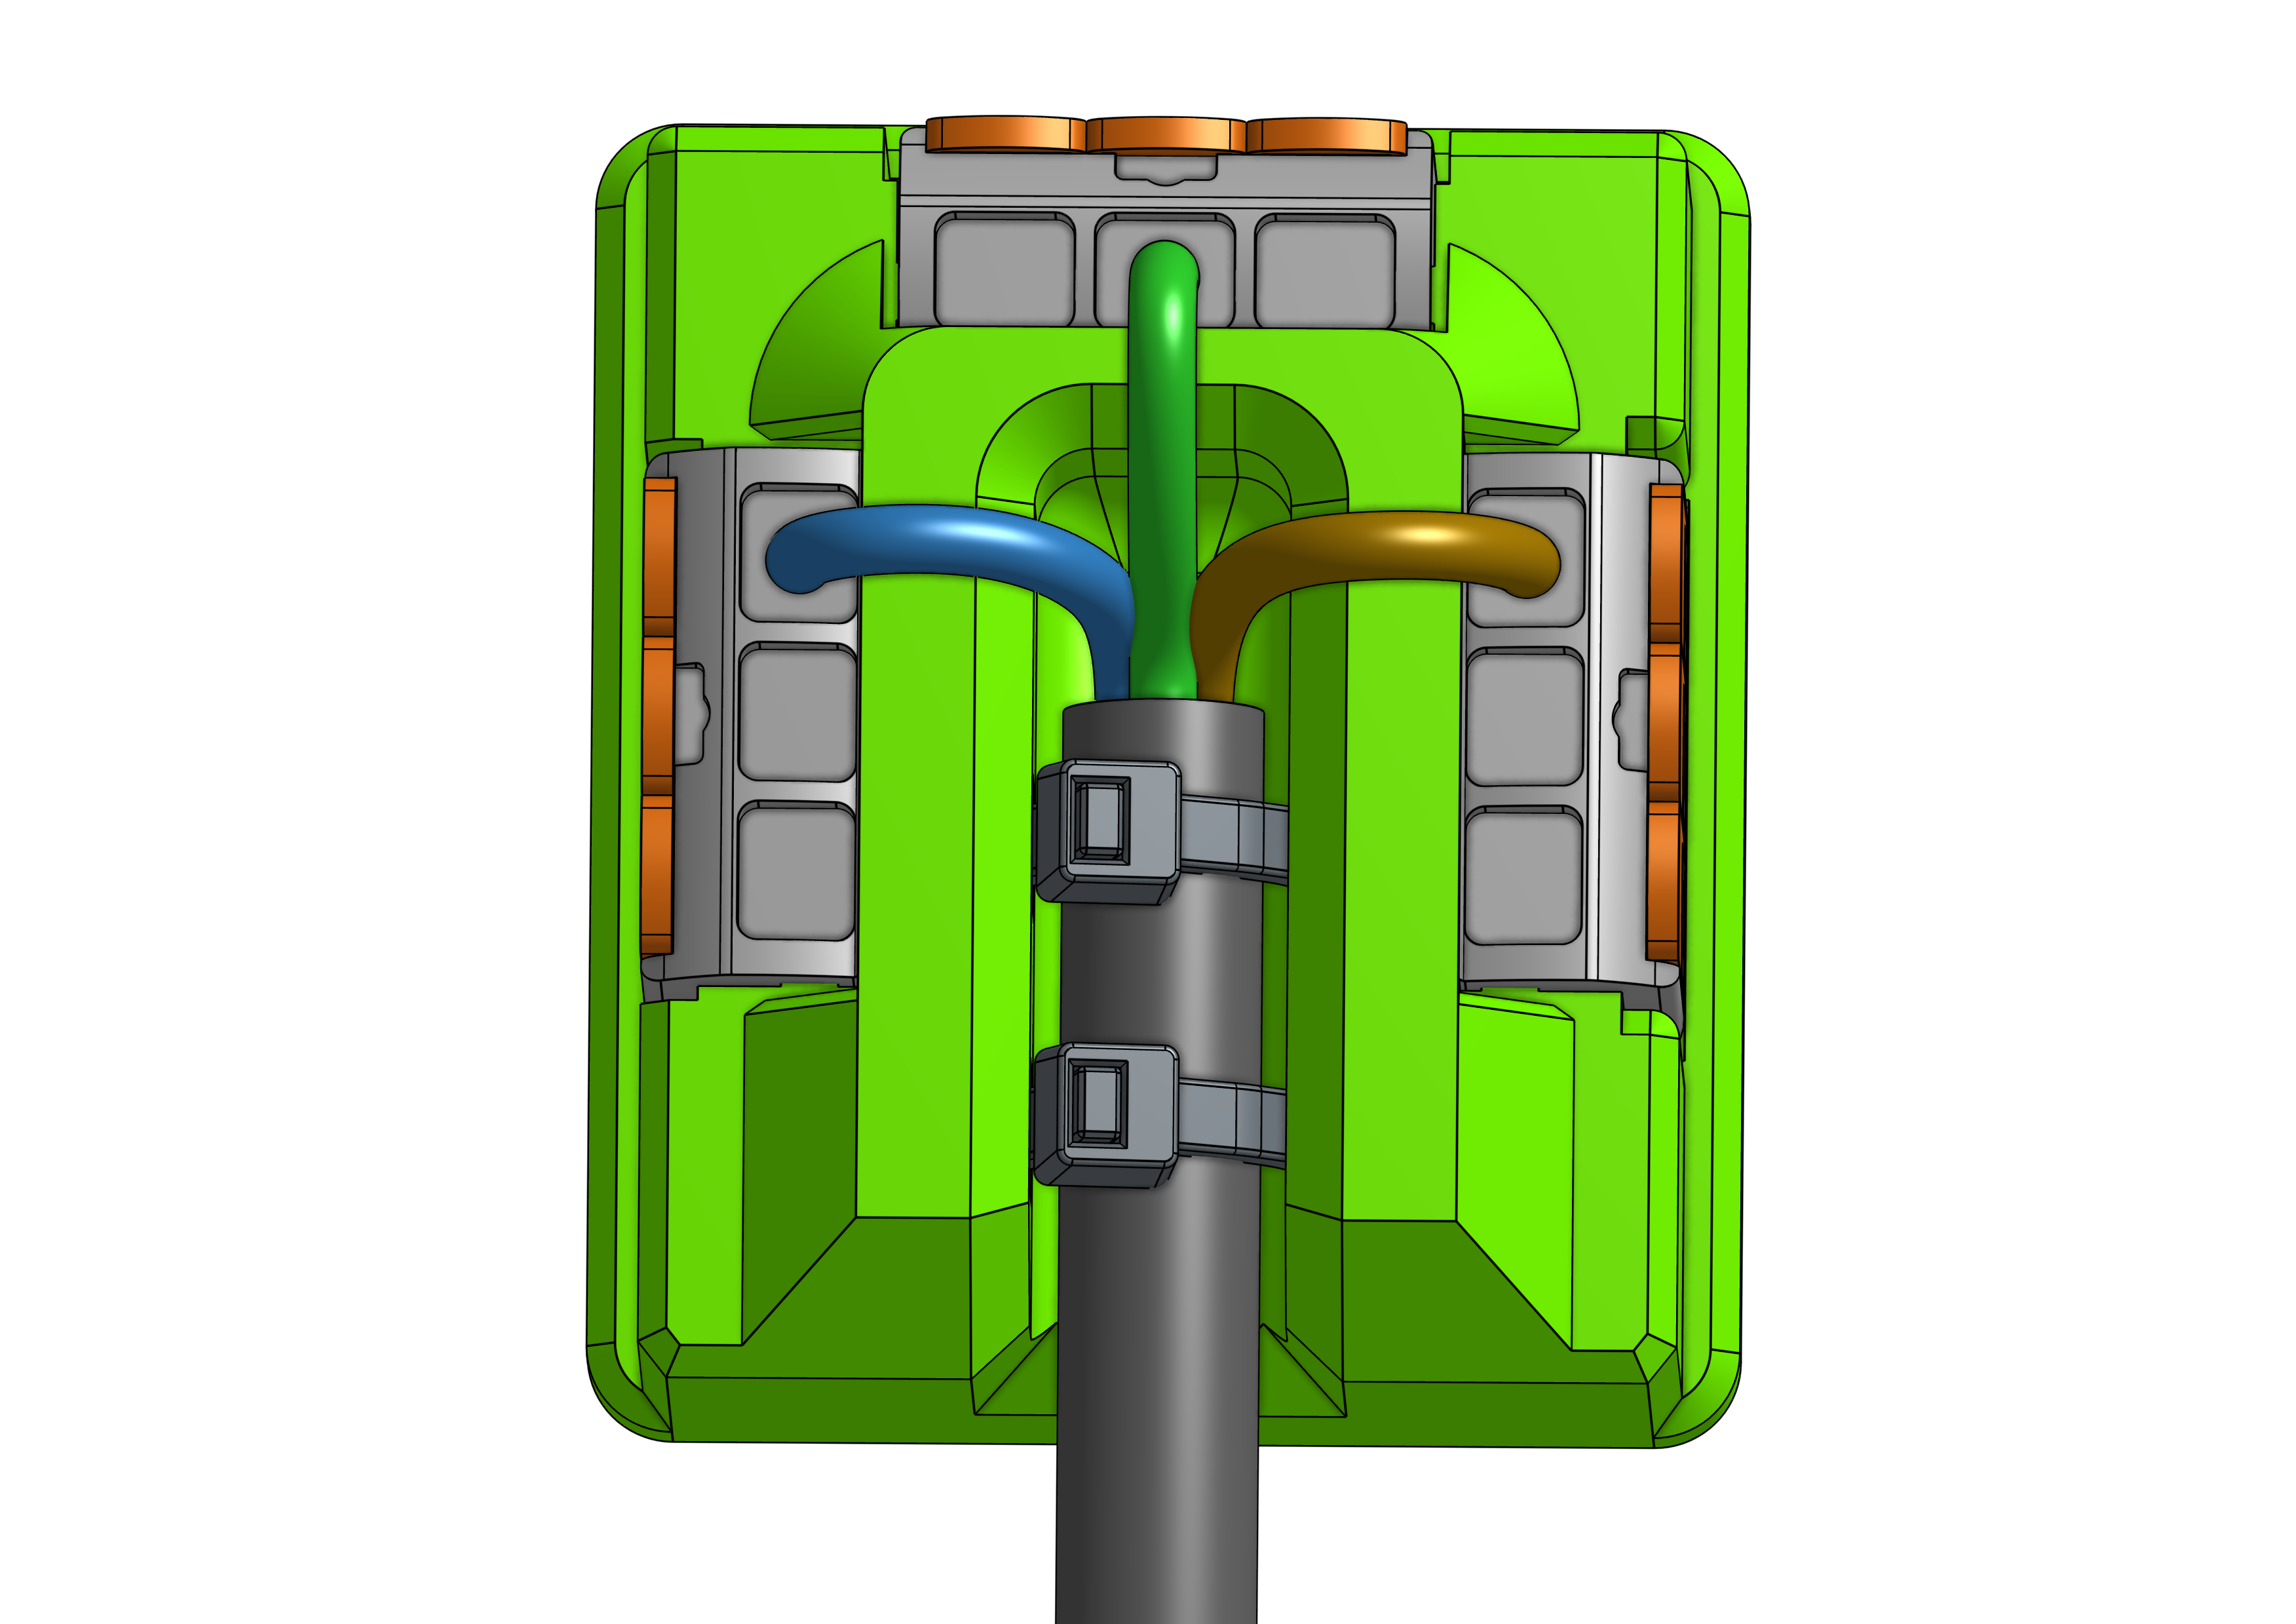
Install the cable and insert the conductors into the connectors. Refer to official documentation from Wago for wire installation and exposed conductor length and follow local safety codes.
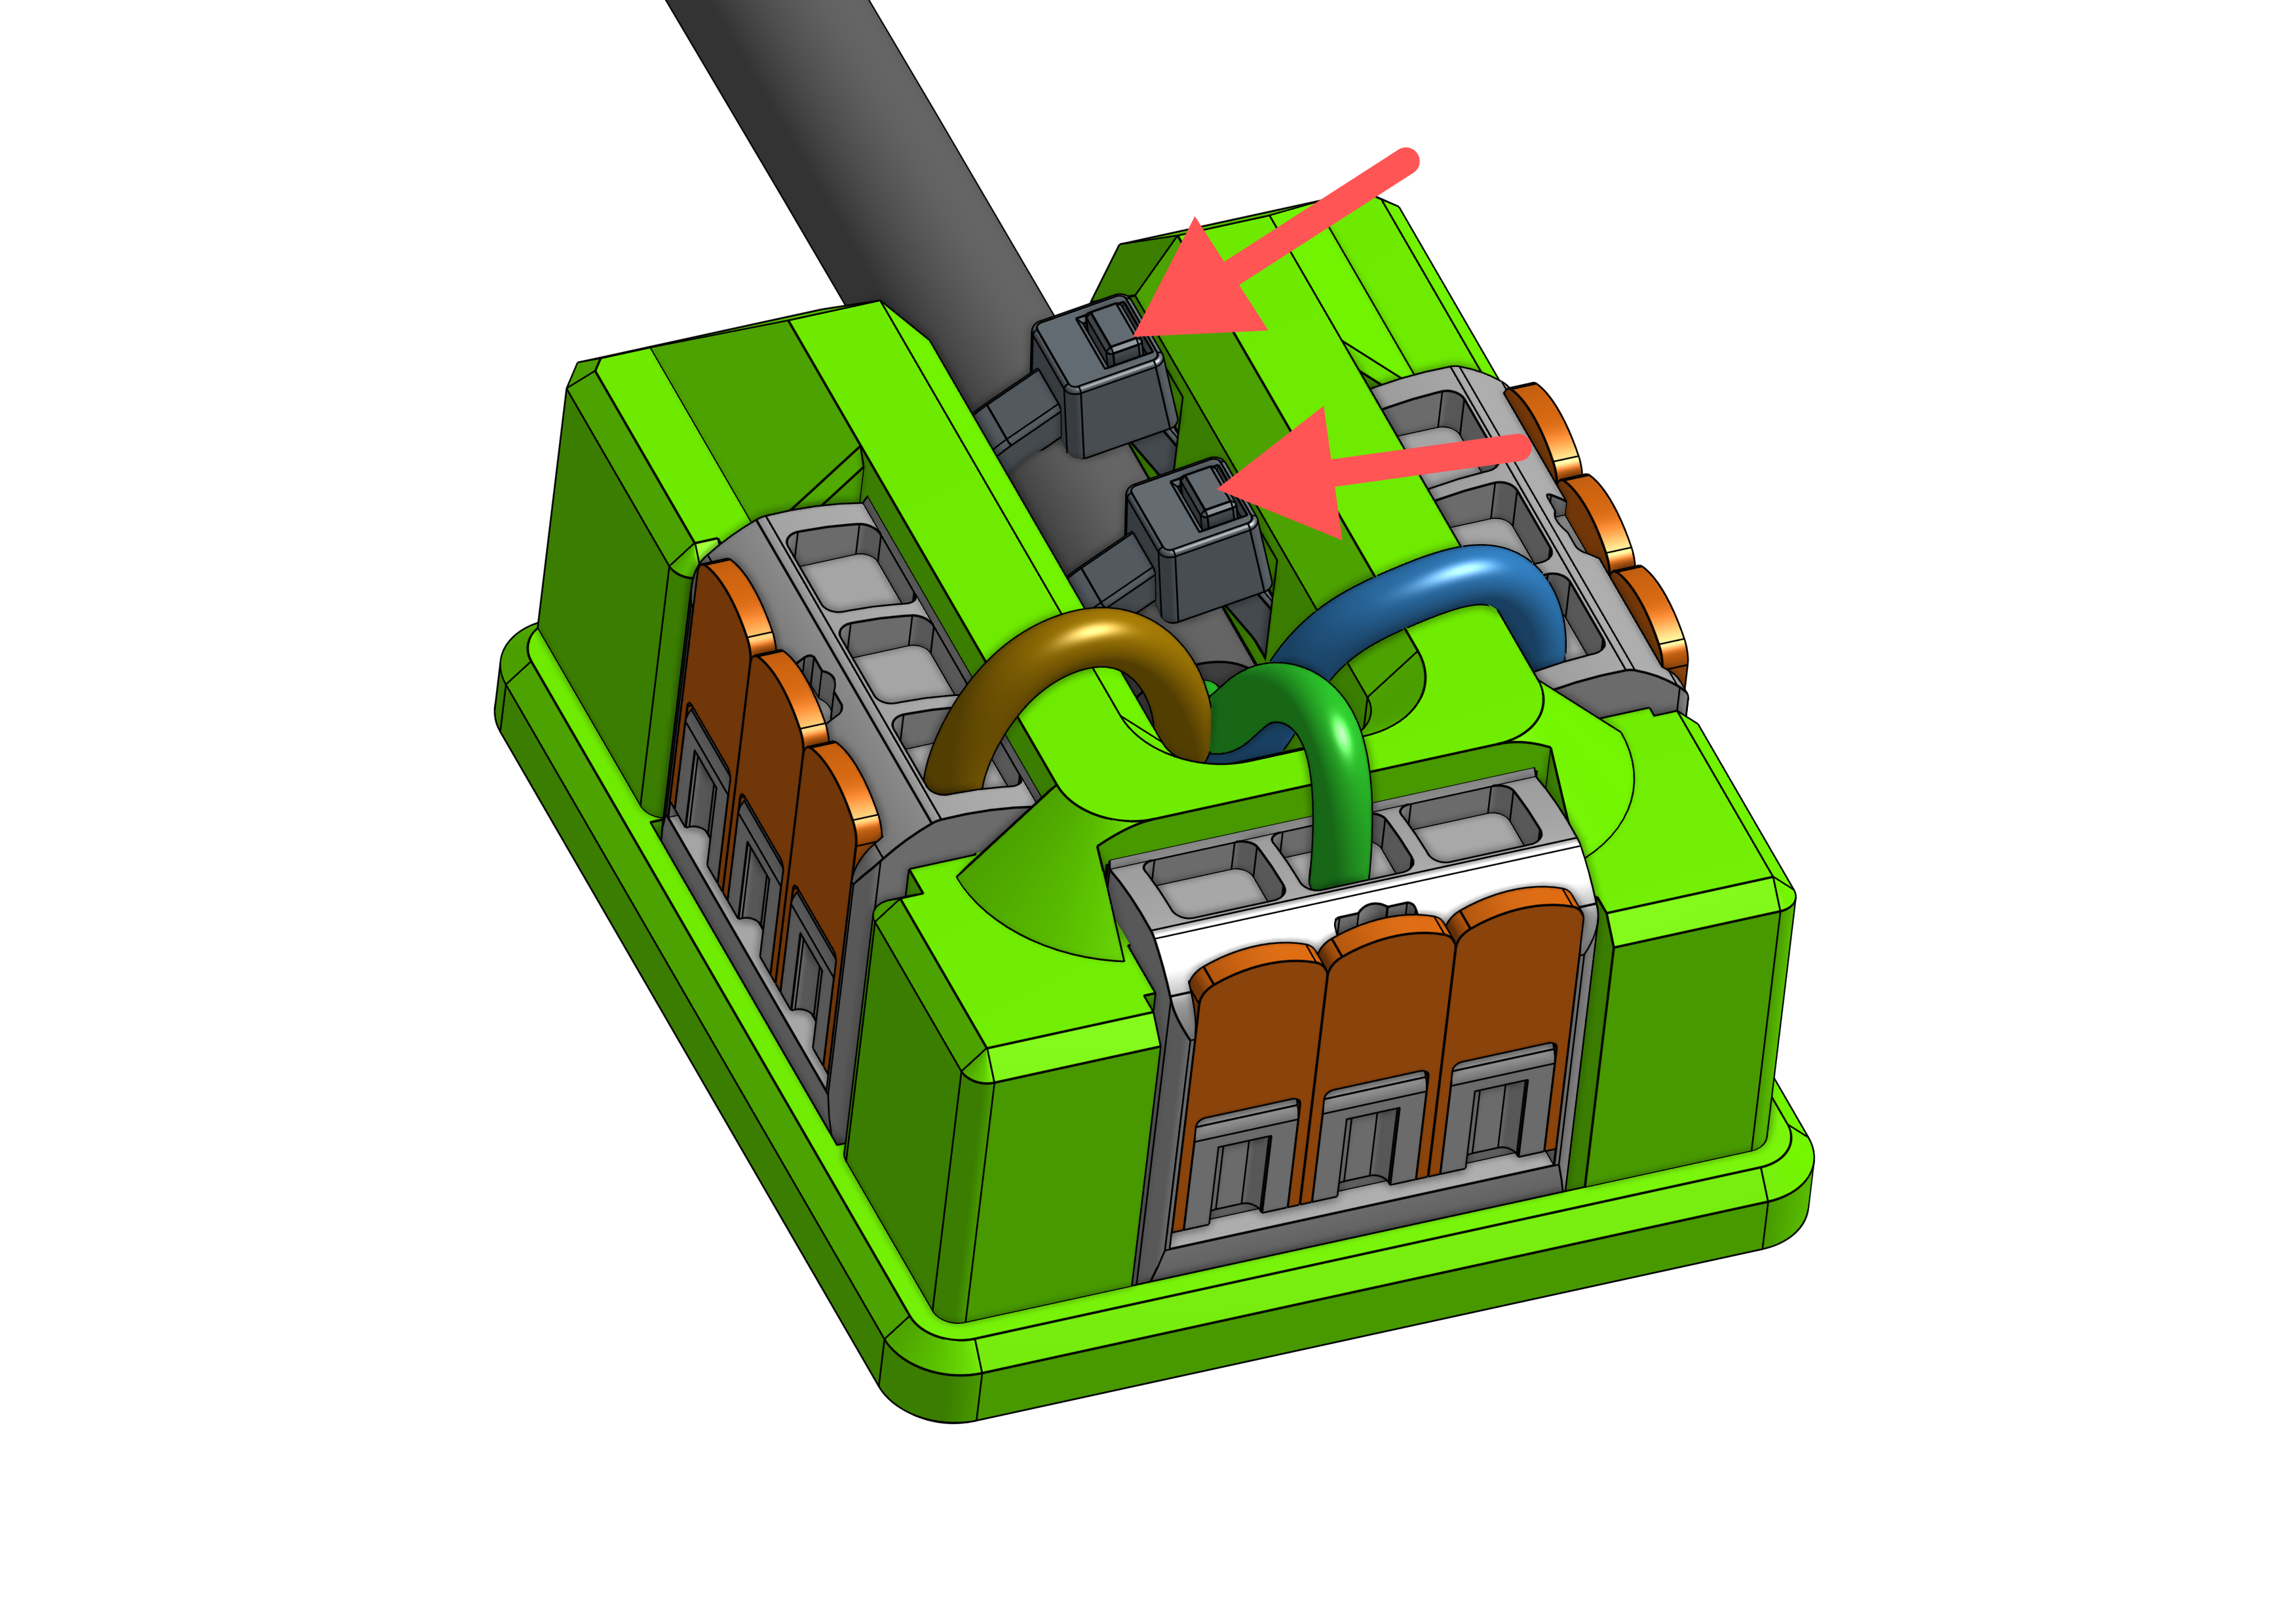
Fasten the cable with zip ties using the integrated zip tie tunnels. The 412 model uses one zip tie, the others use two.
Removing the Connectors
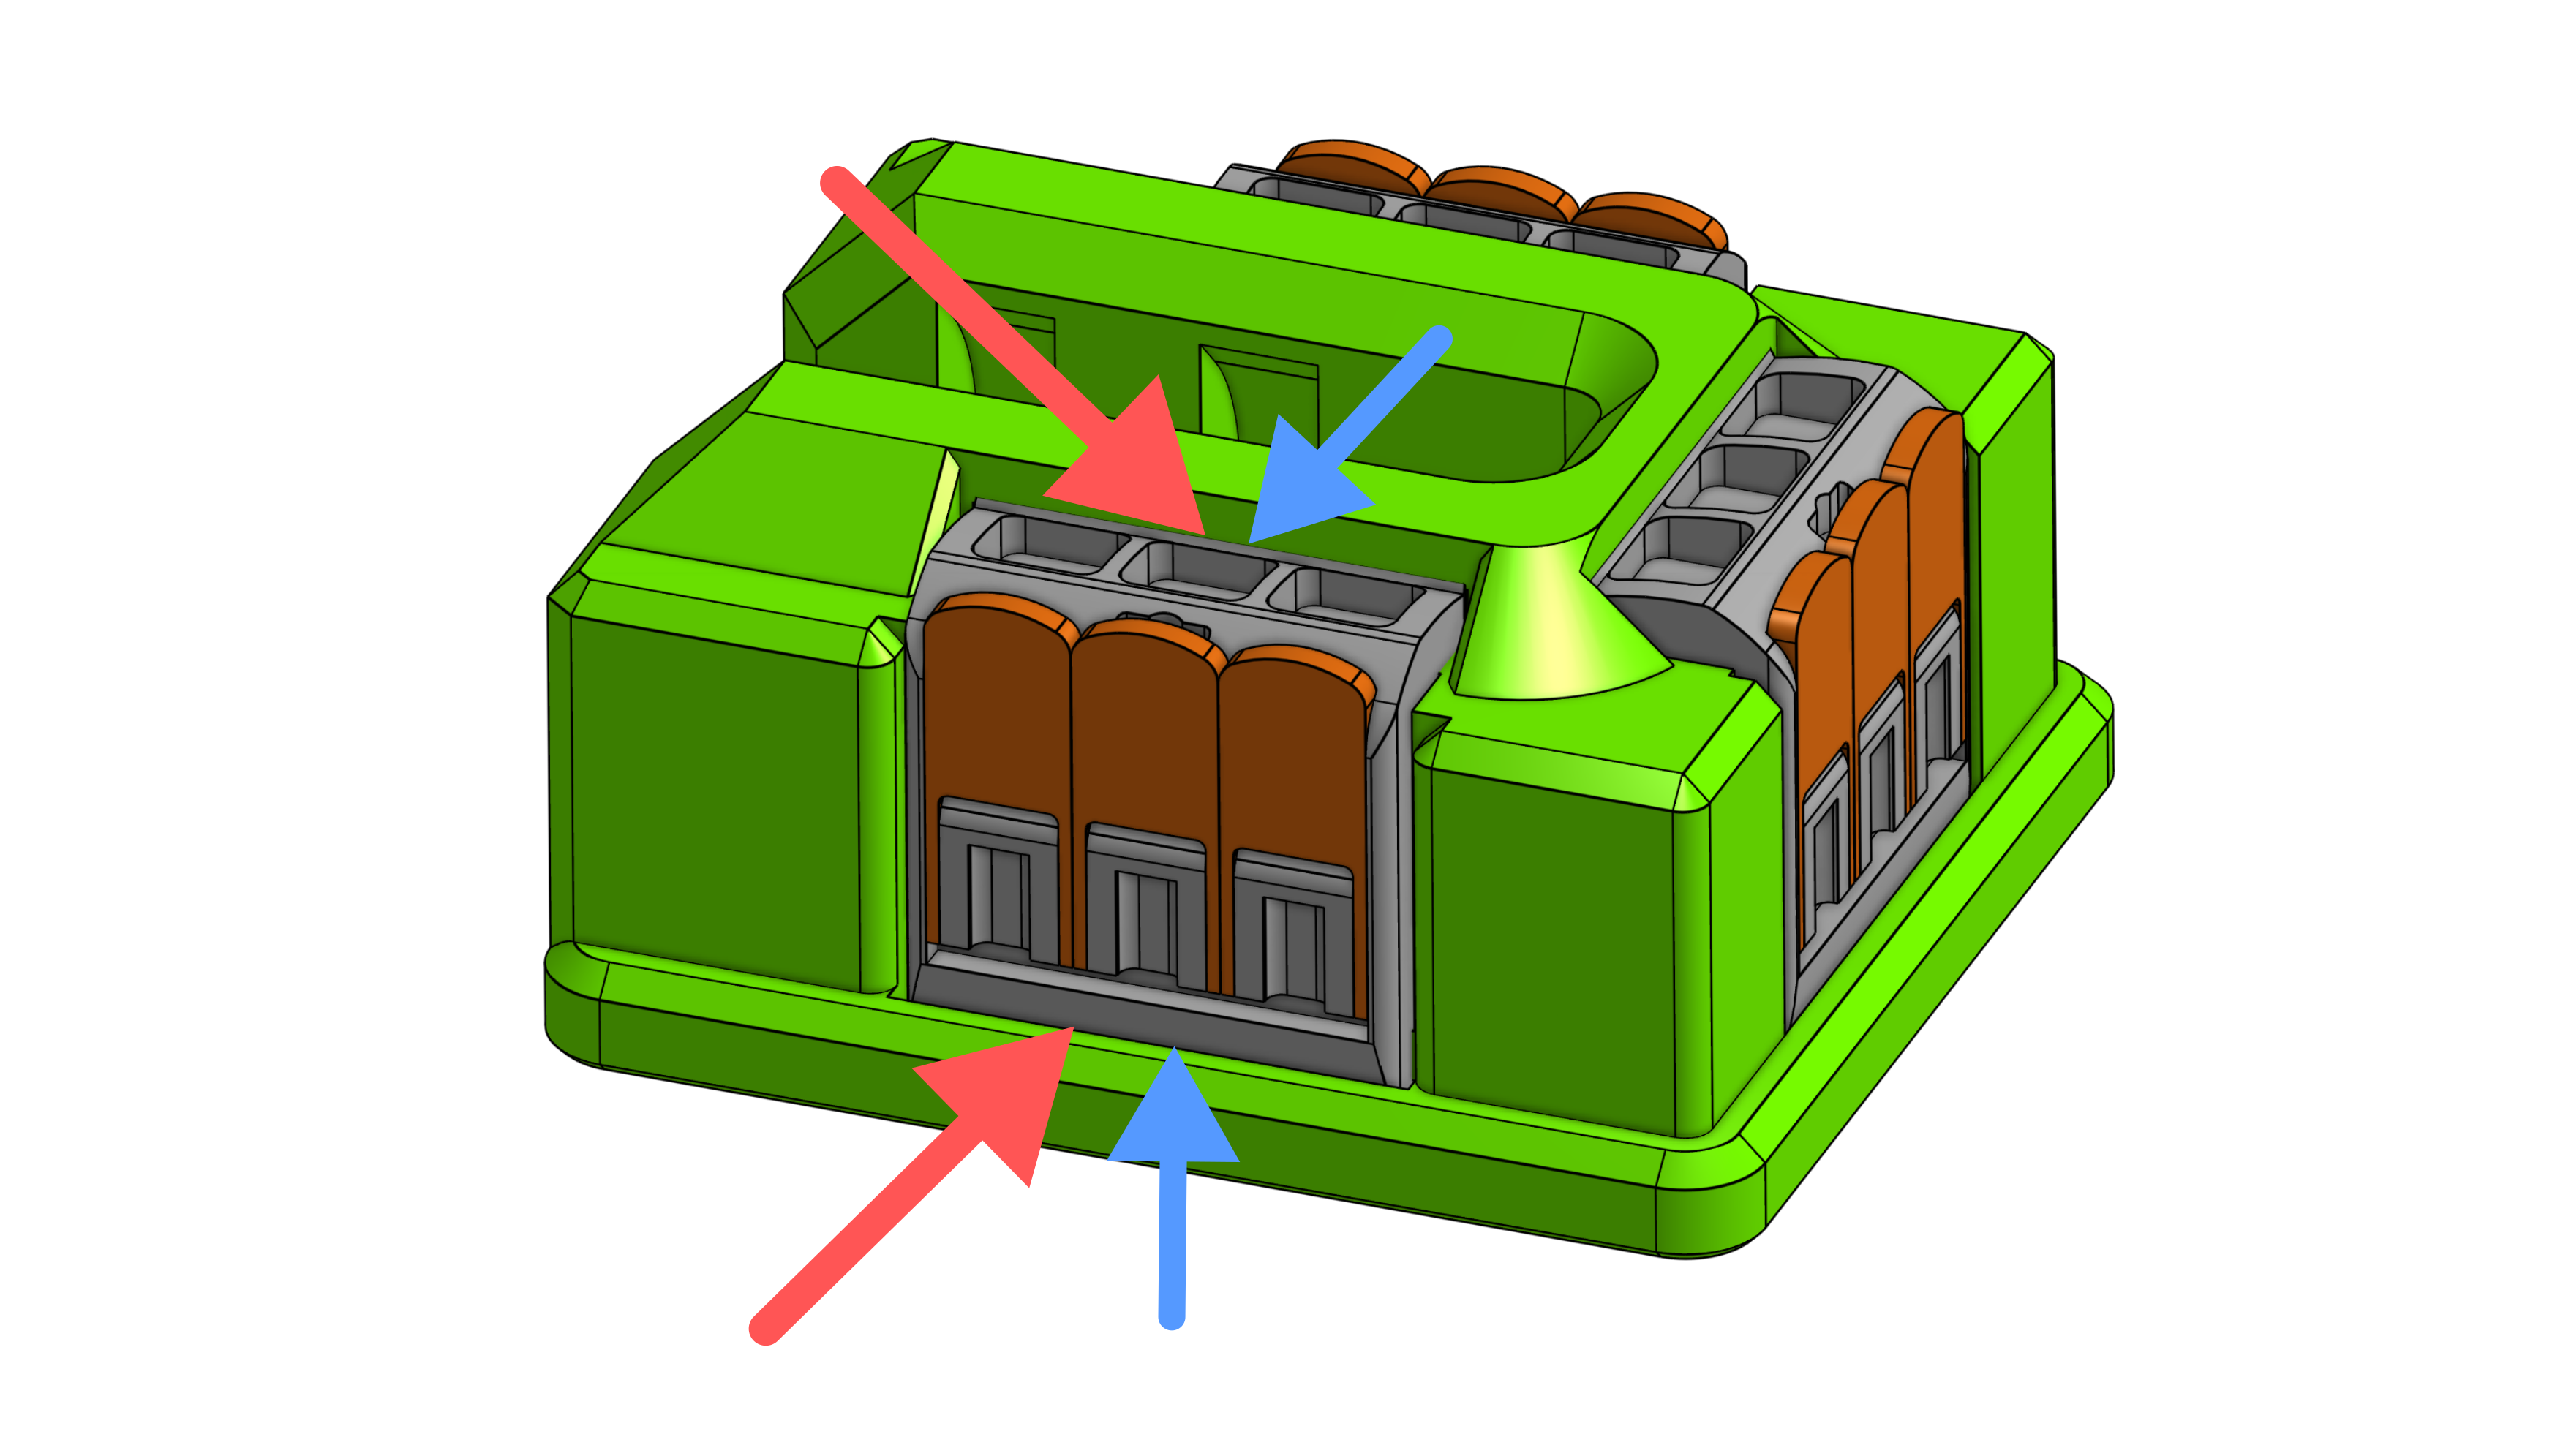
The model was designed so the connectors are permanently installed. However, it's possible to remove the connectors by force. Use a small flat head screw driver as a prying tool. First, push the connector outwards from the top. Then push the connector upwards from the bottom.
In the image below the red arrows indicate the prying locations and the blue arrows indicate the pushing direction.
Mounting Options
Magnet Mount
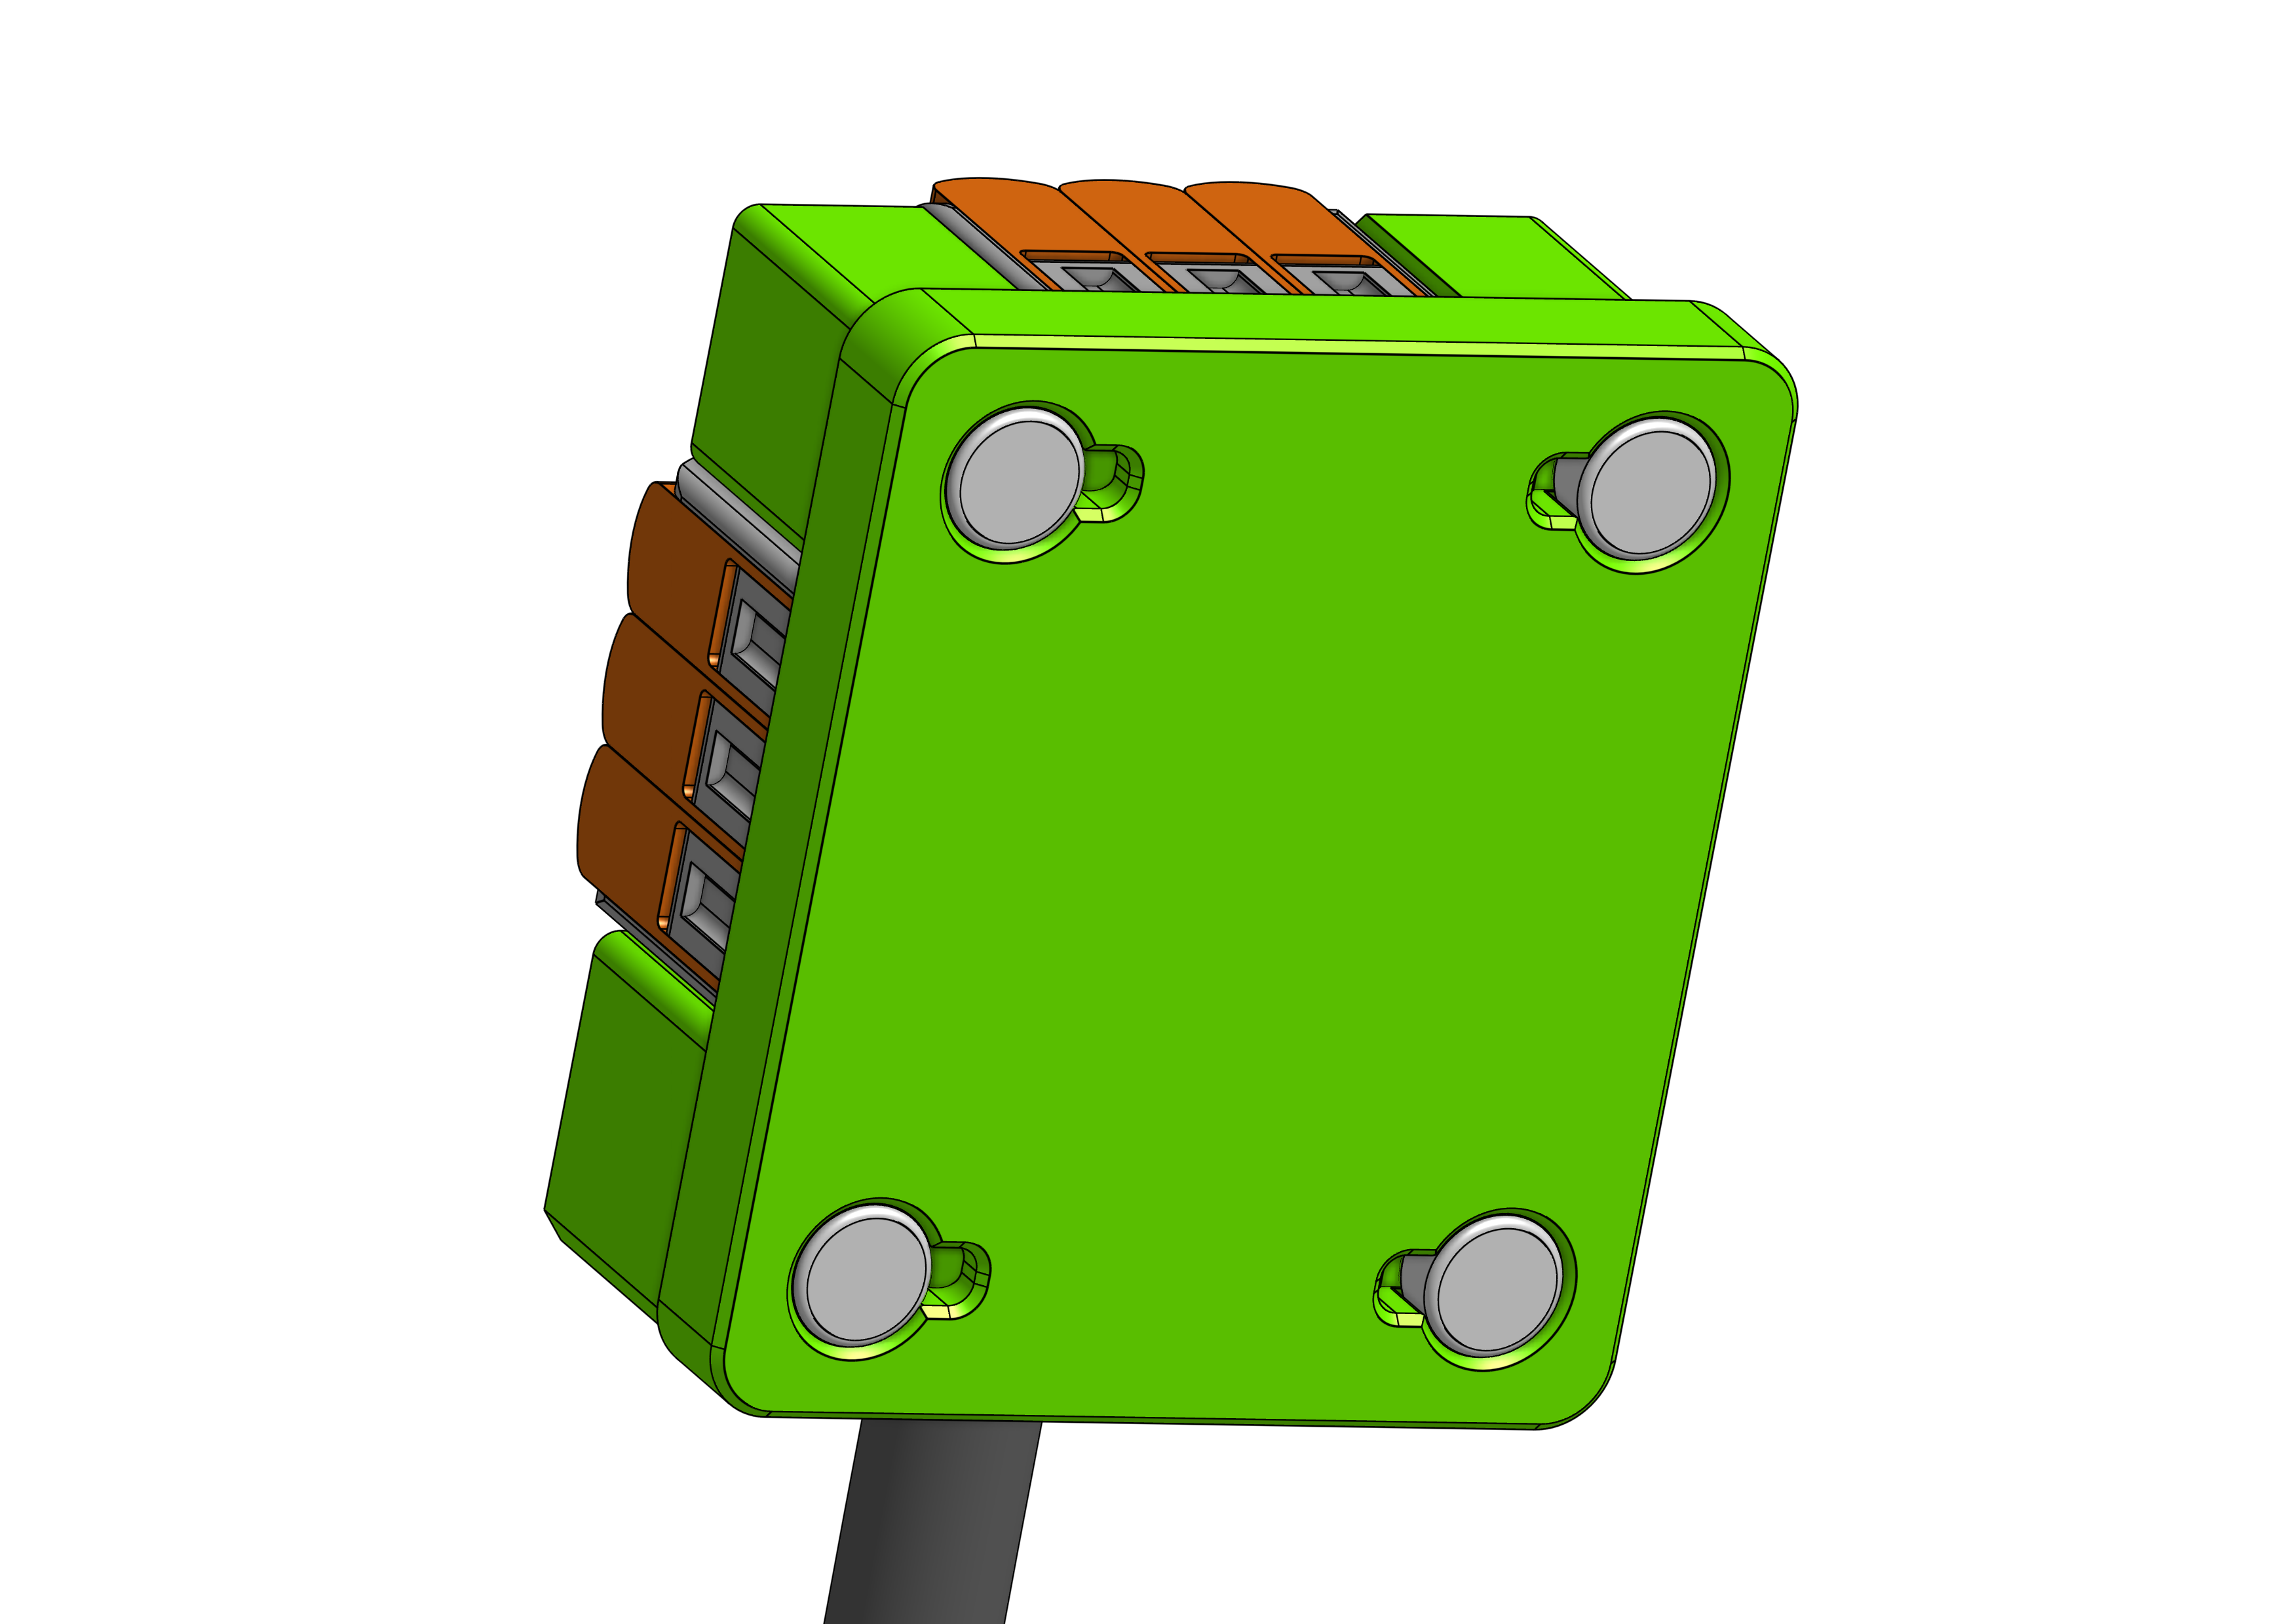
Uses 6x3mm disc magnets. The 415 version uses 6 magnets. The 412 and 413 versions use 4 magnets. The magnet fit is intentionally tight (0.15mm clearance). If necessary, use a vise or similar device to push the magnets in until flush with the surface. You may optionally add a small dot of superglue.
Required Hardware
Qty
Description
Sourcing
4-6
6x3mm neodymium disc magnet
Screw Mount Pan Head
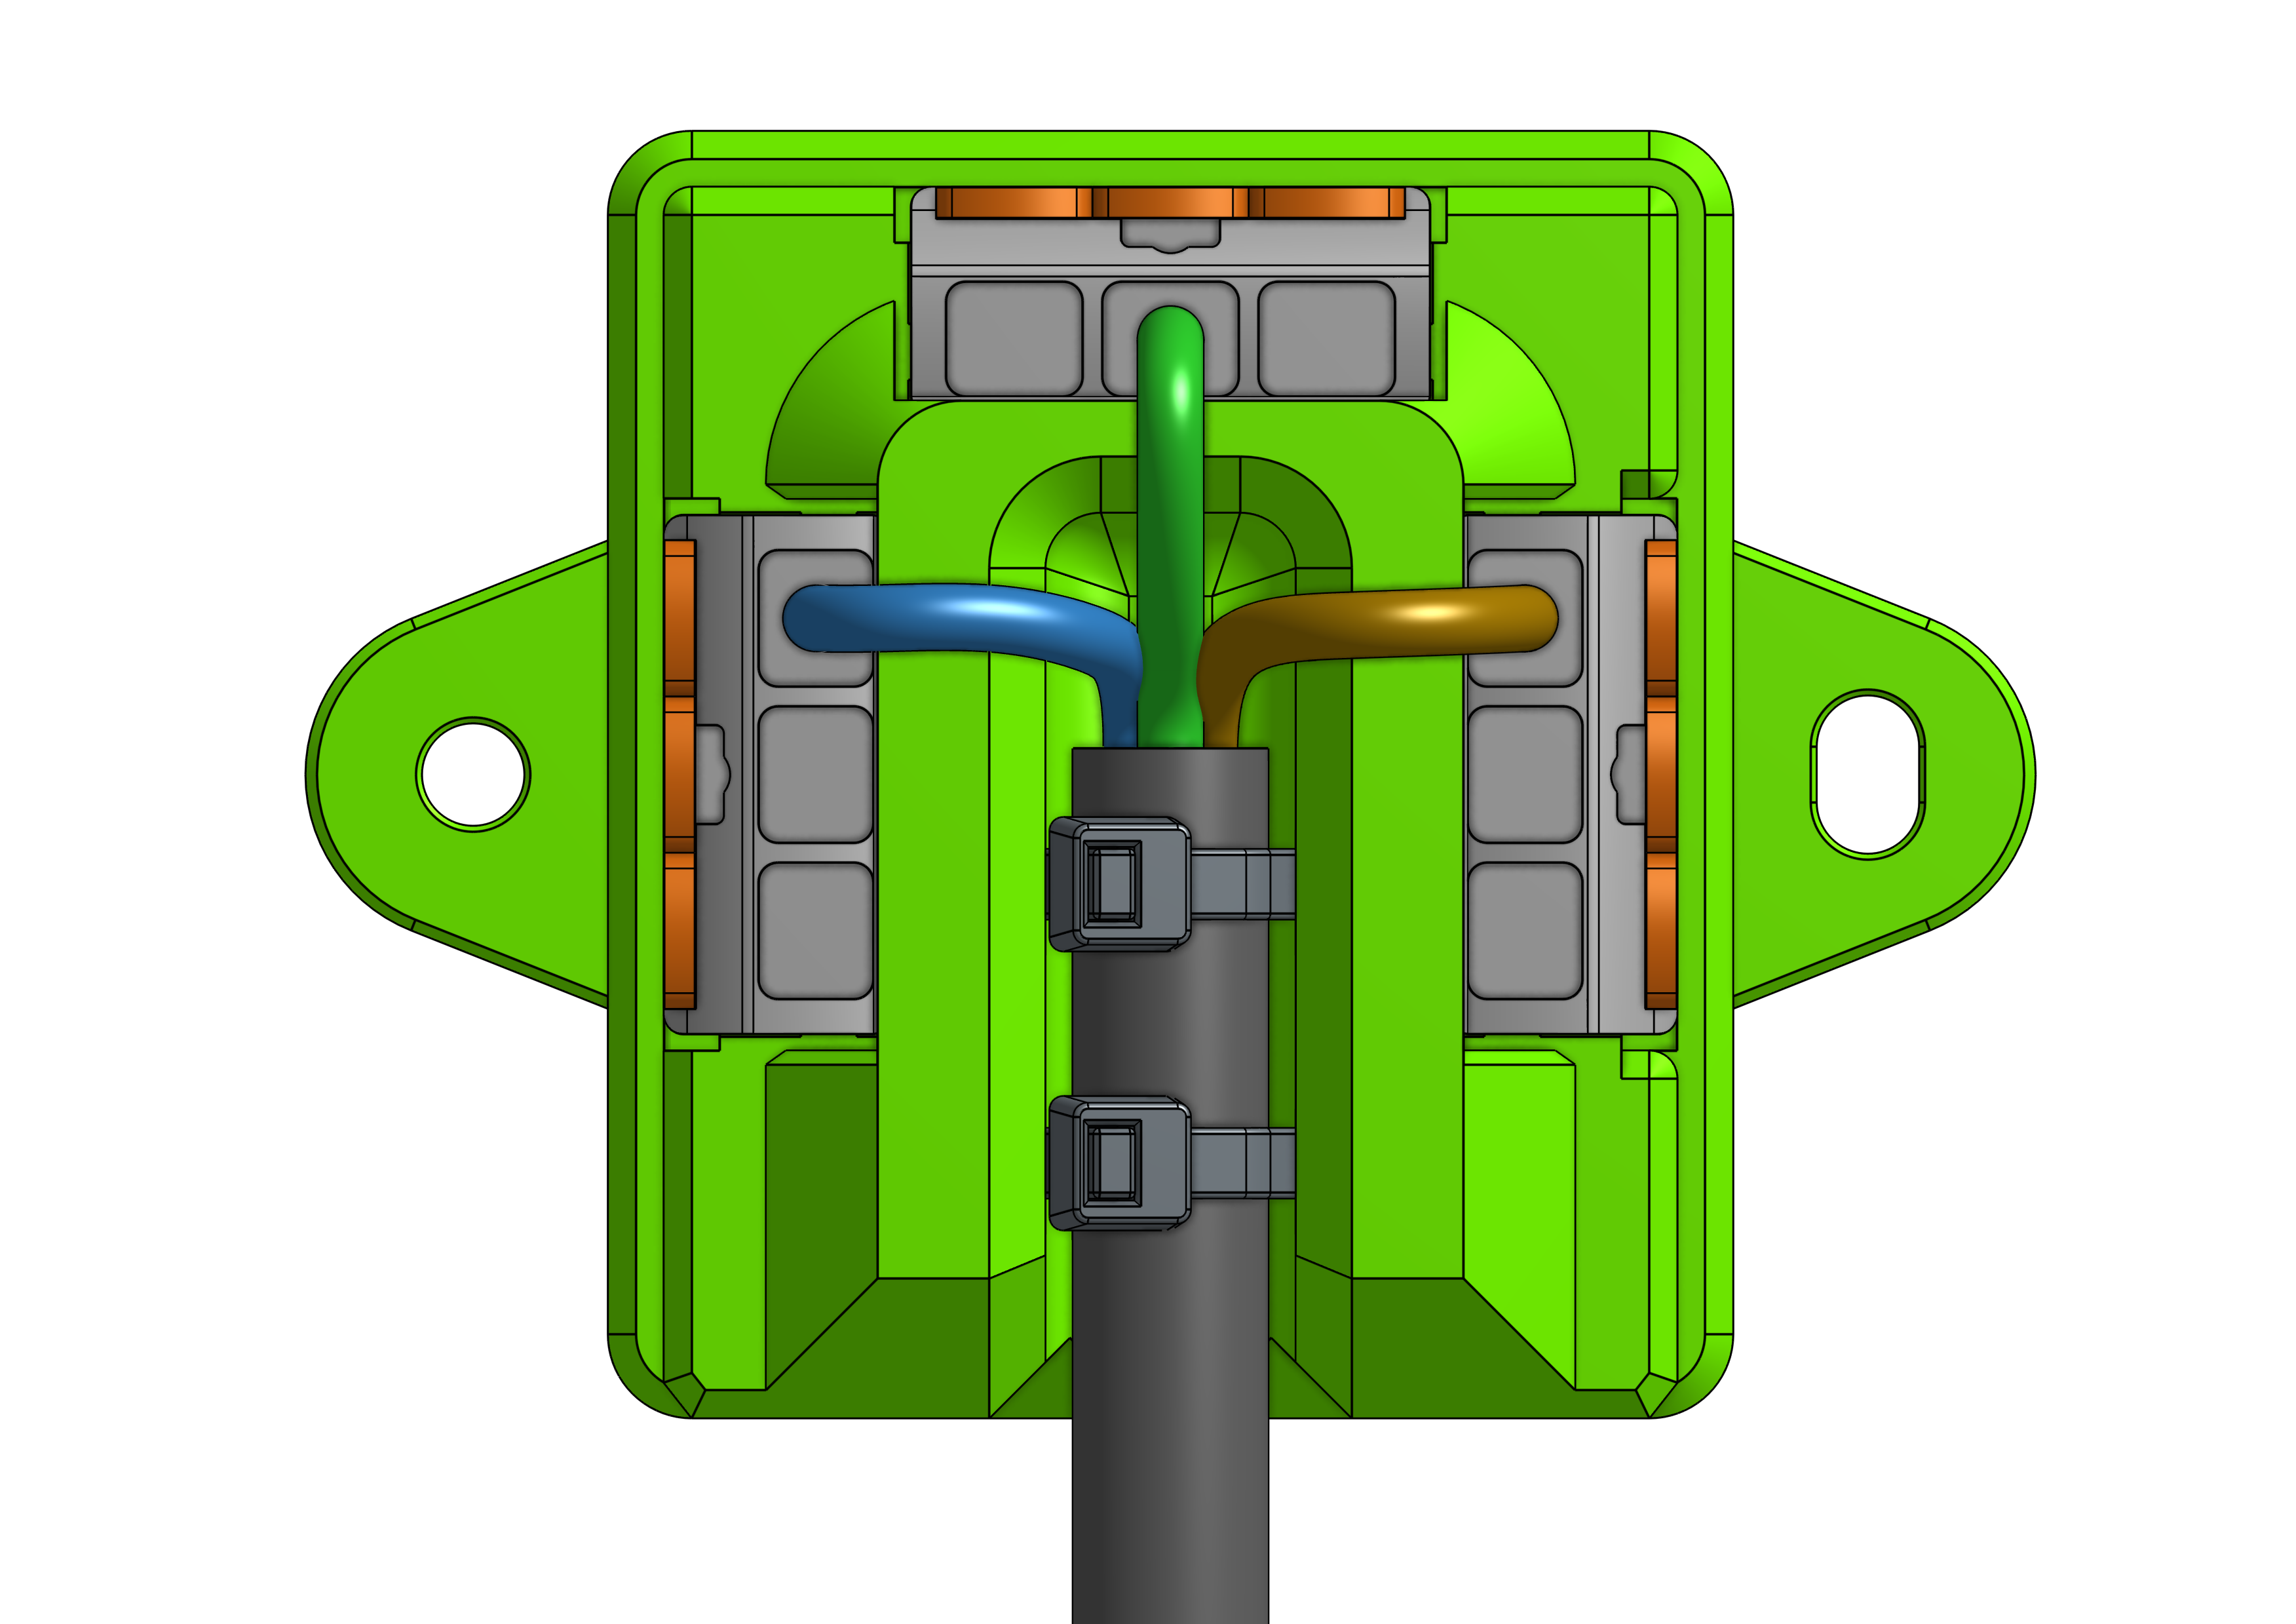
For 3mm - 3.5mm pan head screws. The hole distance is 50mm.
Required Hardware
Qty
Description
2
3-3.5mm pan head screws
Screw Mount Countersunk
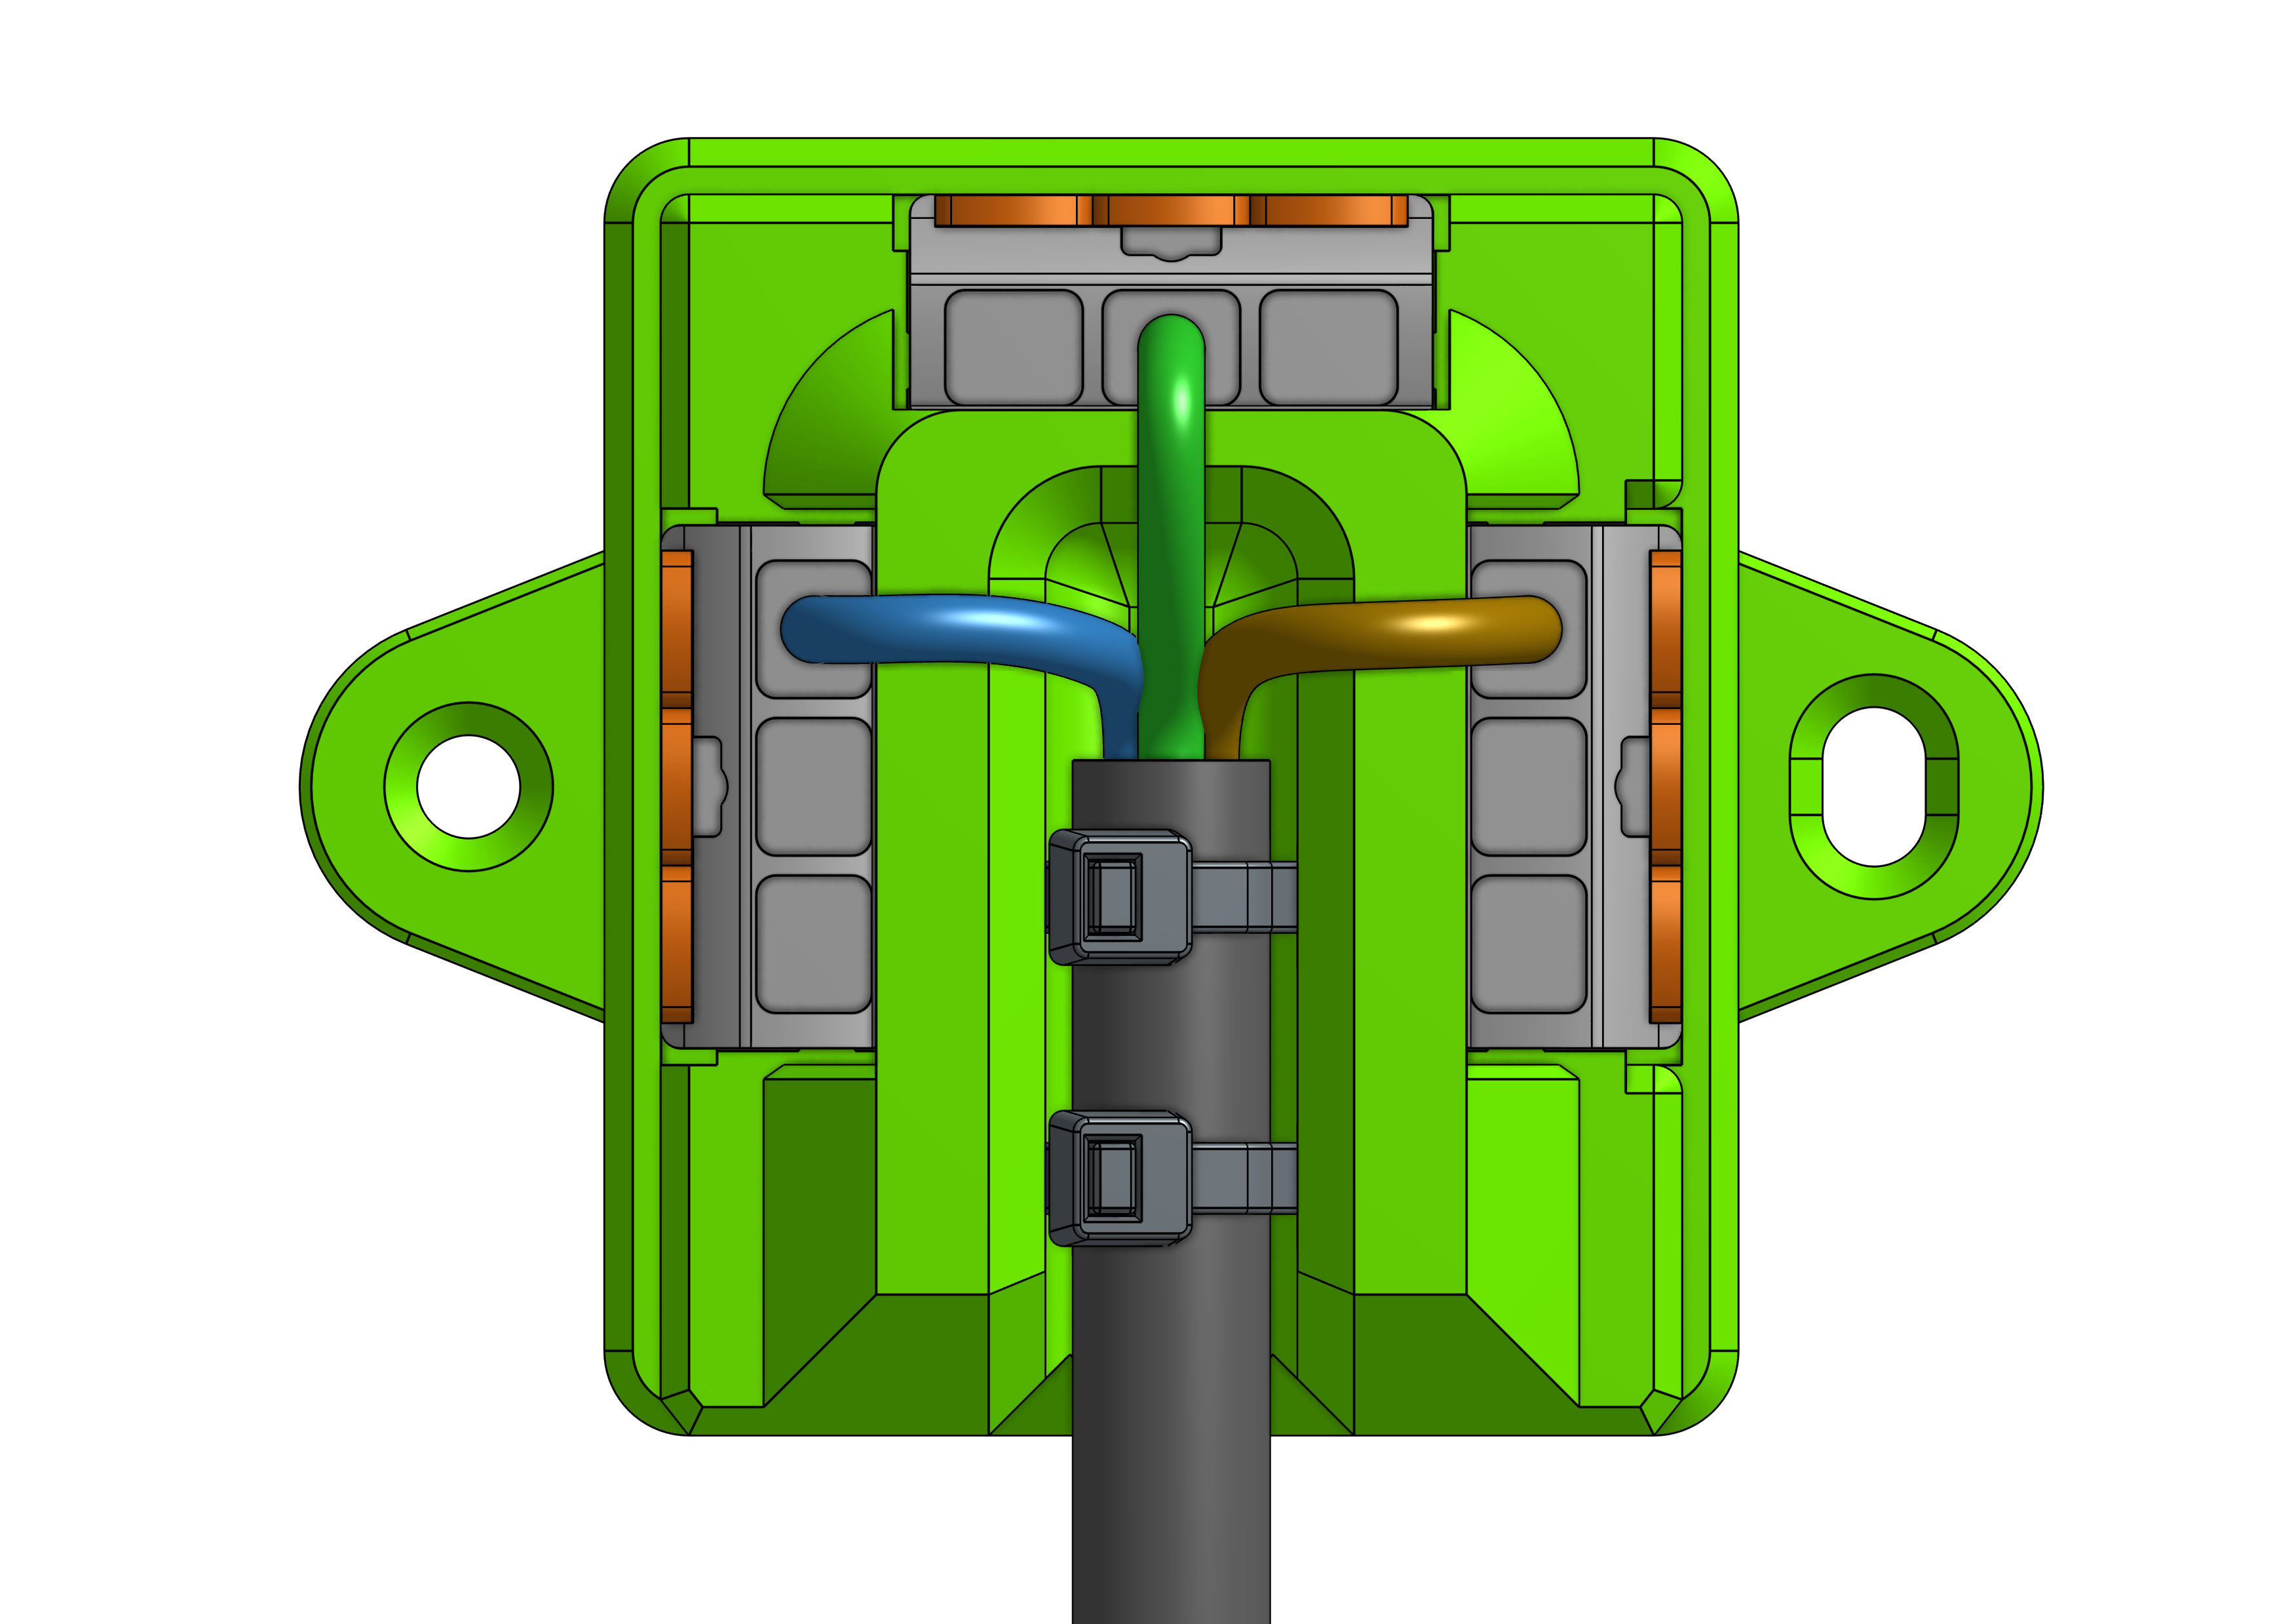
For 3mm - 3.5mm countersunk screws. The hole distance is 50mm.
Required Hardware
Qty
Description
2
3-3.5mm countersunk screws
Screw Mount M5
For M5 machine screws. The hole distance is 50mm.
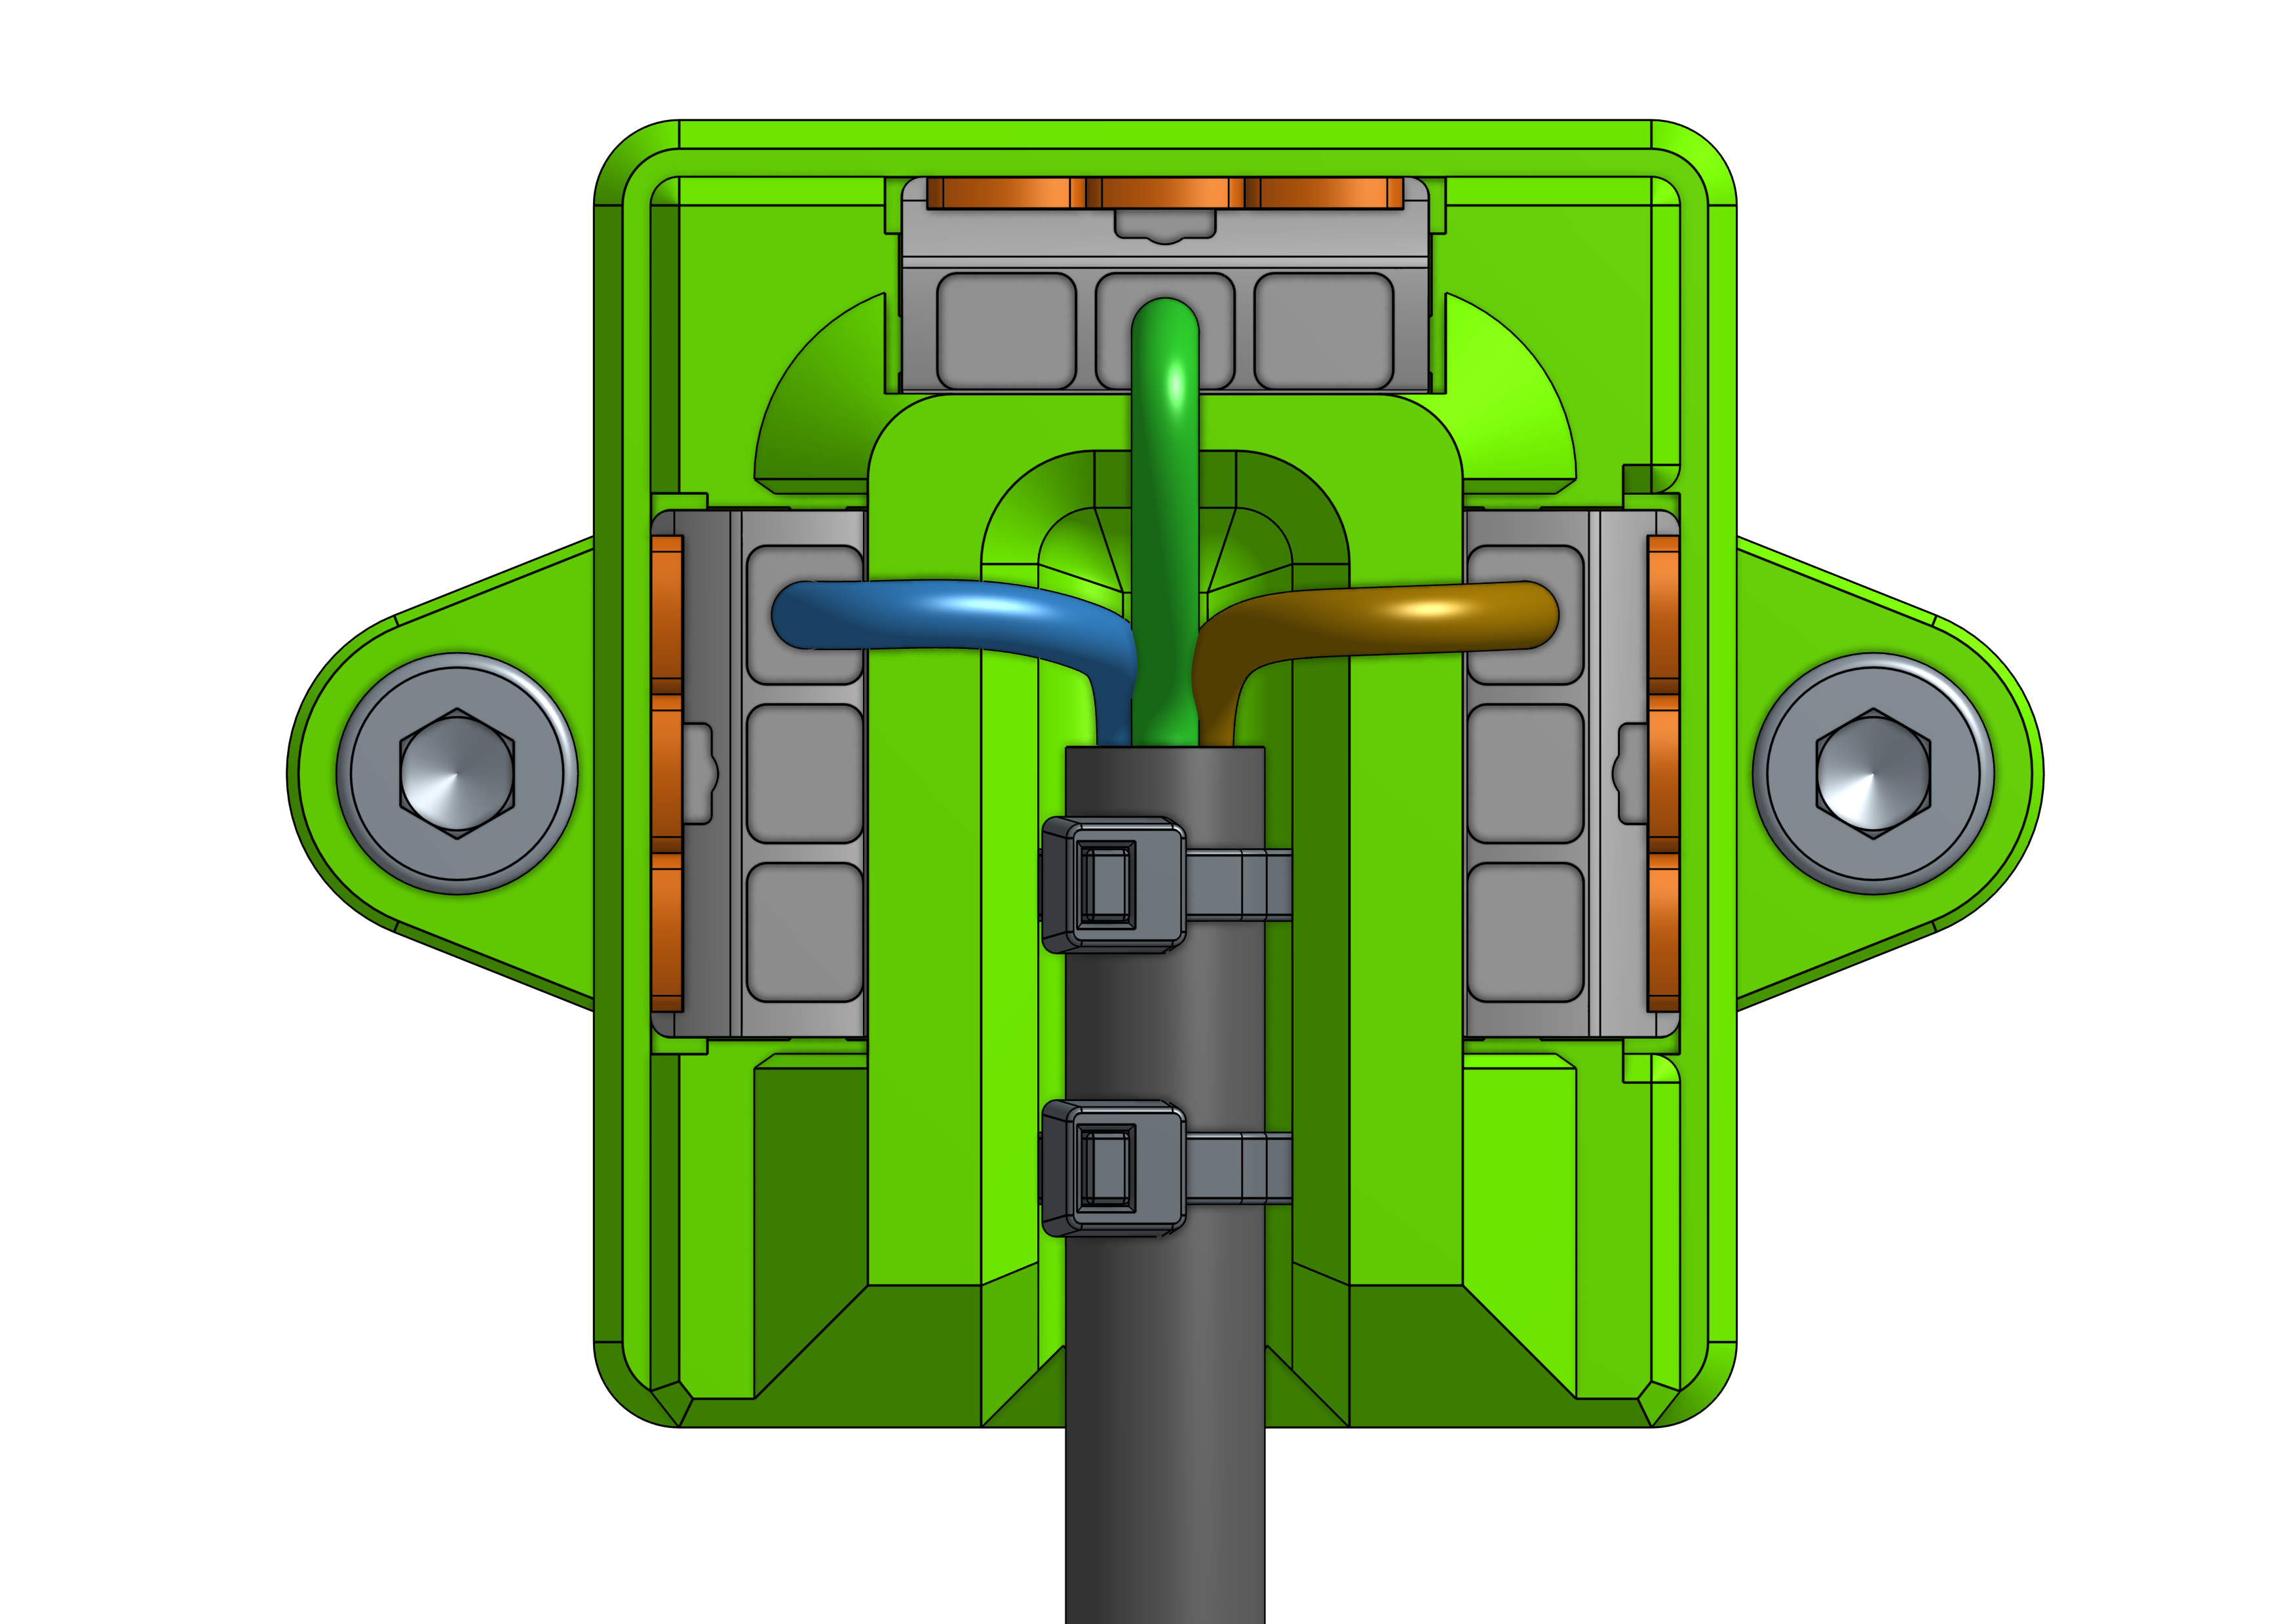
Required Hardware
Qty
Description
Sourcing
2
M5 socket head or button head cap screws
Screw Mount M6
For M6 machine screws. The hole distance is 55mm.
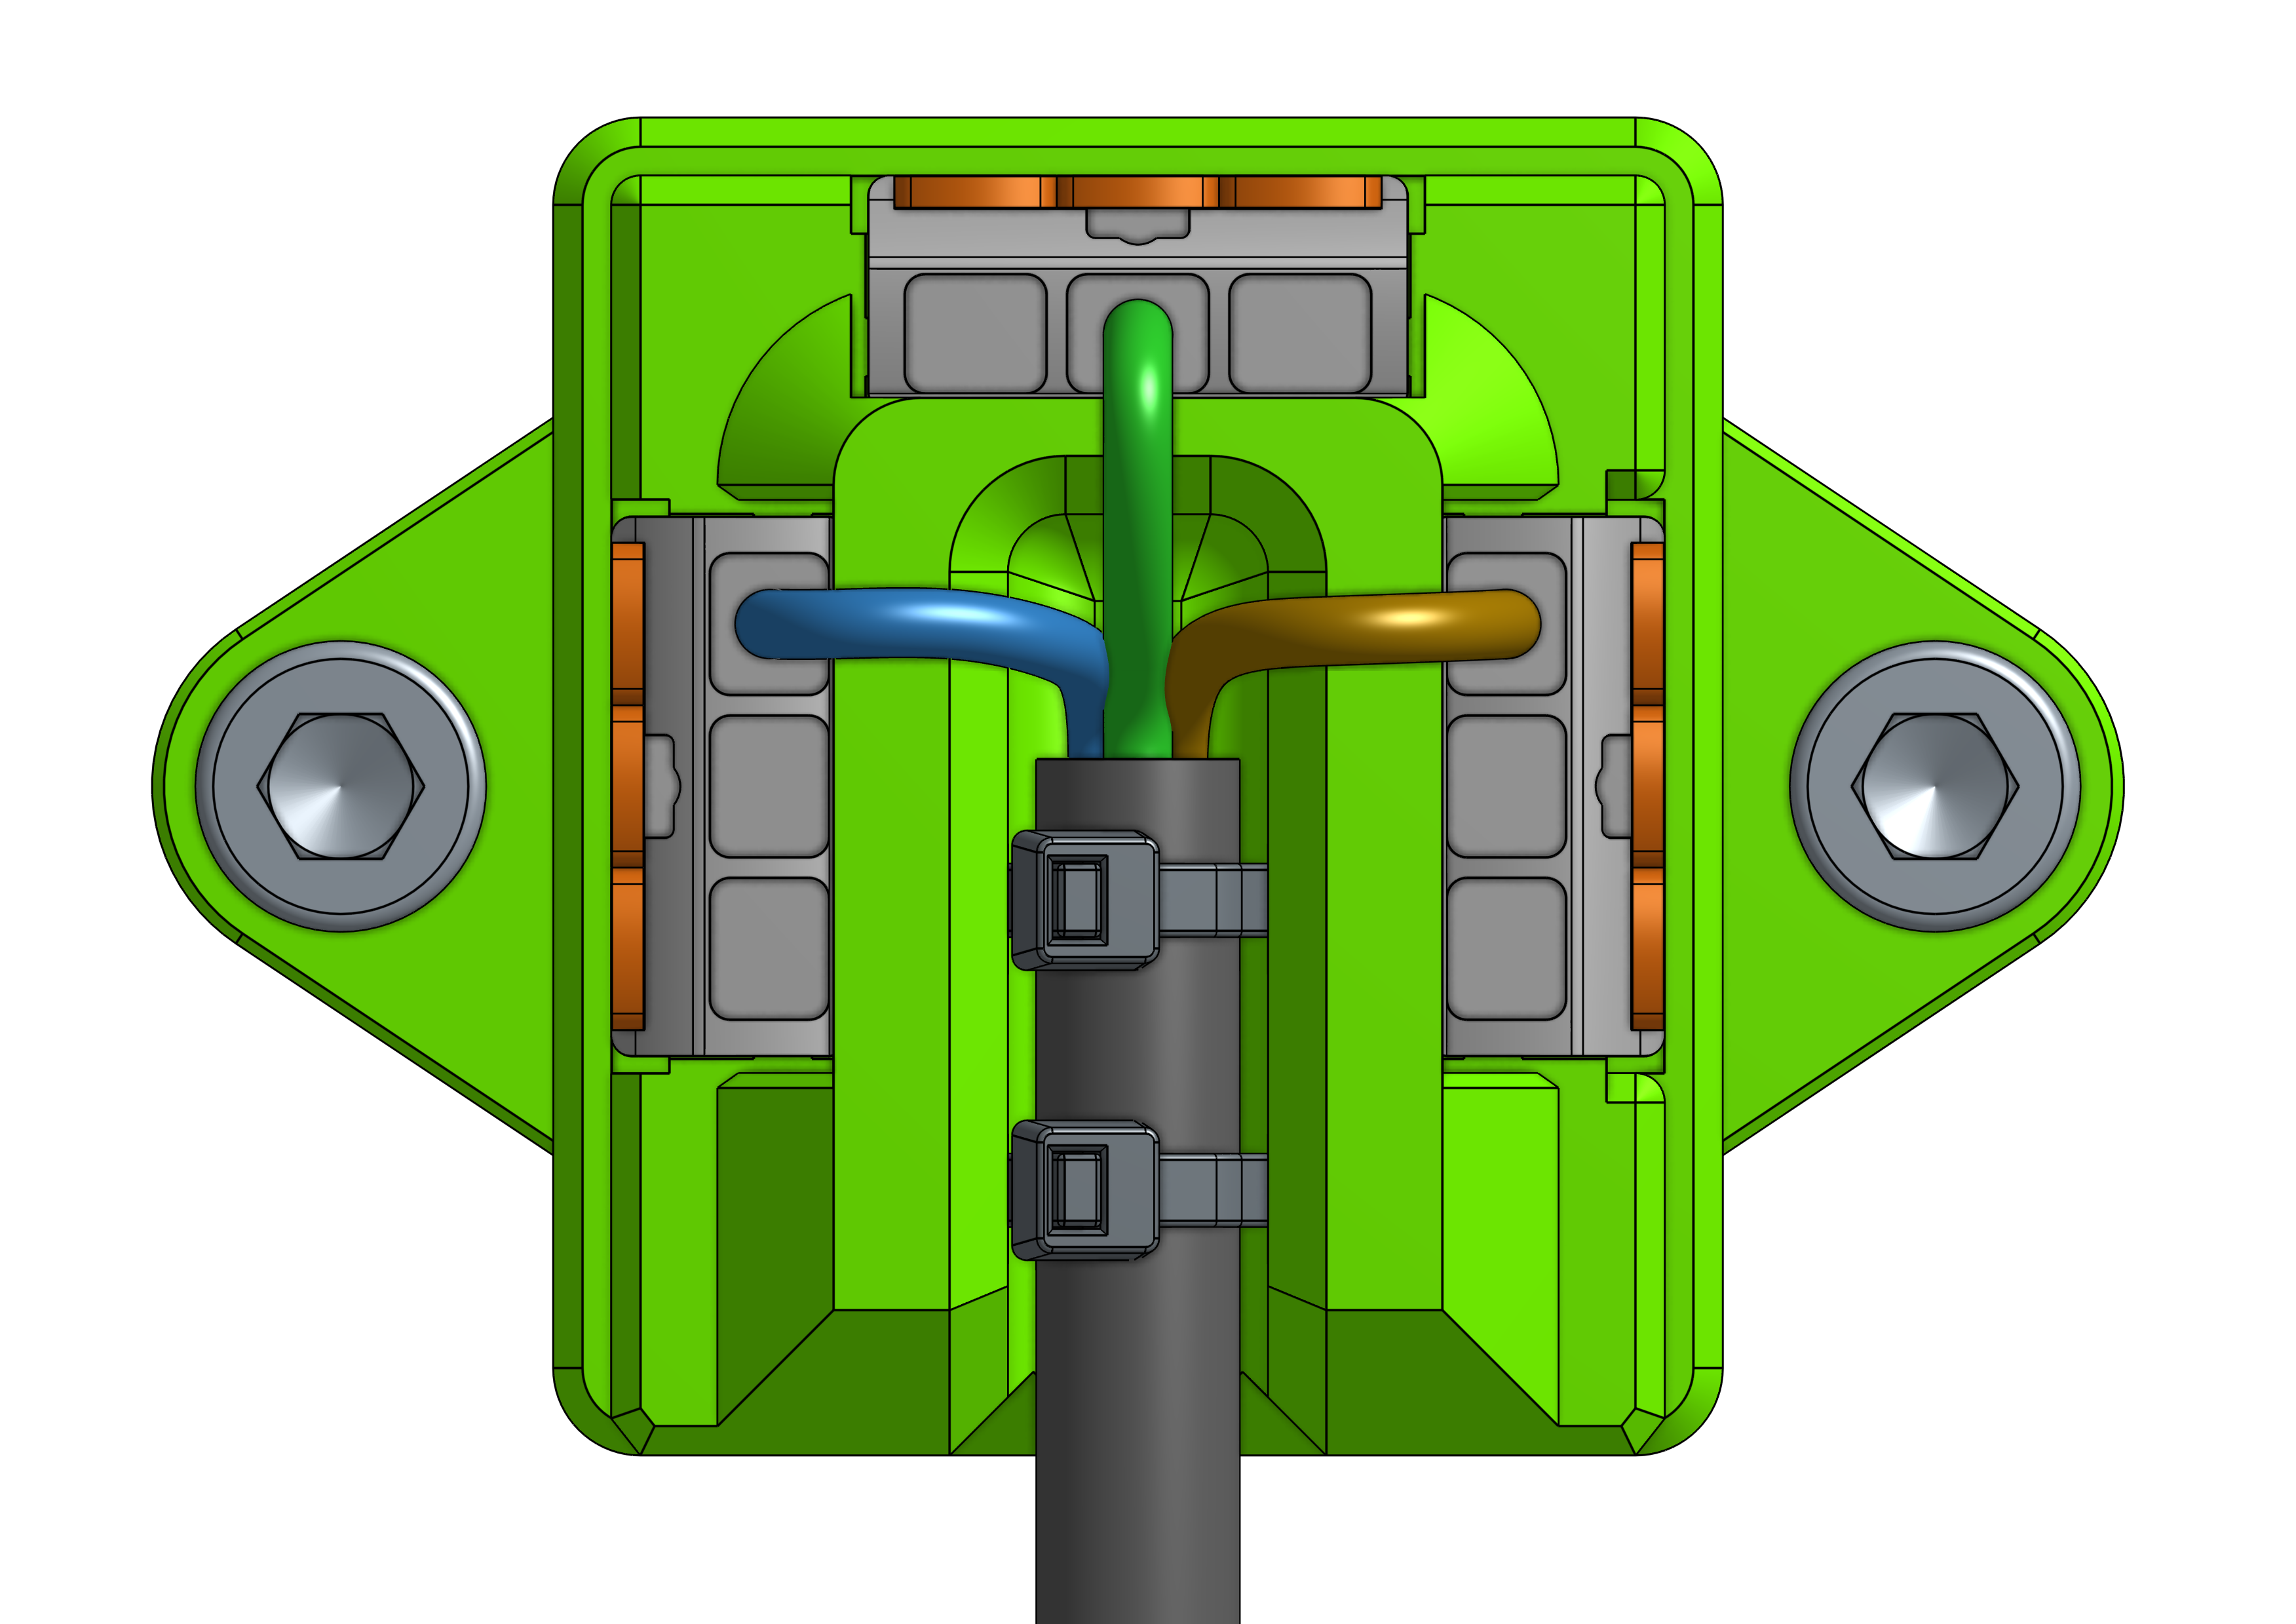
Required Hardware
Qty
Description
Sourcing
2
M6 socket head or button head cap screws
Euro Hole Hang Tab

Delta Hang Tab
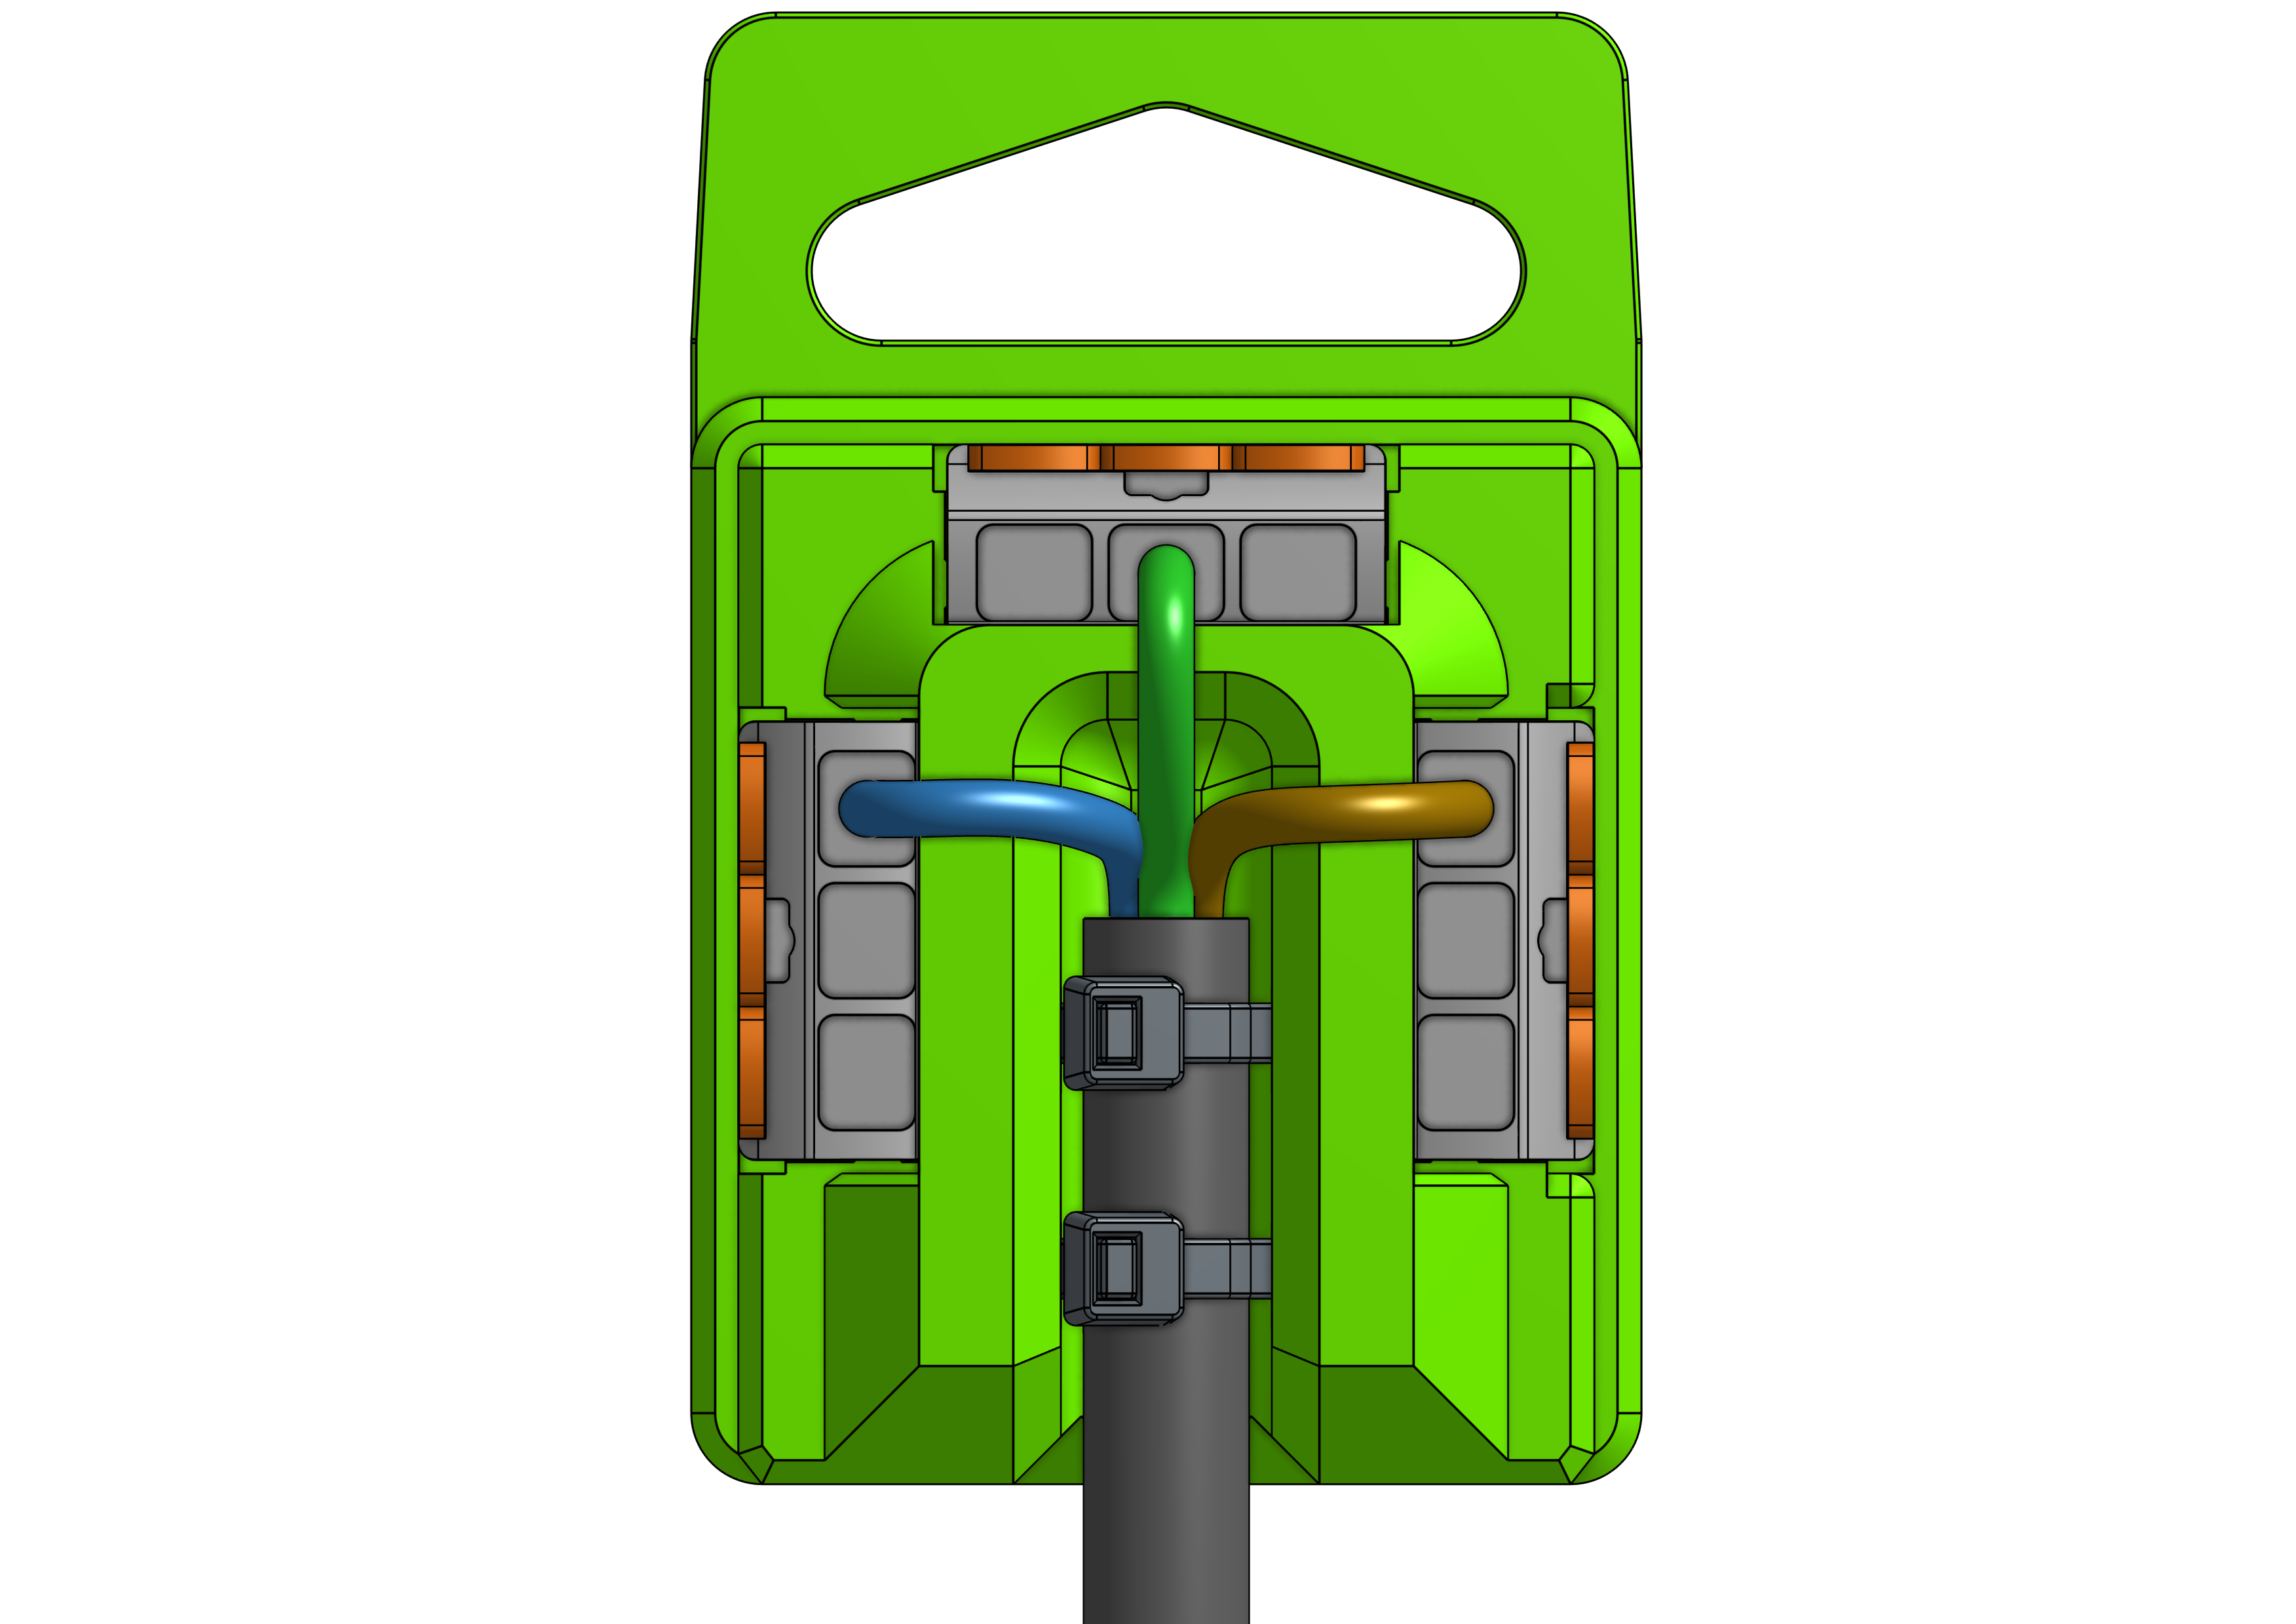
J-Hook Hang Tab
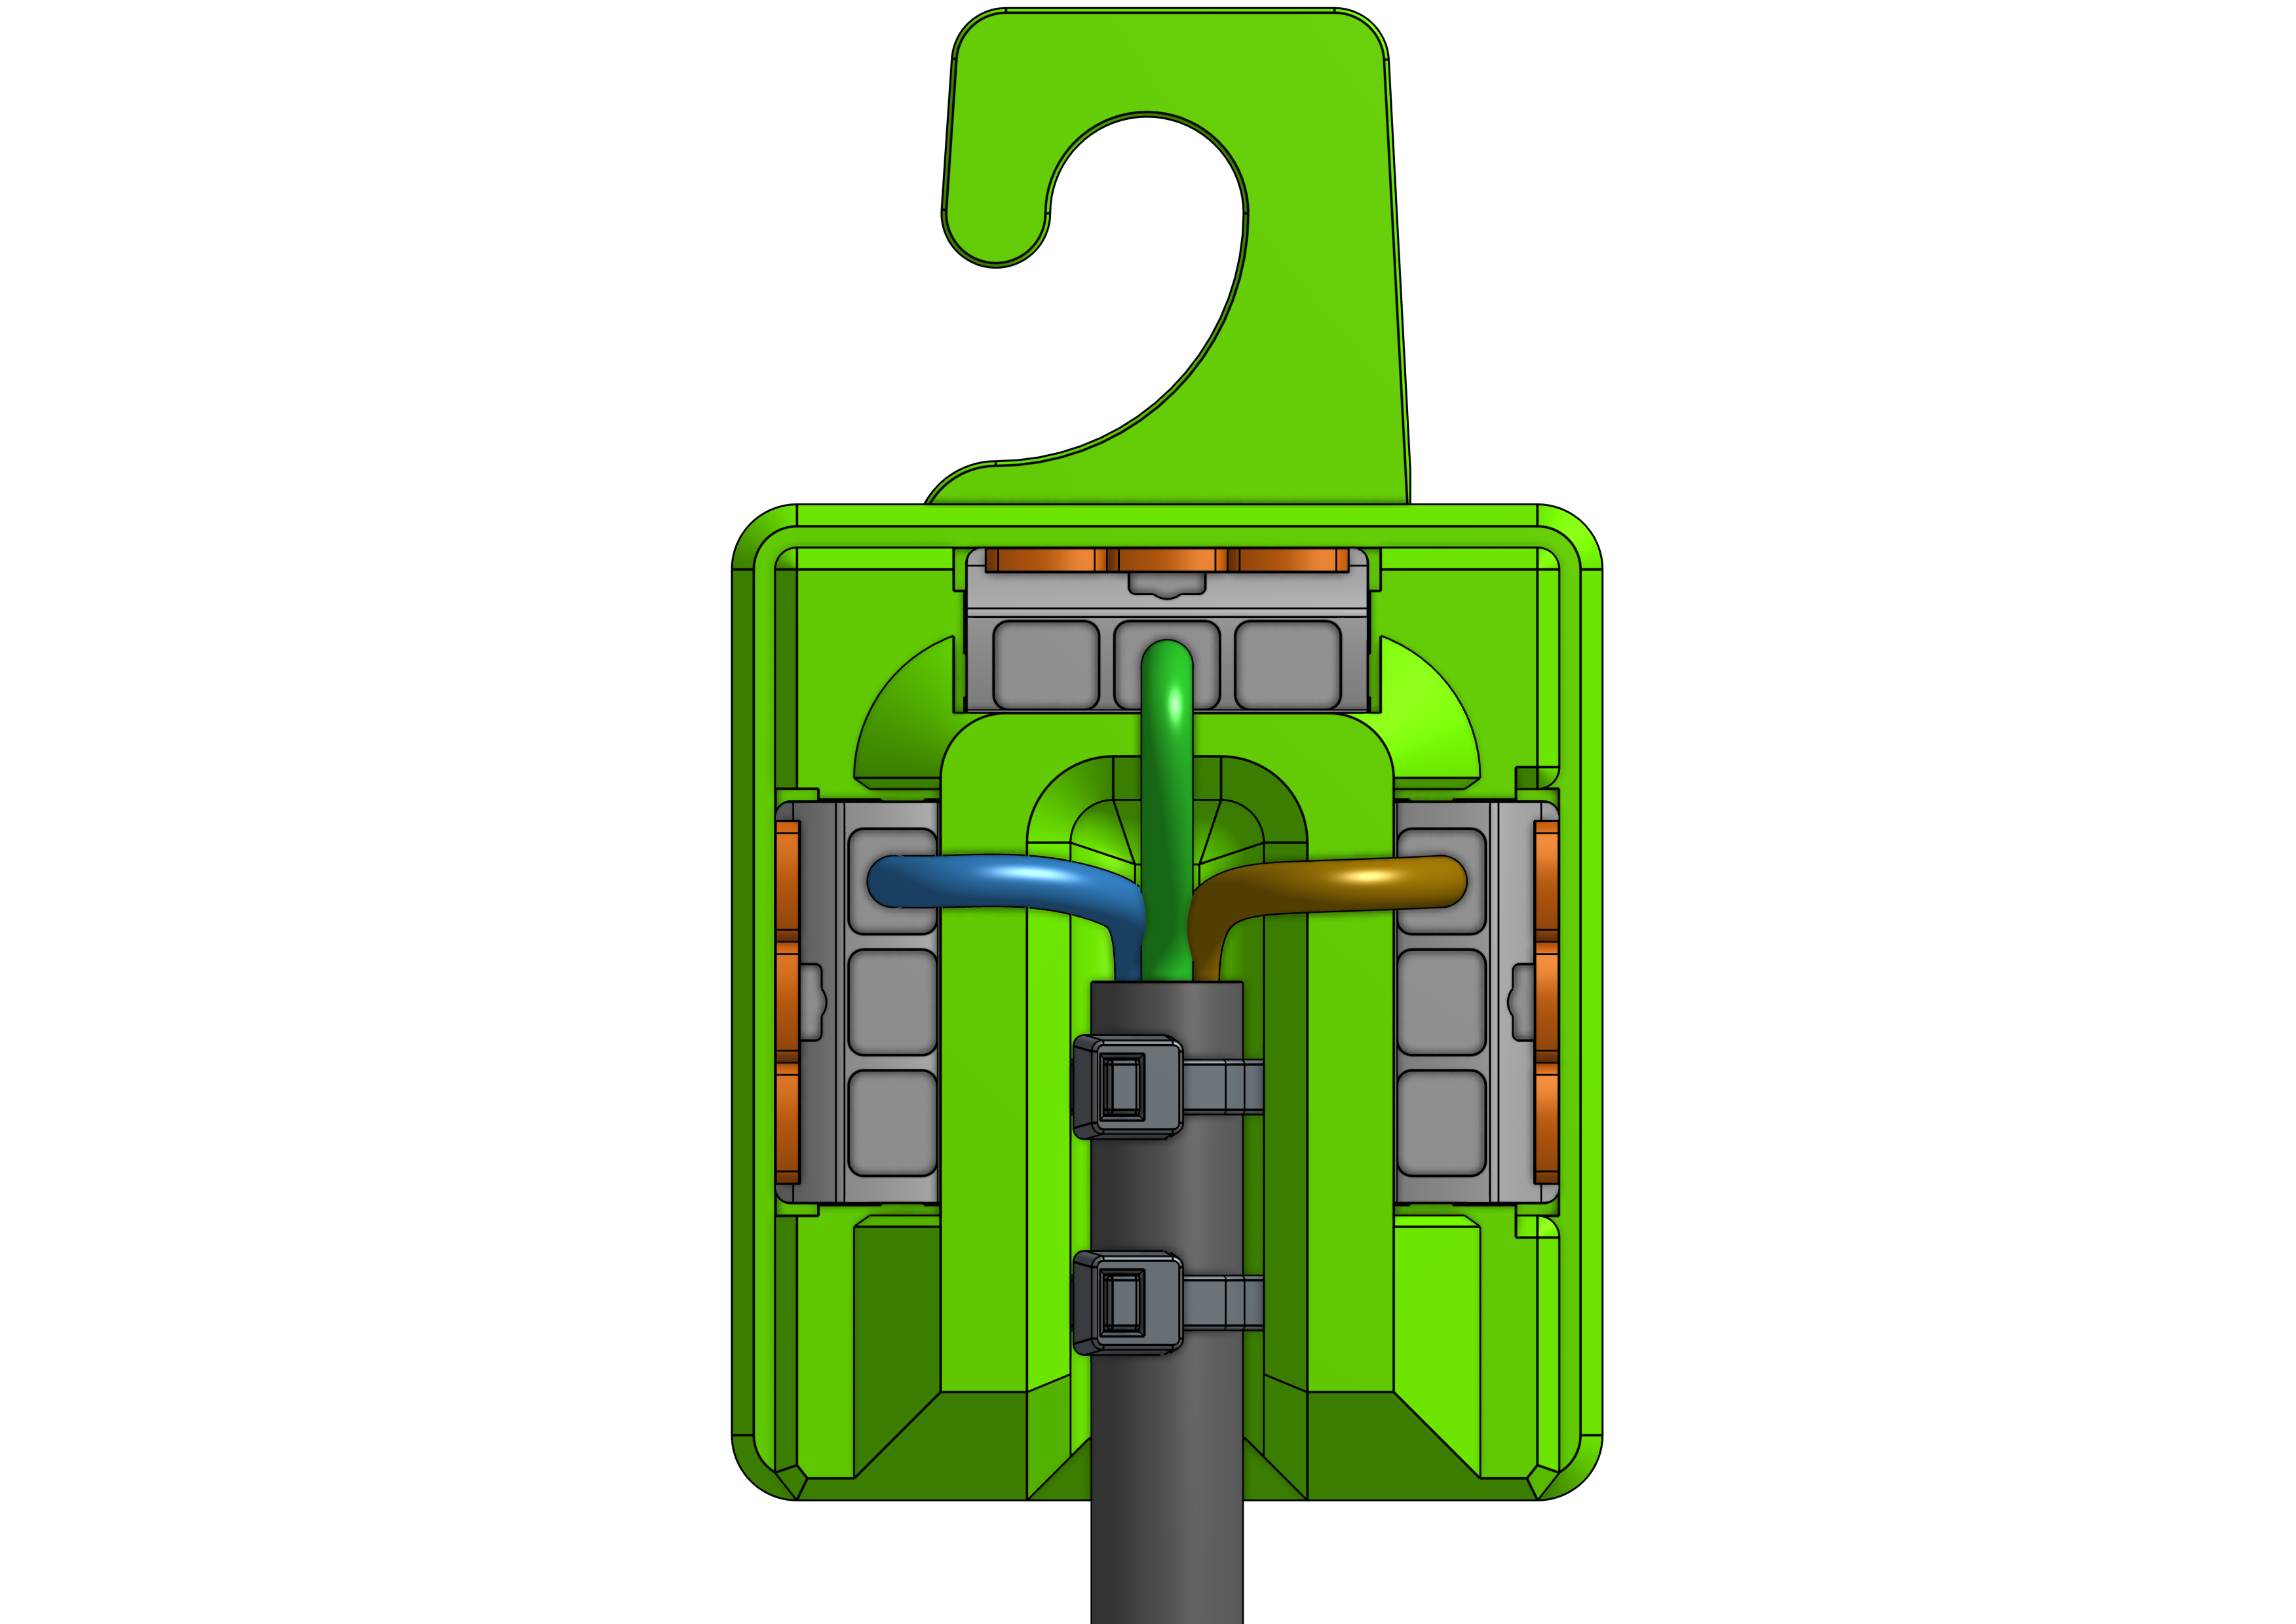
No Mount
This version has no specific mount and can be used with double-sided tape, Velcro, etc.
Ikea Skadis Mount
The mount for Ikea SKÅDIS pegboards has its own project page.
>> Go to IKEA SKÅDIS Wago Power Distribution Block page

Make Your Own Mount
Download the “Base Model” and make your own mounts. It's available in STEP and STL. This model only has the minimum thickness and no chamfers at the bottom so you can easily increase the thickness and make your own mounts.
Additional Credits
- The IEC C14 connector used in the illustrations is by Rafi Ramlee on GrabCAD.
- The Wago 221 connectors used in the illustrations are by Wago Part Community.
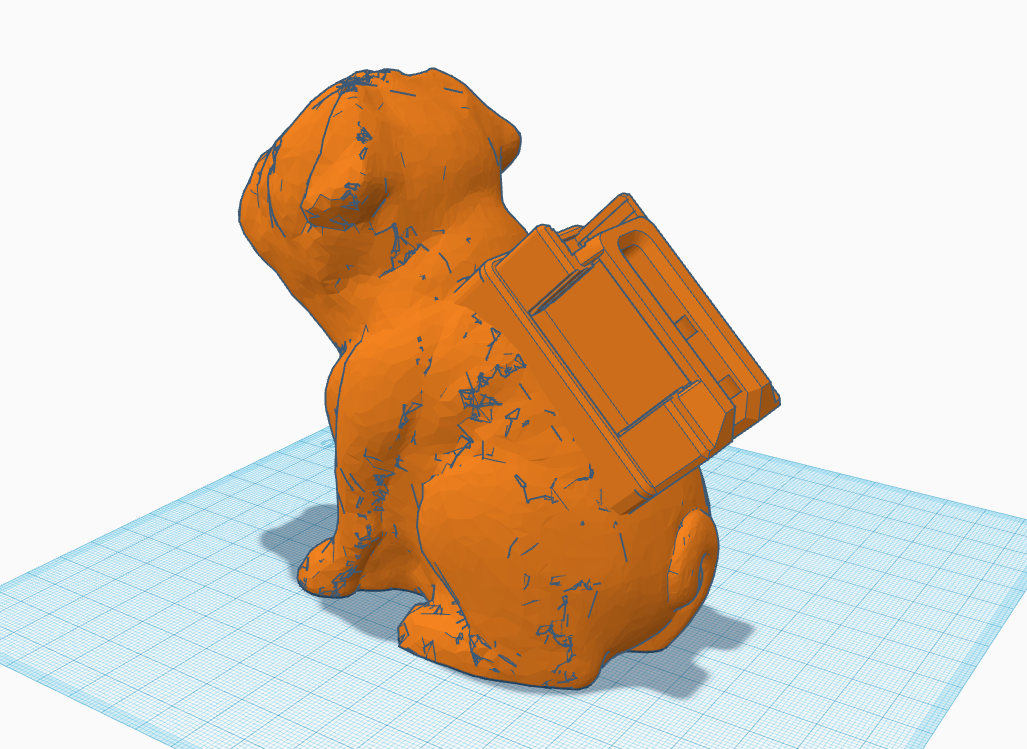
- The dog used in the illustrations is Josef Prusa's pug Buddy by Prusa Research.
Geprint door de community
Bij de bron al 61 keer geprint. Laat hier als eerste zien hoe het bij jou werd.
Reacties 0
Ook handig in elektronica
meer zoals dit
 Externpast op WAGO 221-412
 past op WAGO 221 (412, 413, 415)
 past op Raspberry Pi 2B / 3B / 3B+ / 4
Modulaire klikbehuizing voor Raspberry Pi 2B, 3B, 3B+ en 4
door Sneaks
 past op Raspberry Pi 3B+ / 4
 past op Raspberry Pi 4 Model B
Schroefloze klikbehuizing met standaard voor Raspberry Pi 4
door Malolo
 Externpast op WAGO 221 (412, 413, 415)
 past op Heltec WiFi LoRa 32 V3