 1 / 4
1 / 4Wat heb je nodig?
Naast de geprinte onderdelen:
- 1 set×originele Joy-Con-onderdelen en schroefjes
Beschrijving van de maker
Origineel in het EngelsWhen trying to repair joy-cons I as do many people, striped one or more Y-screws and had to damage the shell remove the screw and repair the joy-con.
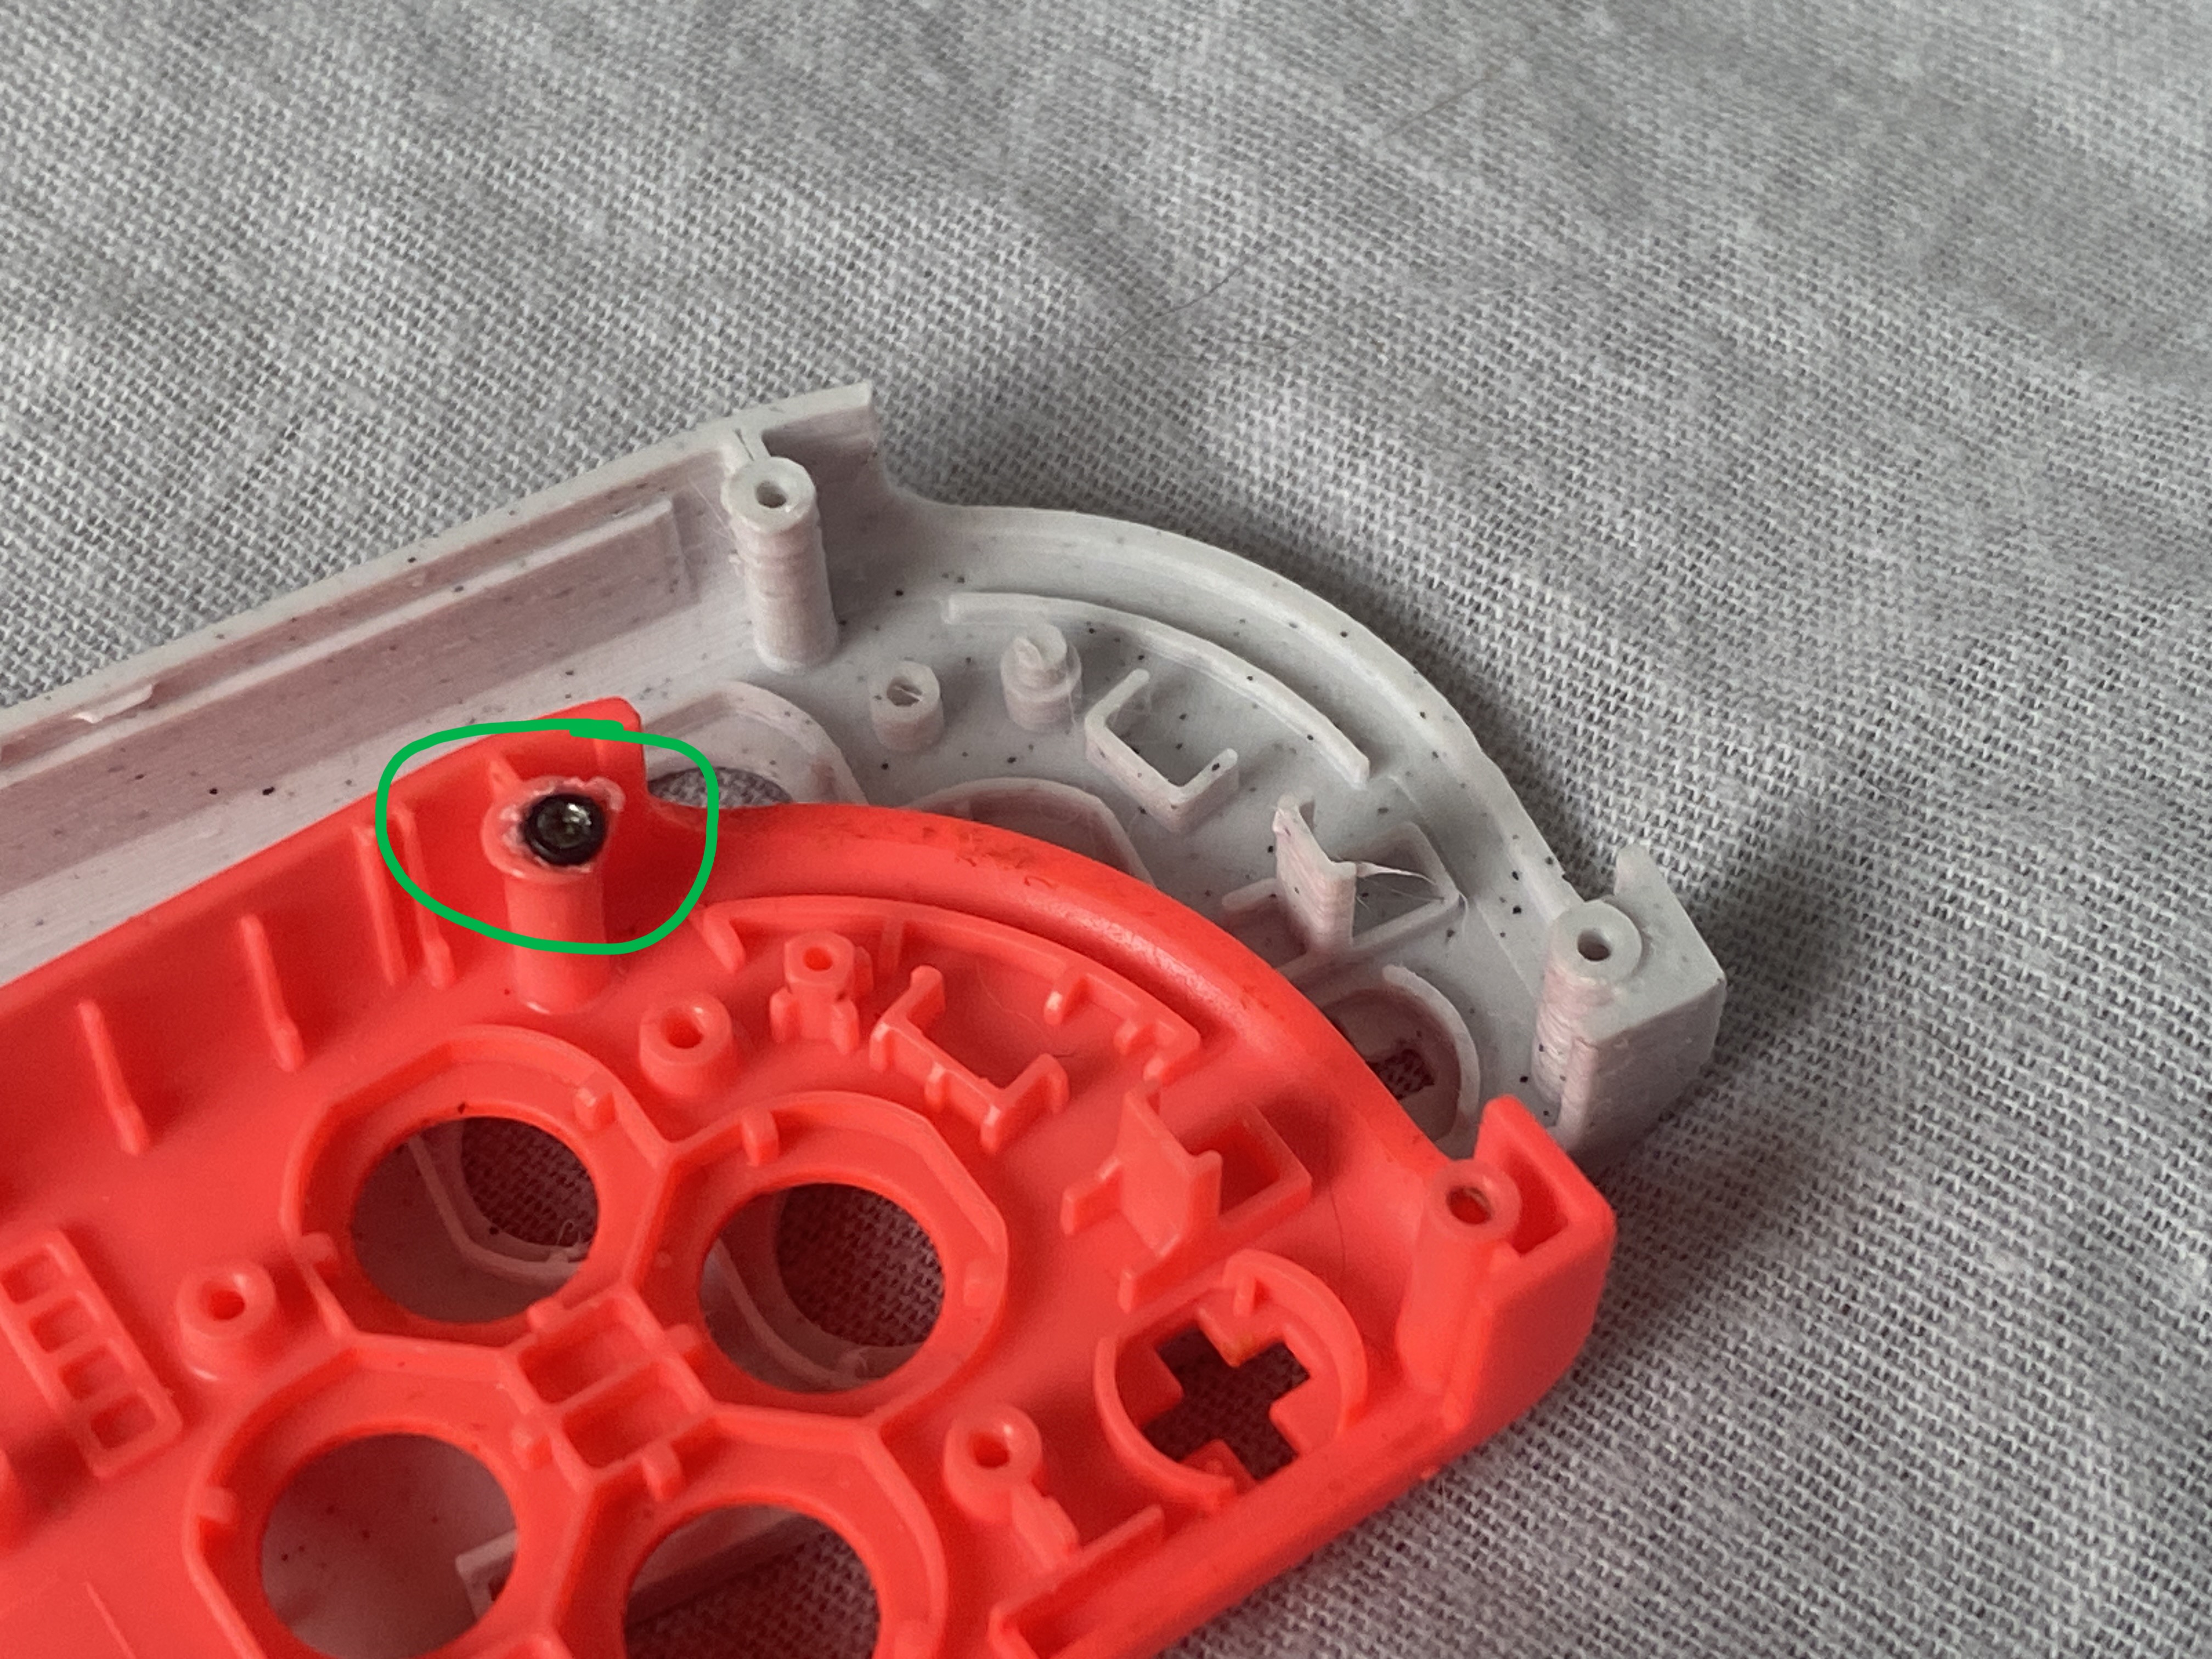
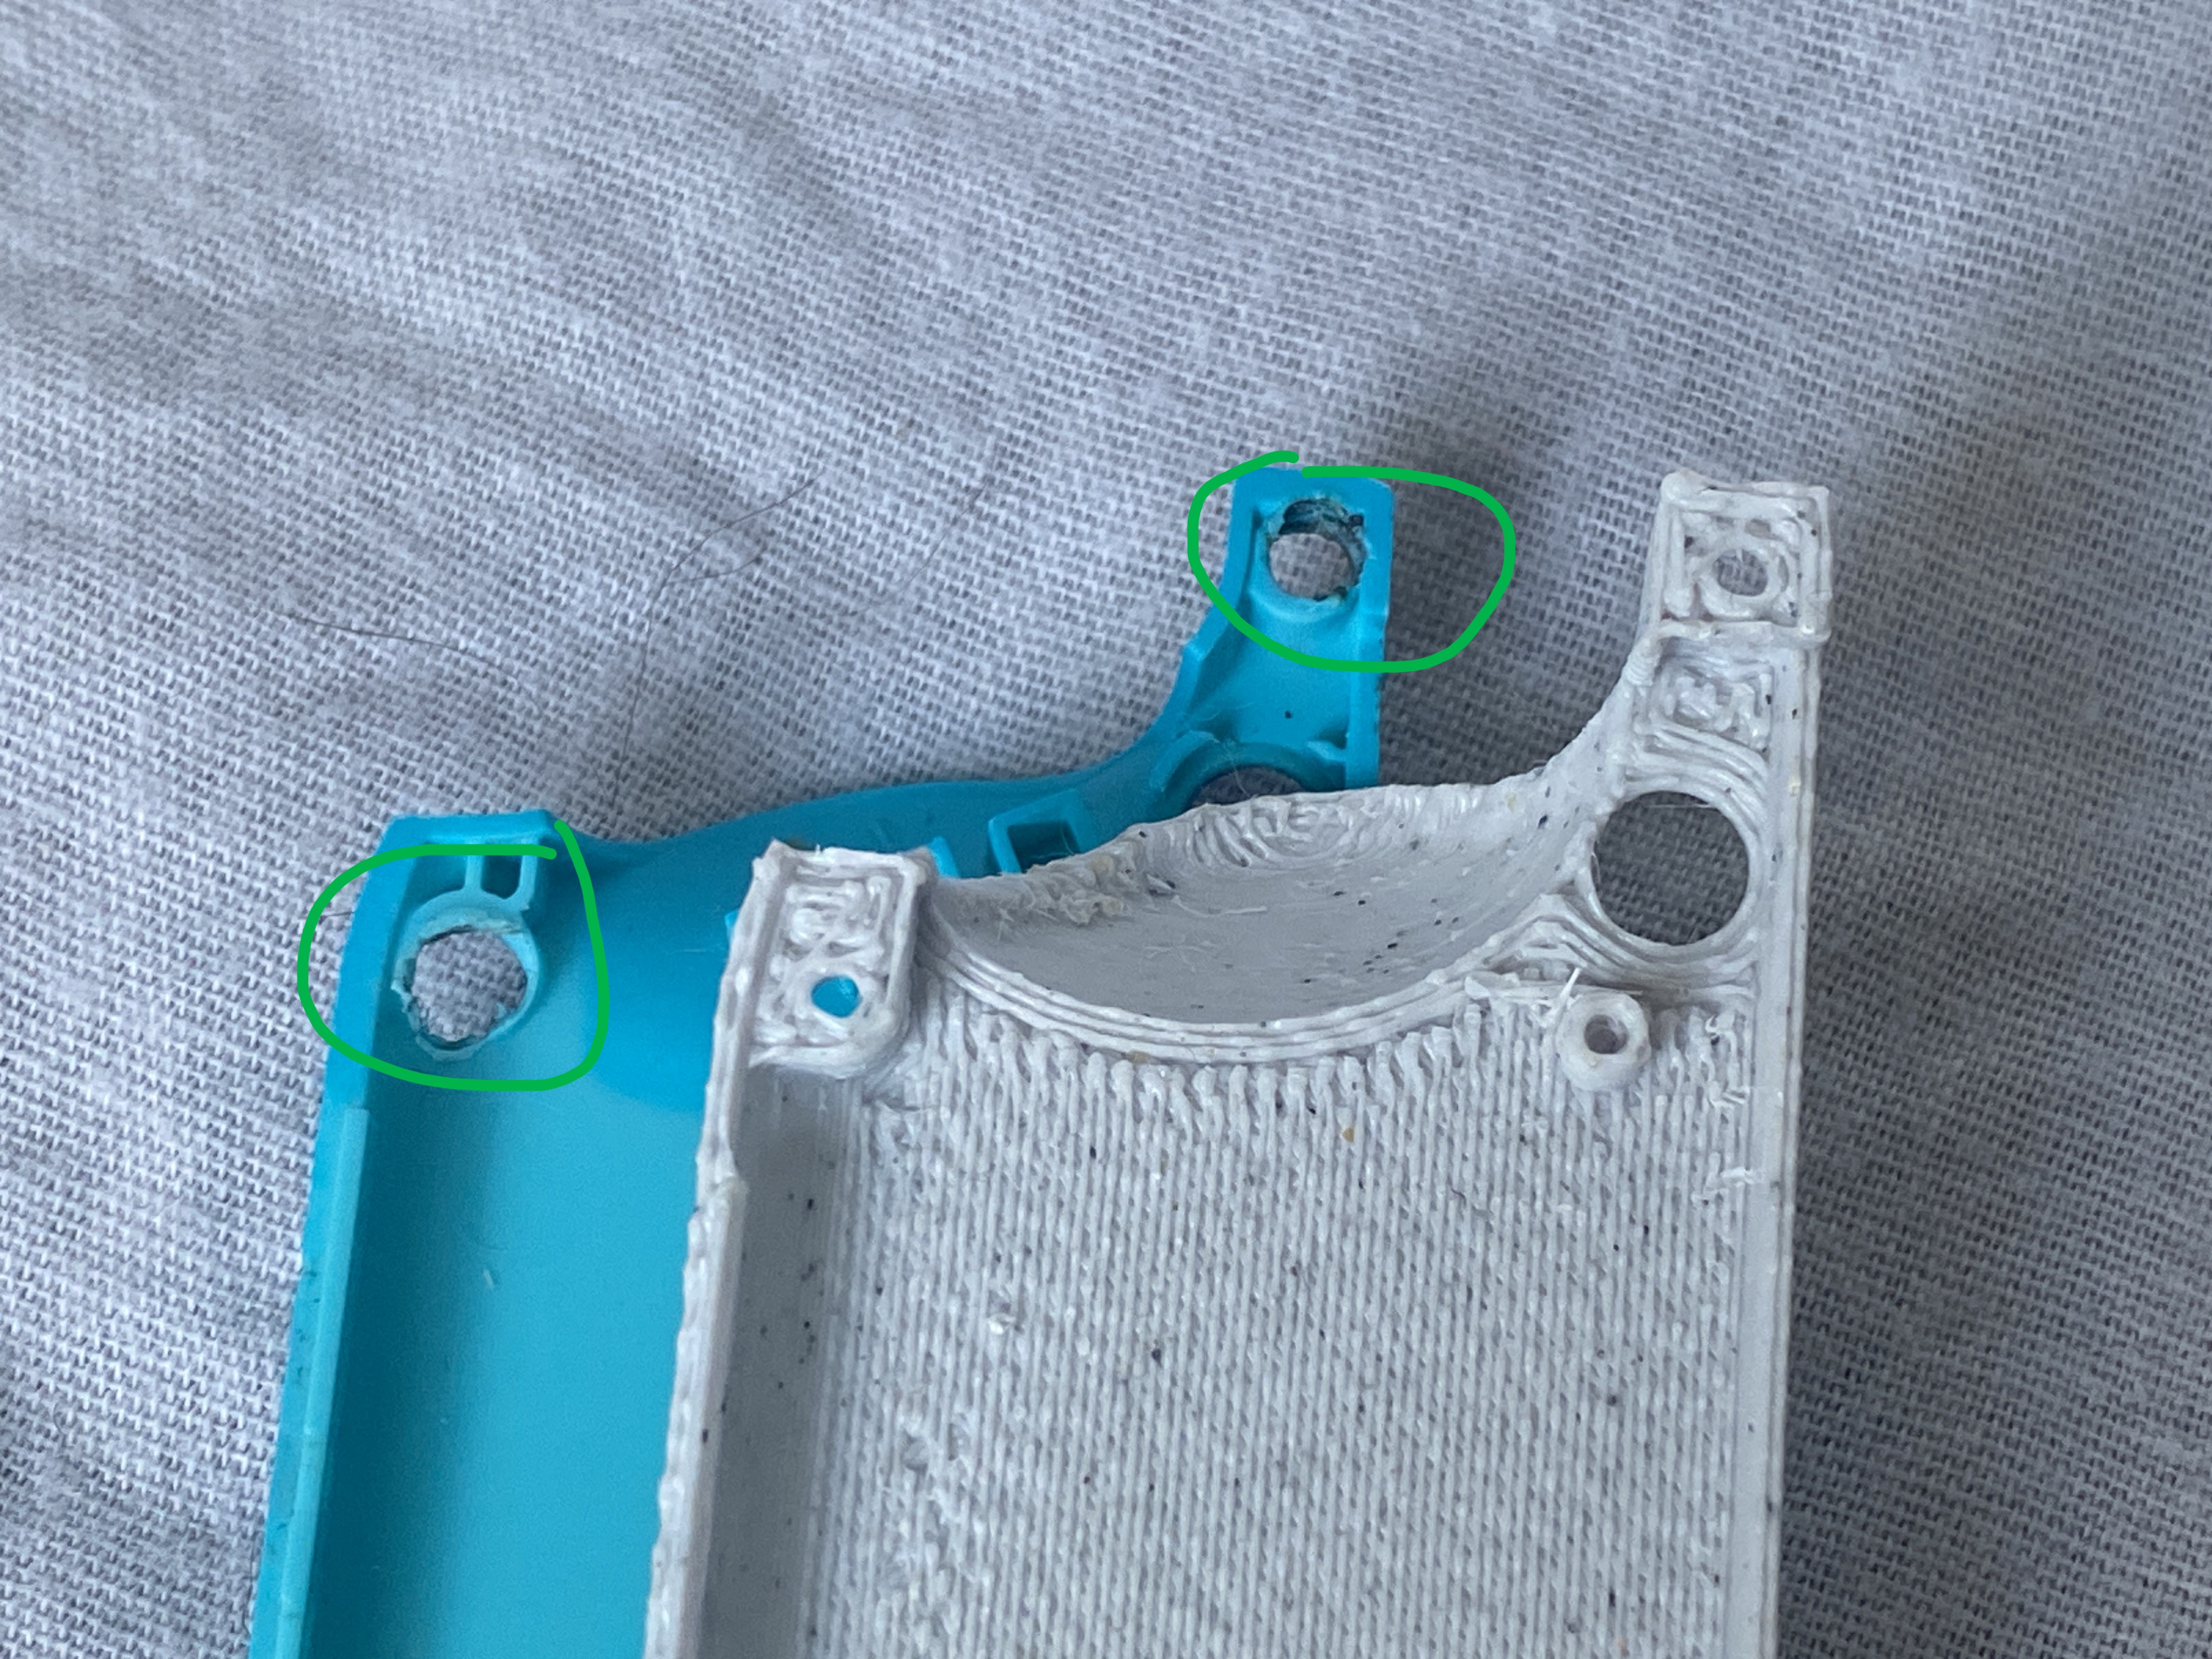
So I needed a new shell but why buy something small and made of plastic when you have a 3D printer that can make it it in any color?
It's not a 1-1 copy, a few modifications where necessary to make it printable and i wanted to share it in such a way others can easily edit it, so a 3D scan was not preferable. I measured and tested a bunch to make all the parts fit and for the buttons to have the correct depth and feel.
It even works together with the original parts!

(The white parts are marble PLA)
Print settings
All the parts are in a single file but can be split in a slicer
Material: PLA (Tried PETG but the supports are really hard to remove)
0.10mm DETAIL
Seam position: Random
Generate support material: ☑
Overhang threshold: 25
Raft layers: 2
Top contact Z distance: 0.2
Pattern: Rectilinear grid
Support on build plate only: ☑
XY separation between an object and its support: 25%
Part Specific settings
The Front: Raft layers: 0
The Middle: XY separation between an object and its support: 60%
Post processing
4/6 parts need support that need to be somewhat carefully removed.
There could be some noticeable seams that you may want to remove.
Optionally you could smooth the edges of The Front pieces with a “deburring tool” (it isn't smooth because of overhang).
Assembly
I could explain how to replace a joy-con shell but other people are better at it than I am.
https://www.ifixit.com/Guide/Nintendo+Switch+Right+Joy-Con+Shell+Replacement/130386
https://www.ifixit.com/Guide/Nintendo+Switch+Left+Joy-Con+Shell+Replacement/130378
latest V2 - Last updated 21-7-2024.
- only left middle piece is changed
- Fixed the minus button
- minus button was a too far back compared to the plus button.
Geprint door de community
Bij de bron al 6 keer geprint. Laat hier als eerste zien hoe het bij jou werd.
Reacties 0
Ook handig in reparatie
meer zoals dit
 Extern
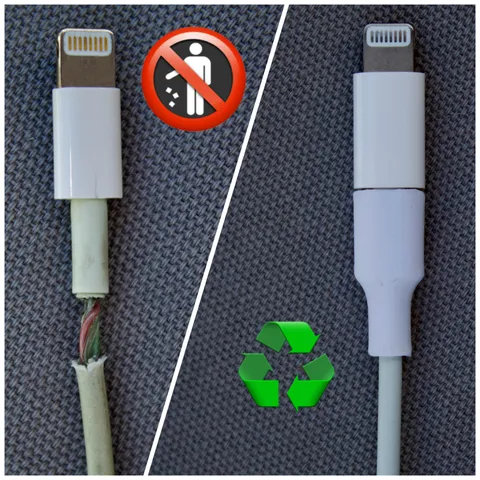 Externpast op Apple Lightning- en USB-C-kabel
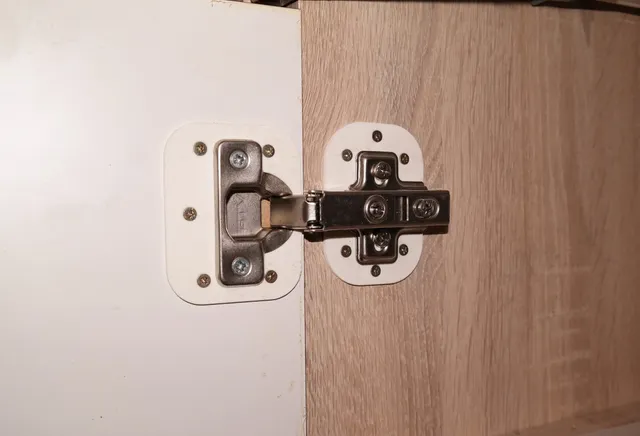 past op GTV
 past op Microsoft Xbox One-controller (standaard en Elite)
 past op Nintendo Switch Joy-Con
Afstandsstukje om drift van een Nintendo Joy-Con te verhelpen
door Tenthrow
