 1 / 2
1 / 2Beschrijving van de maker
Origineel in het EngelsOverview
My son's IKEA wardrobe broke unexpectedly. One of the clothes rail brackets snapped, sending the rail and clothes tumbling. I took the chance to measure and 3D model the remaining unbroken clip, then 3D print another. Thus the wardrobe was repaired and 100% functional again.
This repair was originally made in 2020 and three years later, it is still working perfectly! In the spirit of World Repair Day I am releasing the part for others to use.
This project was covered in a video:
Repair Description
The wardrobe was from IKEA PLATSA range, with the clothes rail component labelled HJÄLPA. The original bracket snapped in a way that meant it could no longer support the rail.
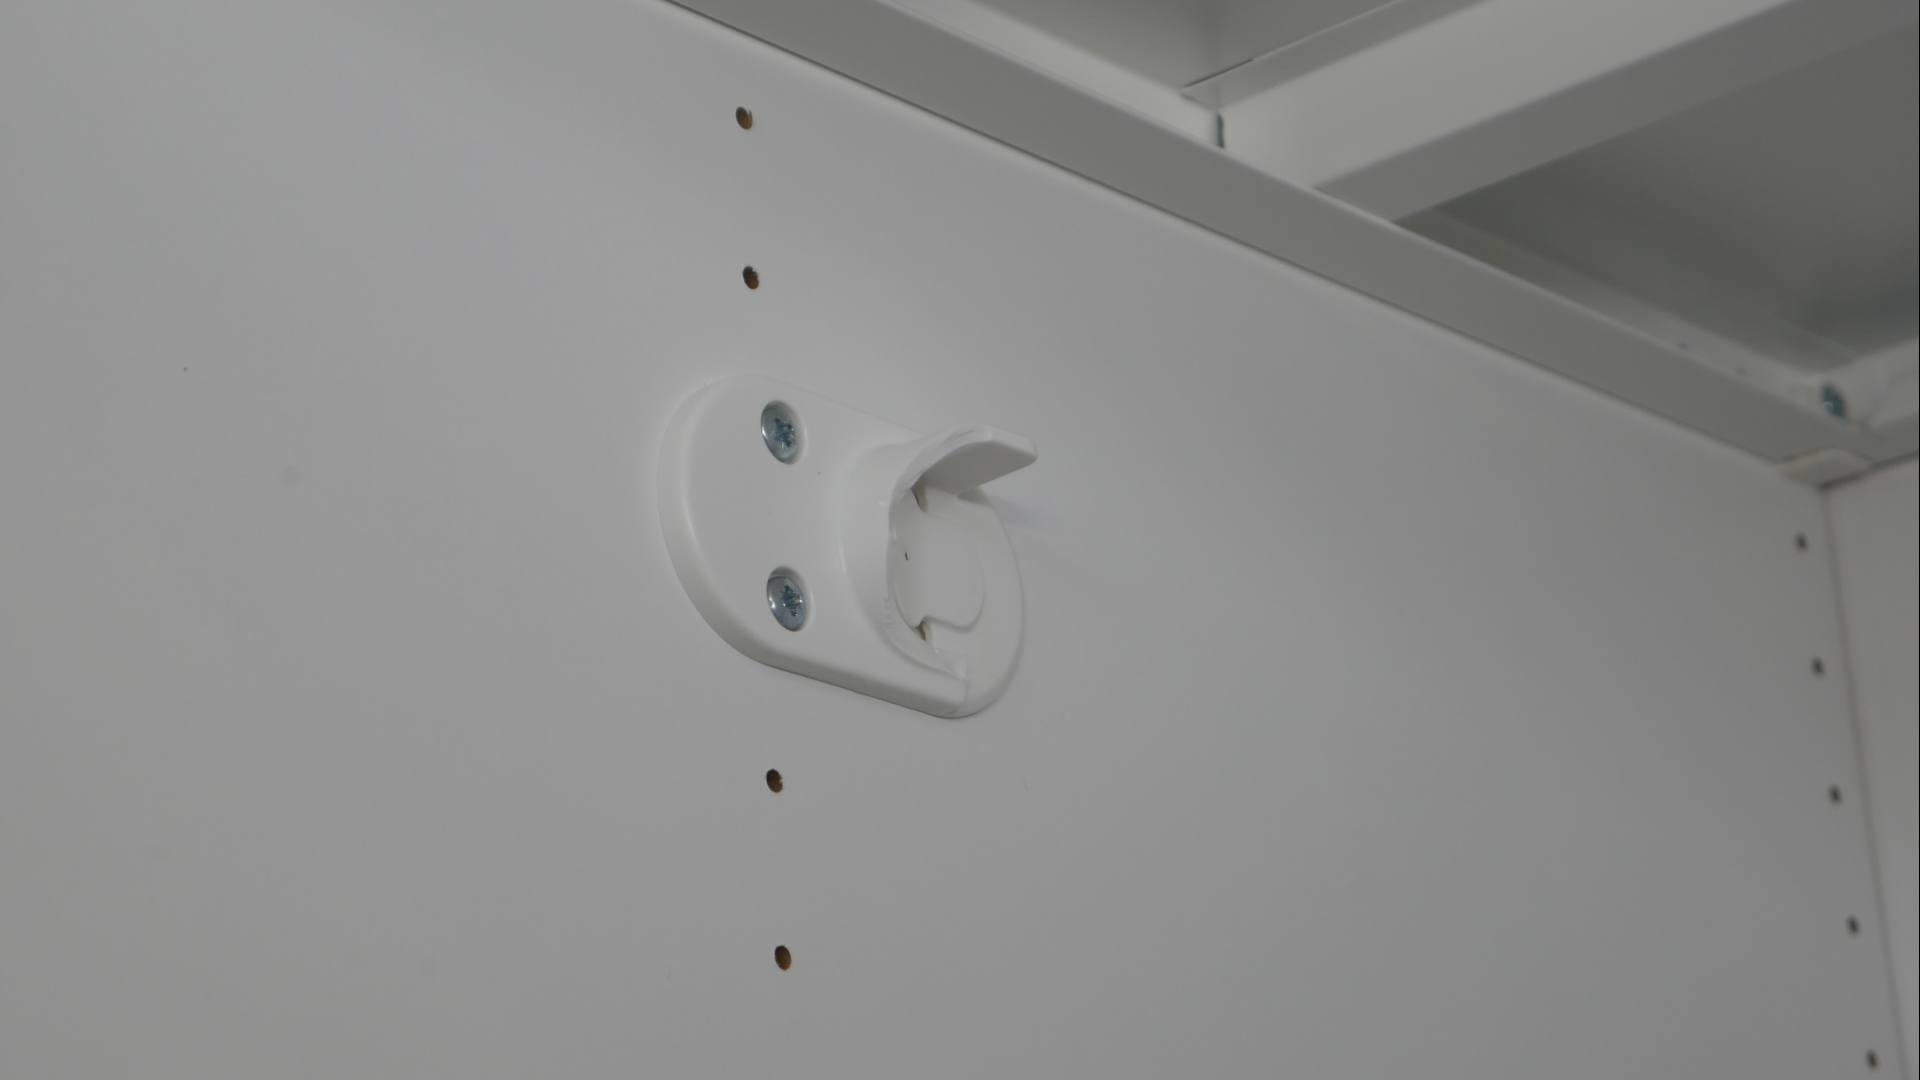
This part is a replacement bracket, complete with a live hinge like the original. Printing and installing this part restores the wardrobe to perfect working order, extending its life.
Browsing the current version of the HJÄLPA instructions, it seems the design has been modified. Therefore this replacement part becomes more valuable as the original may no longer be available to buy.
Further instructions for printing and installation are below.
Compatibility
Given the modular design of IKEA products, this rail and bracket is likely used in other IKEA wardrobe/storage items.
This bracket should be compatible with any wardrobe that uses a vertical hole spacing of 25mm for mounting and any clothes rail that has an external diameter of 25mm. If these dimensions match, it can be used to repair non IKEA wardrobes too.
Source CAD
A STEP file is included, but the source CAD on Onshape is also available here: https://cad.onshape.com/documents/bcb6e244fae9d74058d7256b/w/190f709c9e1ee5cb0efcaf27/e/fd3e68fafb142bfa54aaf186?renderMode=0&uiState=64ff9aa00152b03aefffca5d
Even without an Onshape account, you can right click on a part and export in another format of your choice.
Printing instructions
FDM: Support is required from the build platform only to support the bendable tab. Beyond that, moderate strength is required. Three perimeters should be sufficient, with a sparse infill percentage of around 30%. 0.2mm or finer layer height is recommended.
I used PLA, but PETG might be better if your printed bracket needs a little more flex.

Resin: I printed this part in resin too as an experiment. It worked just as well. Position the model on an angle so that the support lattice will be on the underside of the part.

Post Processing
Remove the support material for either resin or FDM versions.

Installation
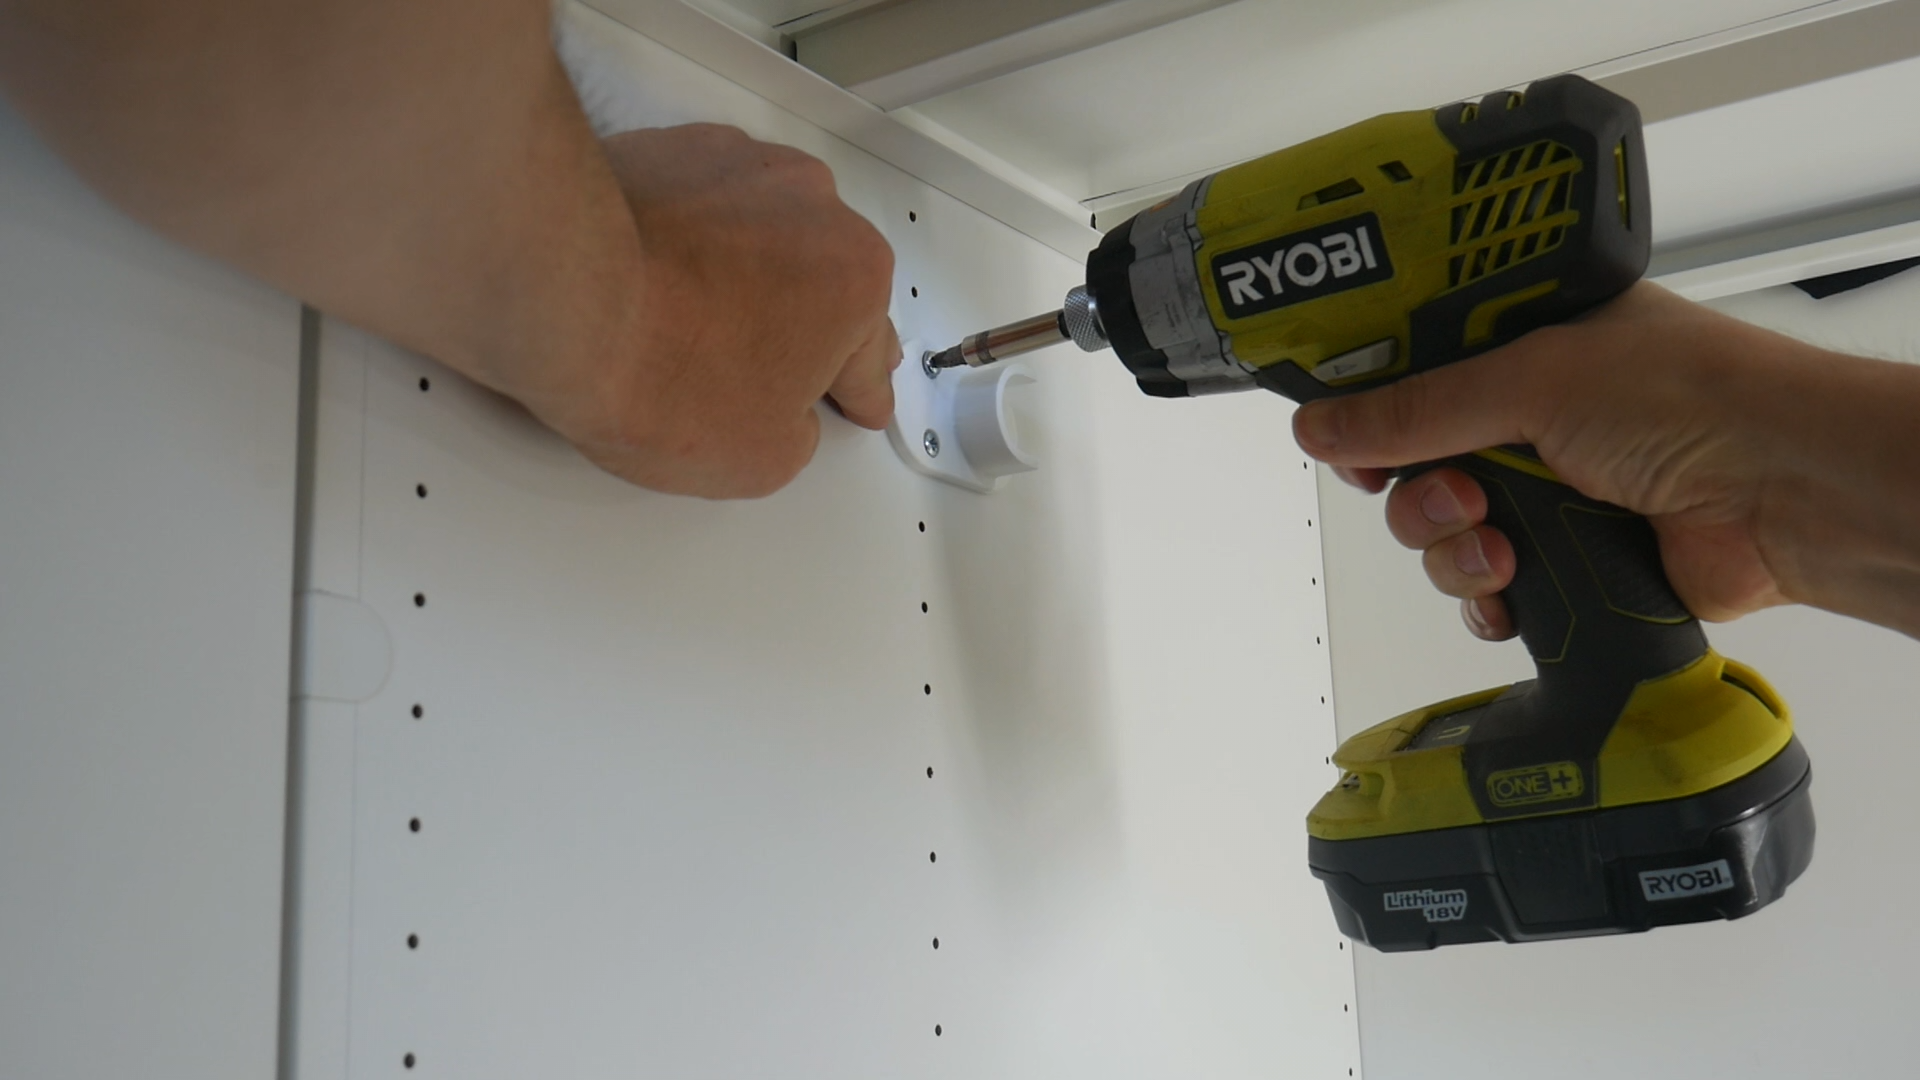
This bracket screws into the wardrobe in exactly the same way as the original. The original IKEA screws can be re-used.
Once both brackets are in place, the rail clips in from the back. Simply pull it into place until you hear the click.
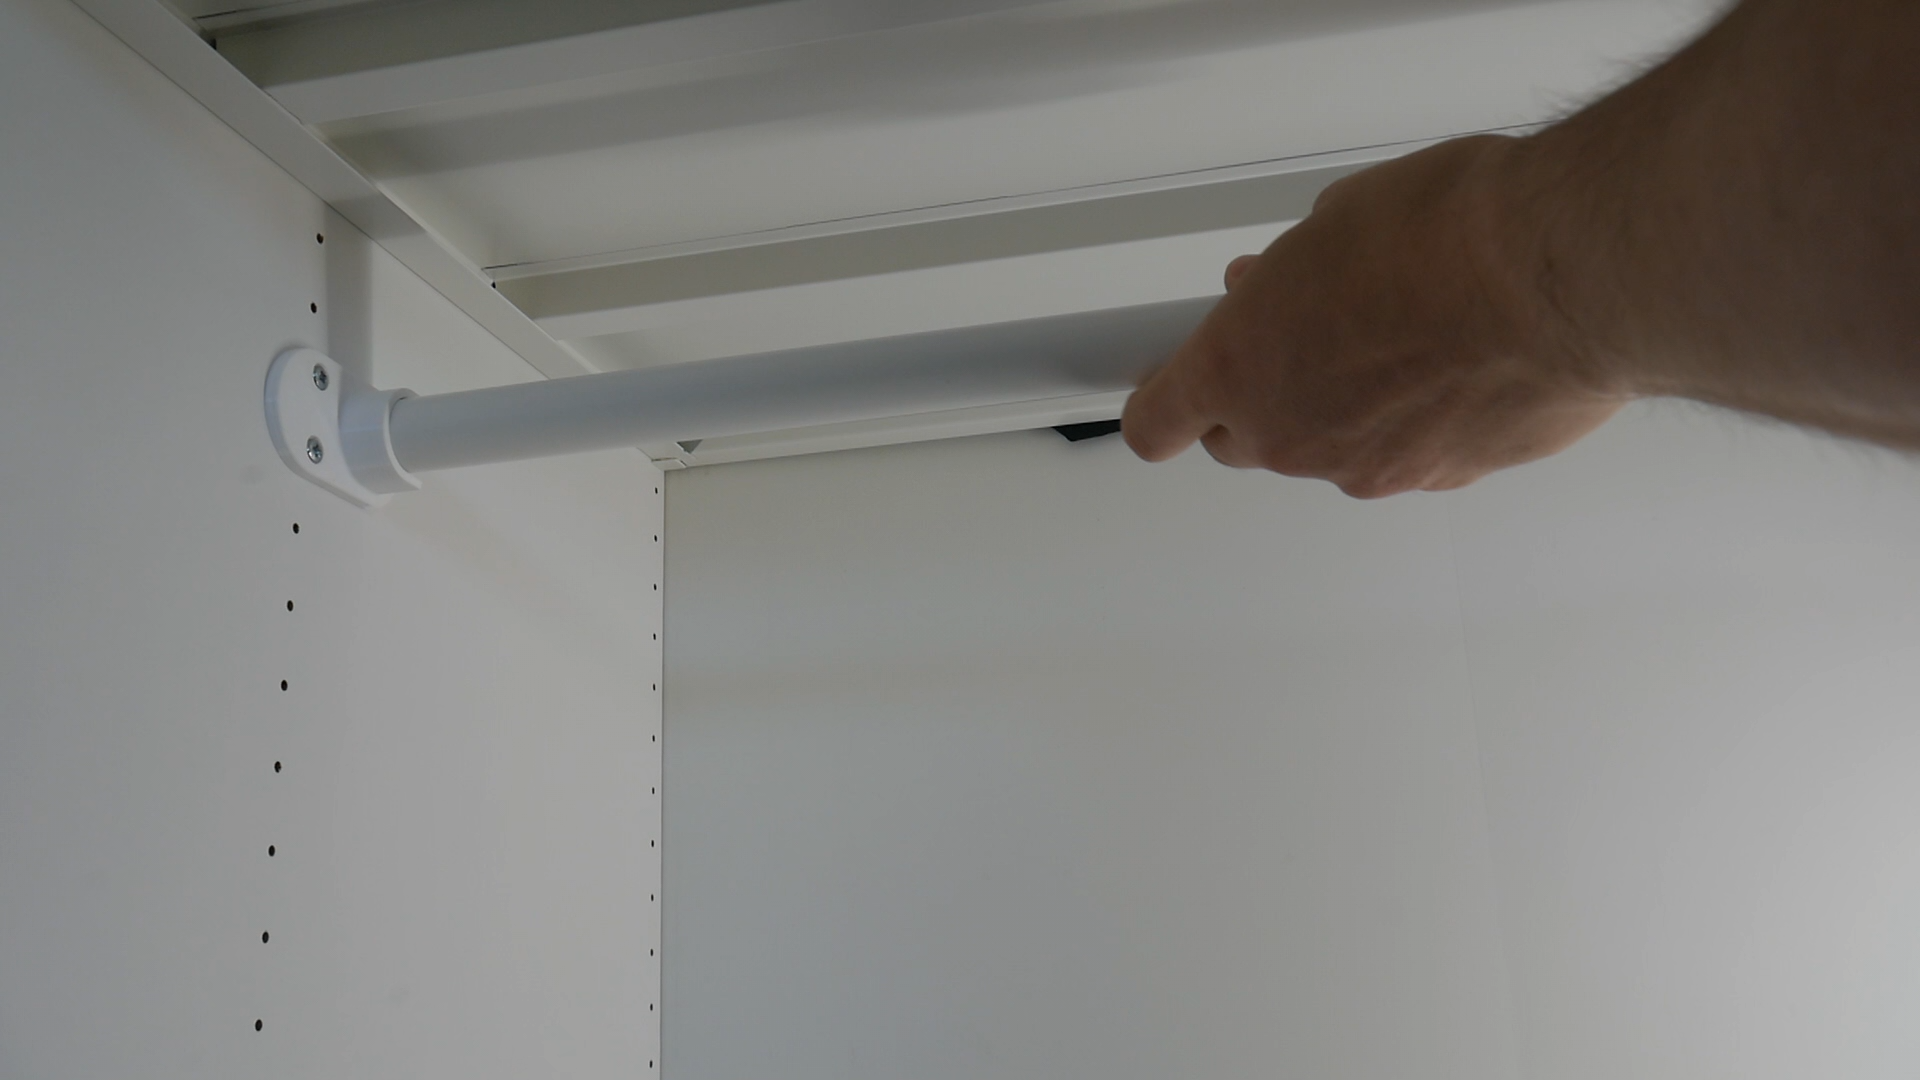
Hang clothes and other items as before.

Geprint door de community
Bij de bron al 10 keer geprint. Laat hier als eerste zien hoe het bij jou werd.
Reacties 0
Ook handig in reparatie
meer zoals dit
 Extern
 Externpast op Apple Lightning- en USB-C-kabel
 past op Cherry MX
 past op IKEA ALEX
 past op Philips OneBlade