 1 / 6
1 / 6Beschrijving van de maker
Origineel in het EngelsSummary
This is a 100% printable yarn winder designed to turn loose yarn or threads into clean, compact balls — easily, quickly, and reliably.
Key Features
-
Fully 3D printable — no screws, bearings, rubber bands or glue required
-
Open guide spiral allows easy yarn removal without cutting
-
Print-in-place rotary handle for smooth, comfortable turning
-
Optimized for PLA only — no TPU or PETG required
About This Version
This model is based on everything I learned from my first TPU-belt version.
After receiving a lot of helpful feedback, I wanted to create a winder that:
-
prints more easily
-
uses only standard PLA
-
avoids flexible belts and additional materials
-
integrates all improvements from the earlier design
-
The result is a simpler, stronger, and more reliable yarn winder — still fully 3D printable, now even more accessible.

BOM
Quantity
Designation (normal process)
Alternatives (troubleshooting)
1
Axis
1
Axle end
1 per clamp
Clamp mount
1 per clamp
Clamping screw
1
Drive screw
1
Drive wheel screw
Gear screw + Drive wheel screw
horizontal version
1
Drive wheel
1 per clamp
Foot
1
Gear screw / Gear screw shorter head
Gear screw + Drive wheel screw horizontal version
1
Gear
1
Outrigger bolt
Outrigger bolt - horizontal version
1
Outrigger
1
Plate
1
Spinning center
1
Spinning wheel (either length)
1
Spinning wheel screw
1
Weight
2
Wheel spacer
1
Yarn Guide
Changelog
Changes
V1.0
Initial Release
V2.0
The Bearing Update
-
Gear and drive wheel equipped with needle bearings
-
Both gears run more smoothly and no longer require support
-
Wheel spacers adjusted
Transition from previous version - reprint - gear and drive wheel and two wheel spacers.
V2.1
More screw options
- Two “new” screws, designed to print horizontally to take advantage of the stronger alignment.
Transition from previous version - if you have problems with the vertically printed screws (breaking off), please try the horizontally printed ones.
Assembly
Tip: Lightly sanding and lubricating the rotating parts can improve smoothness.
Step 1 – Spinning Unit Preparation
-
Screw the spinning wheel screw into the spinning centre.
-
Place the weight into the recess.
-
Screw the drive screw into the spinning centre.

Step 2 – Plate Assembly
-
Screw the axis into the plate.
-
Insert the outrigger and secure it with the outrigger bolt.
-
Screw the yarn guide into the outrigger.
-
Mount the drive wheel into the plate using the wheel spacer and the drive wheel screw.
-
Mount the gear into the plate using the wheel spacer and the gear screw.

Step 3 – Install the Spinning Unit
-
Place the assembled spinning unit (from Step 1) onto the axis.
-
Secure it by screwing on the axle end.

Step 4 – Install the Spinning Wheel & Engage the Gear
-
Push the spinning wheel onto the spinning wheel screw.
-
Lift the spinning unit slightly if needed to help the gear engage with the axle end.

Step 5 – Table Clamps (Optional)
-
For each table clamp required:
-
Screw the clamping screw through the clamp mount.
-
Push the foot onto the joint of the clamping screw.
-
Insert the clamp mount into any plate slot and tighten to secure the winder to a table.

Done :)


Leave a comment if you like the project or leave a make if you made it too :) have fun winding
Geprint door de community
Bij de bron al 70 keer geprint. Laat hier als eerste zien hoe het bij jou werd.
Reacties 0
Ook handig in gereedschap
meer zoals dit
 Extern
Schroefmaatmeter voor metrische bouten M2 tot M10
door Boogie

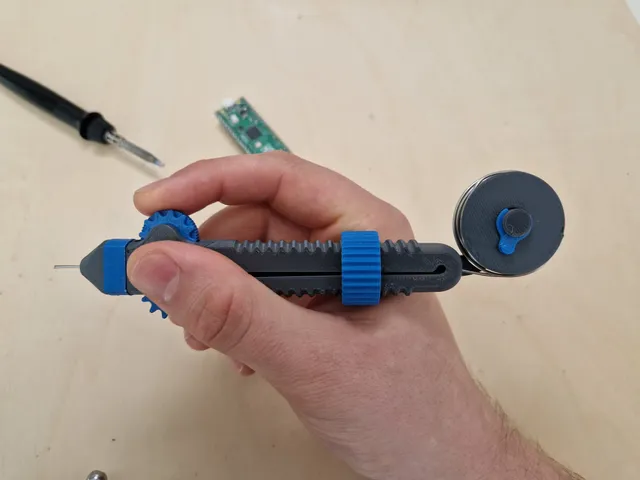
Soldeertinpen met scrollwiel voor ergonomisch solderen
door Victor

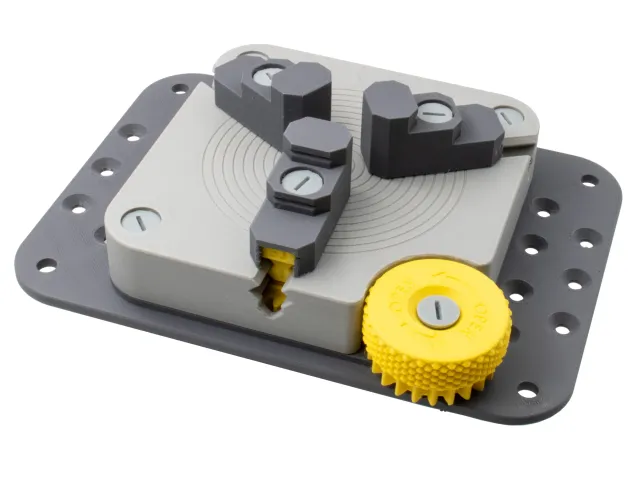
Klauwplaatbankschroef met 2, 3 of 4 bekken voor de werkbank
door Sneaks

Compacte radiusmal voor rondingen van 1 tot 20 mm
door Michal Blazek
