 1 / 4
1 / 4Wat heb je nodig?
Naast de geprinte onderdelen:
- 1×Wemos D1 Mini (ESP8266)
- 1×12V WS2811-ledstrip (5 m voor 12 panelen)
- per paneel×10mm-ledstripconnectoren
- 1×12V-voeding
- set×bedrading
Beschrijving van de maker
Origineel in het EngelsIf you like this project please do press the like button above. It really helps me out. Thank you. 😊
How to build a very smart and low cost geometric lighting system.
Meet Geoleaf, my low cost and 3D printable version of Nanoleaf lighting panels. They can be arranged in any pattern to suit any space and thanks to the low cost of only around £3.40 a panel it won’t break the bank. They have built in Wifi control which is driven by the feature rich WLED firmware running on a Wemos D1 Mini.
I’ll show you step by step how to make your own.
List of items used in this project and where to find them:
■ 12v WS2811 LED’s (A 5 meter roll is enough for 12 panels): https://geni.us/WS2811-60
■ 10mm LED connectors - one per panel: https://geni.us/3Pin10mmLEDCable
■ 3D Printer Filament: https://www.3djake.uk
■ Acrylic sheets (1 A4 sheet = 3 triangles): https://geni.us/OpalFrostedA4Acrylic
■ DC to DC Buck converter (Mini 360): https://geni.us/Mini360
■ Logic Level Shifter (74AHCT125): https://geni.us/74AHCT125-LLS
■ ESP8266 Dev Board: https://geni.us/wemosD1
■ Plenty of M3x8 bolts: https://geni.us/NutsAndBolts
■ Barrel connector suitable for at least 5amps https://geni.us/HighAmpDCBarrel
■ 12v Power Supply (6 amp+): https://geni.us/12VPowerSupply6A
■ Dual T splice connectors (x2): https://geni.us/DualTSplice
■ Some 20AWG wire (0.8128mm in diameter): https://geni.us/20AWG
■ 3M Command Hanging Strips: https://geni.us/CommandStrips
■ Projects PCB: https://geni.us/GeoLeafPCB
Or optionally
■ PermaProto Board: https://geni.us/HalfPermaProto
■ Wago Connectors: https://geni.us/Wago221
These are some of my favourite tools I use and can recommend:
■ Battery-powered glue gun: http://geni.us/BoschBatteryGlueGun
■ Bosch Bit Driver: https://geni.us/Bosch-Screwdriver
==========
The WLED firmware can be downloaded from here:
https://install.wled.me/
Wiring diagrams, FAQ etc can be found here:
https://www.diymachines.co.uk/geoleaf-3d-printable-nanoleaf-with-esp8266-alexa-hue
Optional square panels available for a donation to the channel:
==========
SAY THANKS:
SUBSCRIBE:
■ https://www.youtube.com/channel/UC3jc4X-kEq-dEDYhQ8QoYnQ?sub_confirmation=1
INSTAGRAM: https://www.instagram.com/diy_machines
FACEBOOK: https://www.facebook.com/diymachines/
==========
List of camera and lighting equipment I use:
Sony A7 III: https://geni.us/Sony-Alpha7-III
Tamron 28-75mm F2.8 RXD A036SF Lens for Sony-FE : https://geni.us/TamronRXD-28-75mm
Aputure Amaran HR672C: https://geni.us/AputureAmaranHR672C
Aputure MC: https://geni.us/FAPGL
RØDE VideoMic Pro+: https://geni.us/RodeVideoMic-ProPlus
Blue Snowball iCE: https://geni.us/BlueSnowball-iCE
Philips Hue Lightstrip Plus: https://geni.us/PhilipsHue-LightStrip
Disclaimer:
This video is shared for demonstration purposes only.
Print Settings
Printer brand:
Prusa
Printer:
I3 MK3S
Rafts:
No
Supports:
No
Resolution:
200
Infill
25
Filament brand:
3D Jake
Filament material:
PLA, PETG or ABS
Notes:
Also printable on the Prusa Mini
Geprint door de community
Bij de bron al 24 keer geprint. Laat hier als eerste zien hoe het bij jou werd.
Reacties 0
Ook handig in smart home
meer zoals dit



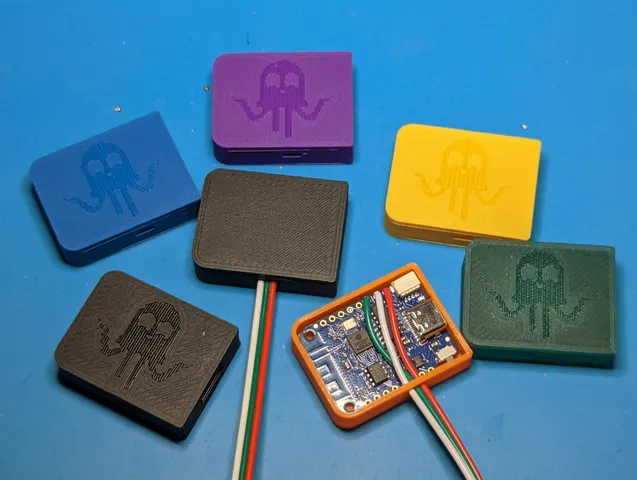
Behuizing voor Wemos D1 Mini (USB-C) als WLED-controller
door Rubin Starset
 past op Shelly Plus 1 / Dimmer 2