 1 / 3
1 / 3Wat heb je nodig?
Naast de geprinte onderdelen:
- 4×Wago 221-413 lasklem
- enkele stukken×installatiedraad
Beschrijving van de maker
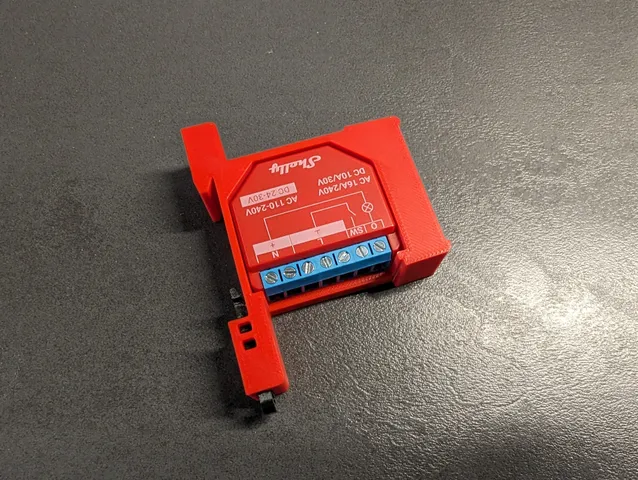
Origineel in het EngelsI wanted a good DIN Mount for my Shelly Switches to mount them properly into my electrical box, but all that i found did not really satisfy me.
So i made my own inspired by severel other designs with these key features:
- vertical orientation to save space
- needs to be compatible with “common” DIN Rail box standards
- toolless wire teminals
Print Instructions
Print in 0.2mm for the integrated support on the Main Body to work, you need to remove the purple Support after printing with a screwdriver or similar tool.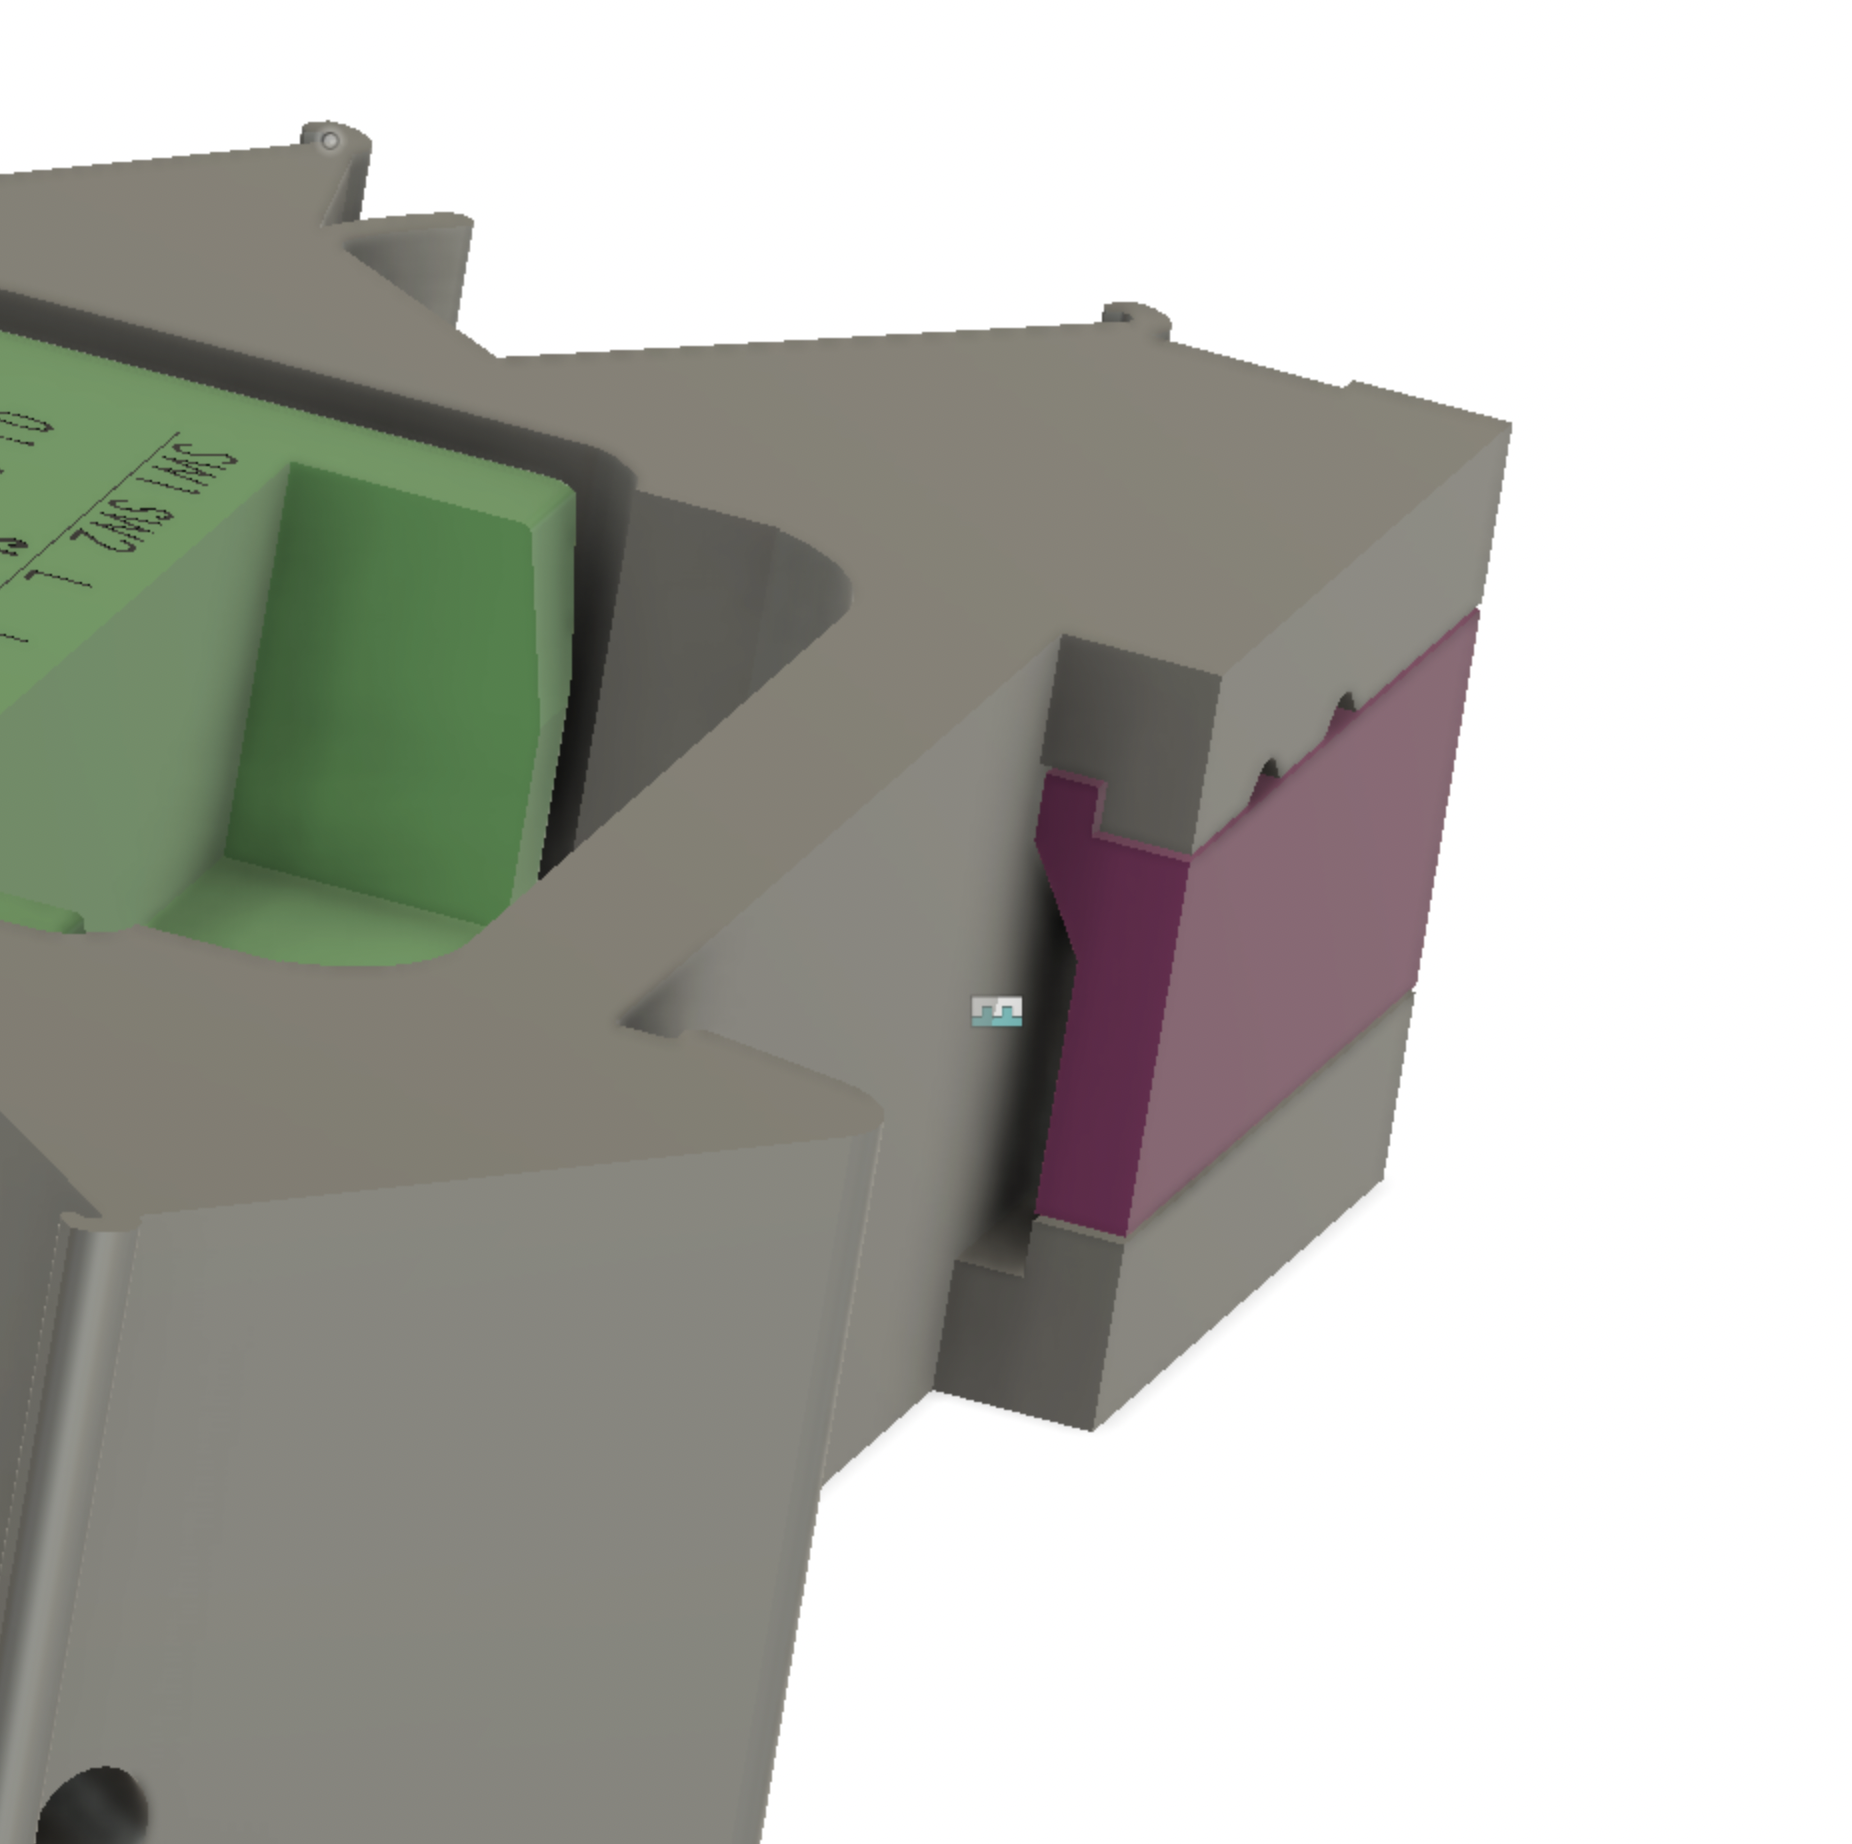
Assembly Instructions:
For each Mount you need 4 x Wago 221-413 Terminals and some wires.
- Slide in the Wago Terminals vom the side ⅔ of the Way so you can still open all latches

- feed through the wires from the inside to the outside without cutting it form the spool and strip ~8mm of wire on the outside
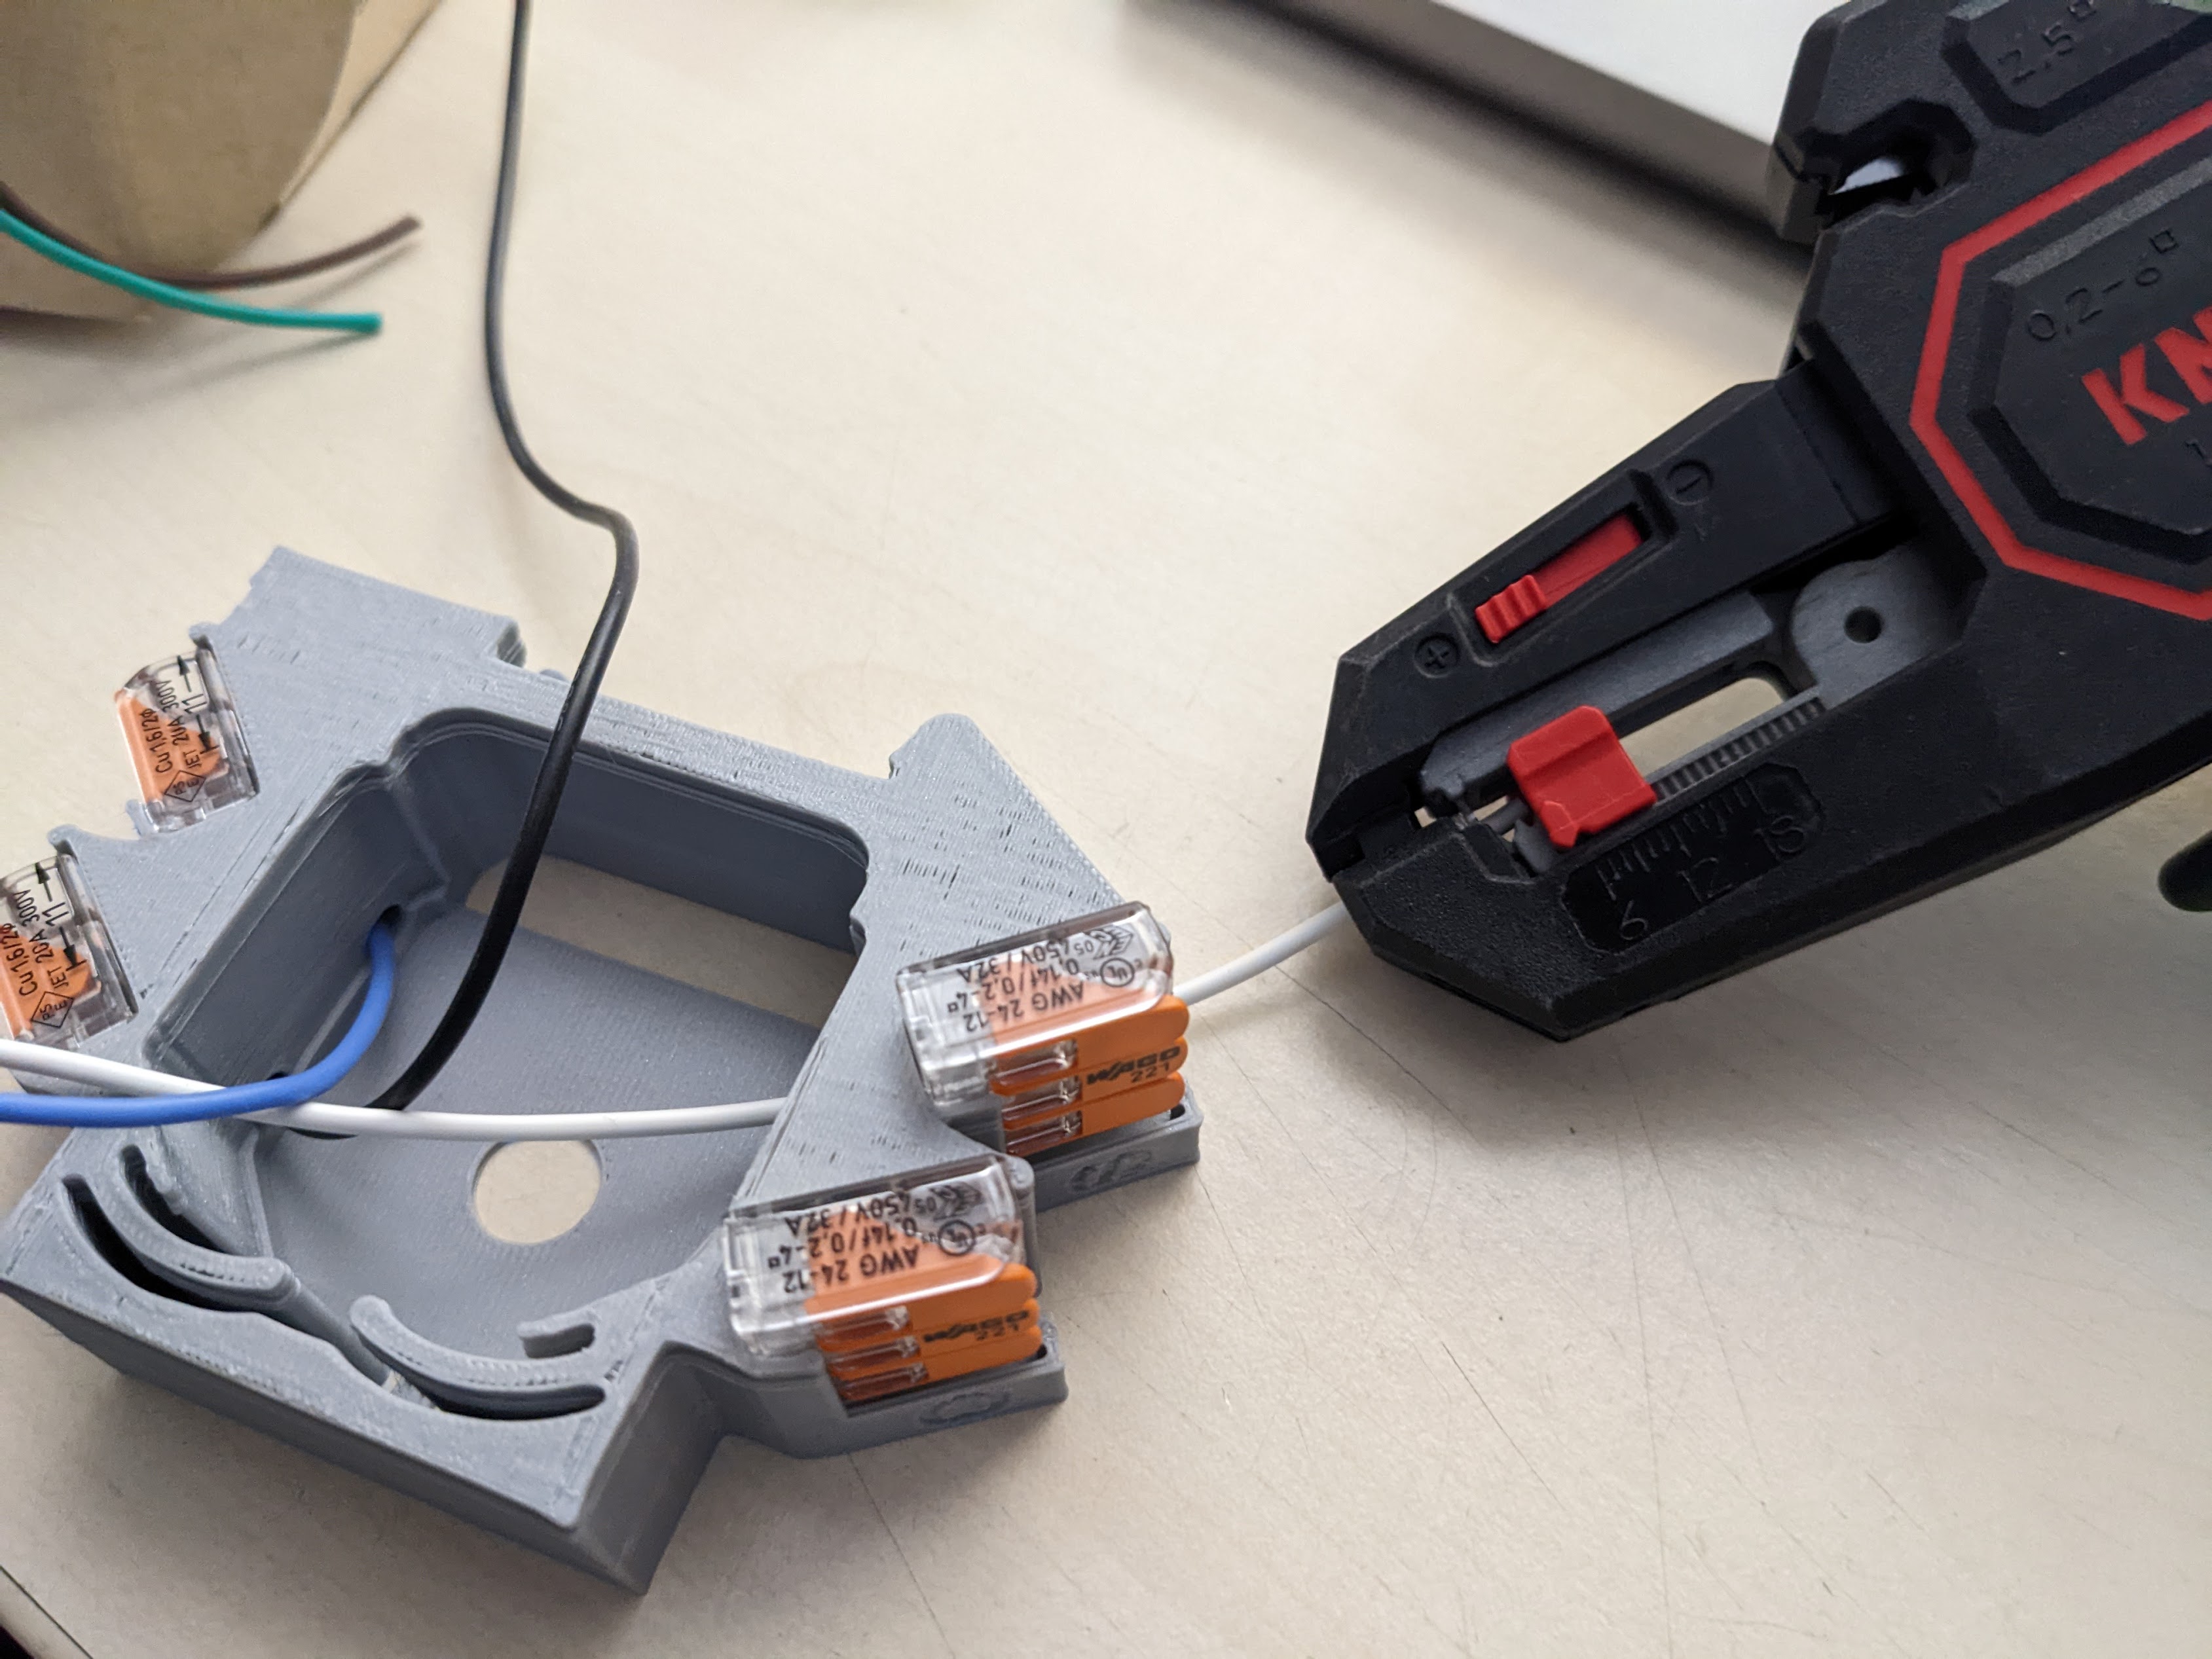
- Put the stripped wire into the bottom wago port, close the latch and push that terminal all the way down
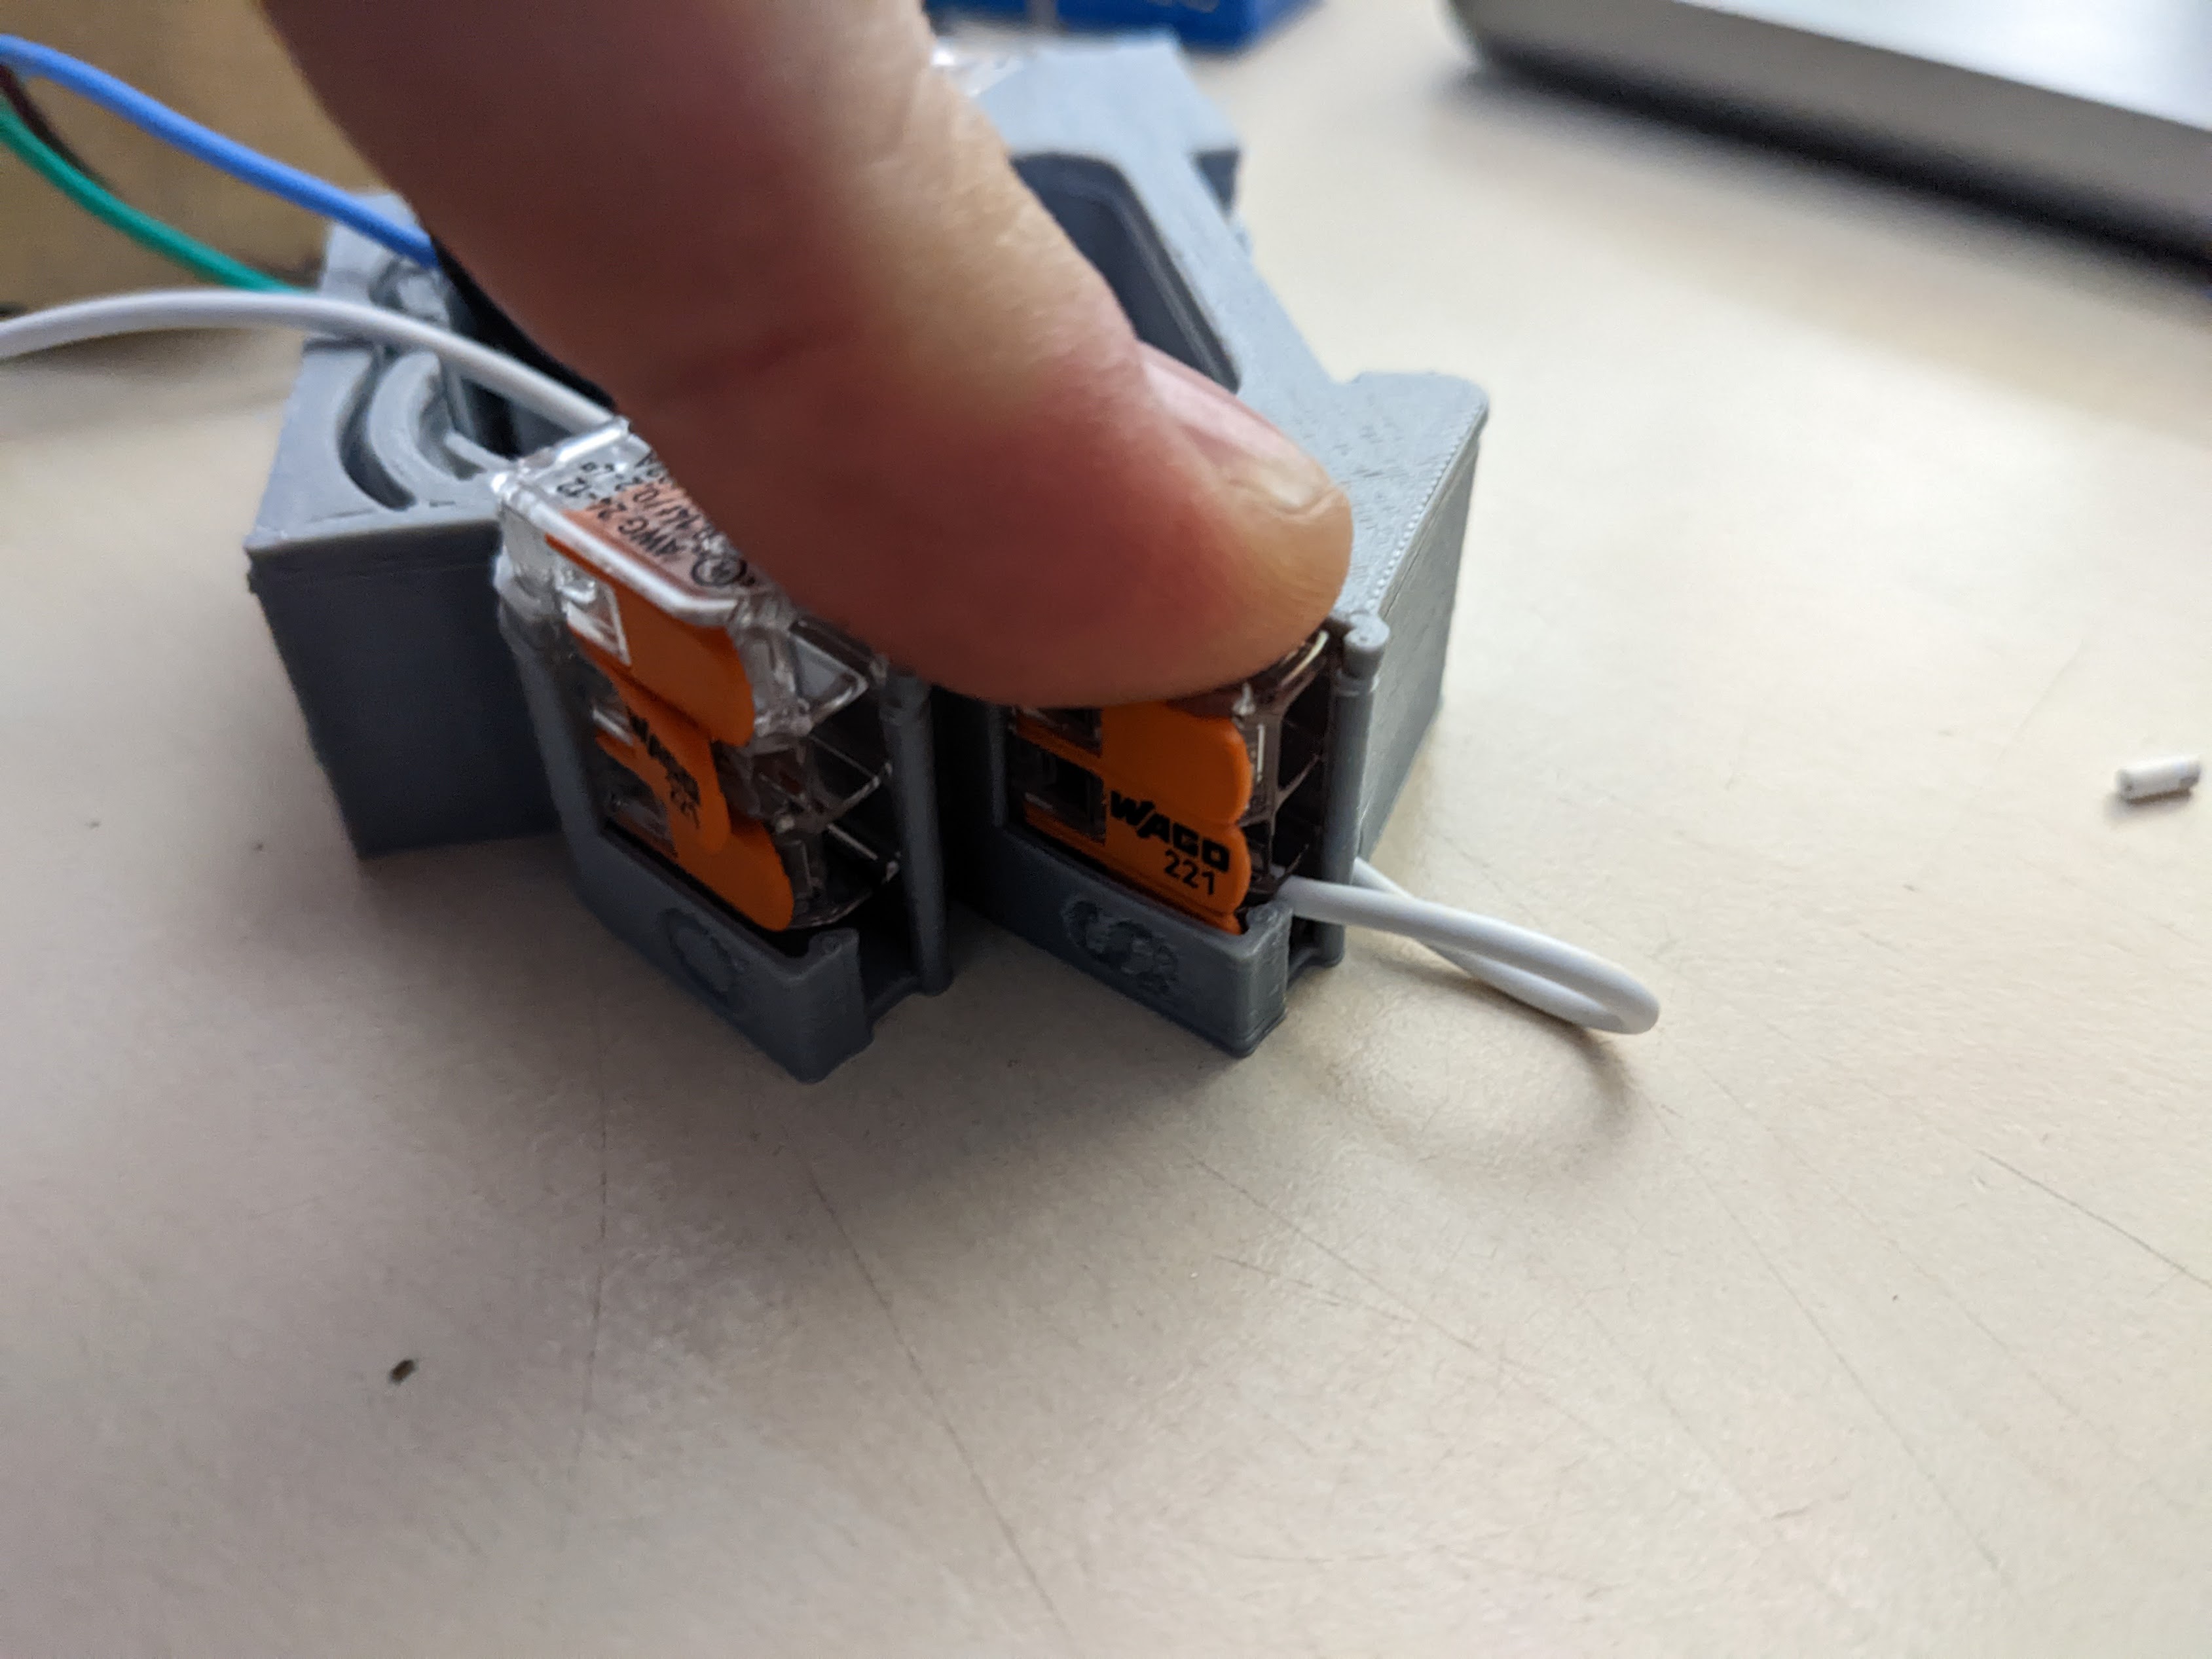
- Repeat that process with all 4 Ports (Recommended colors: N: Blue, S: Black, O: Brown, S: White)
Pull all the Wires, that are still connected to the Spools gently tight like in the picture and cut them roughly to the length where me finger holds the wire
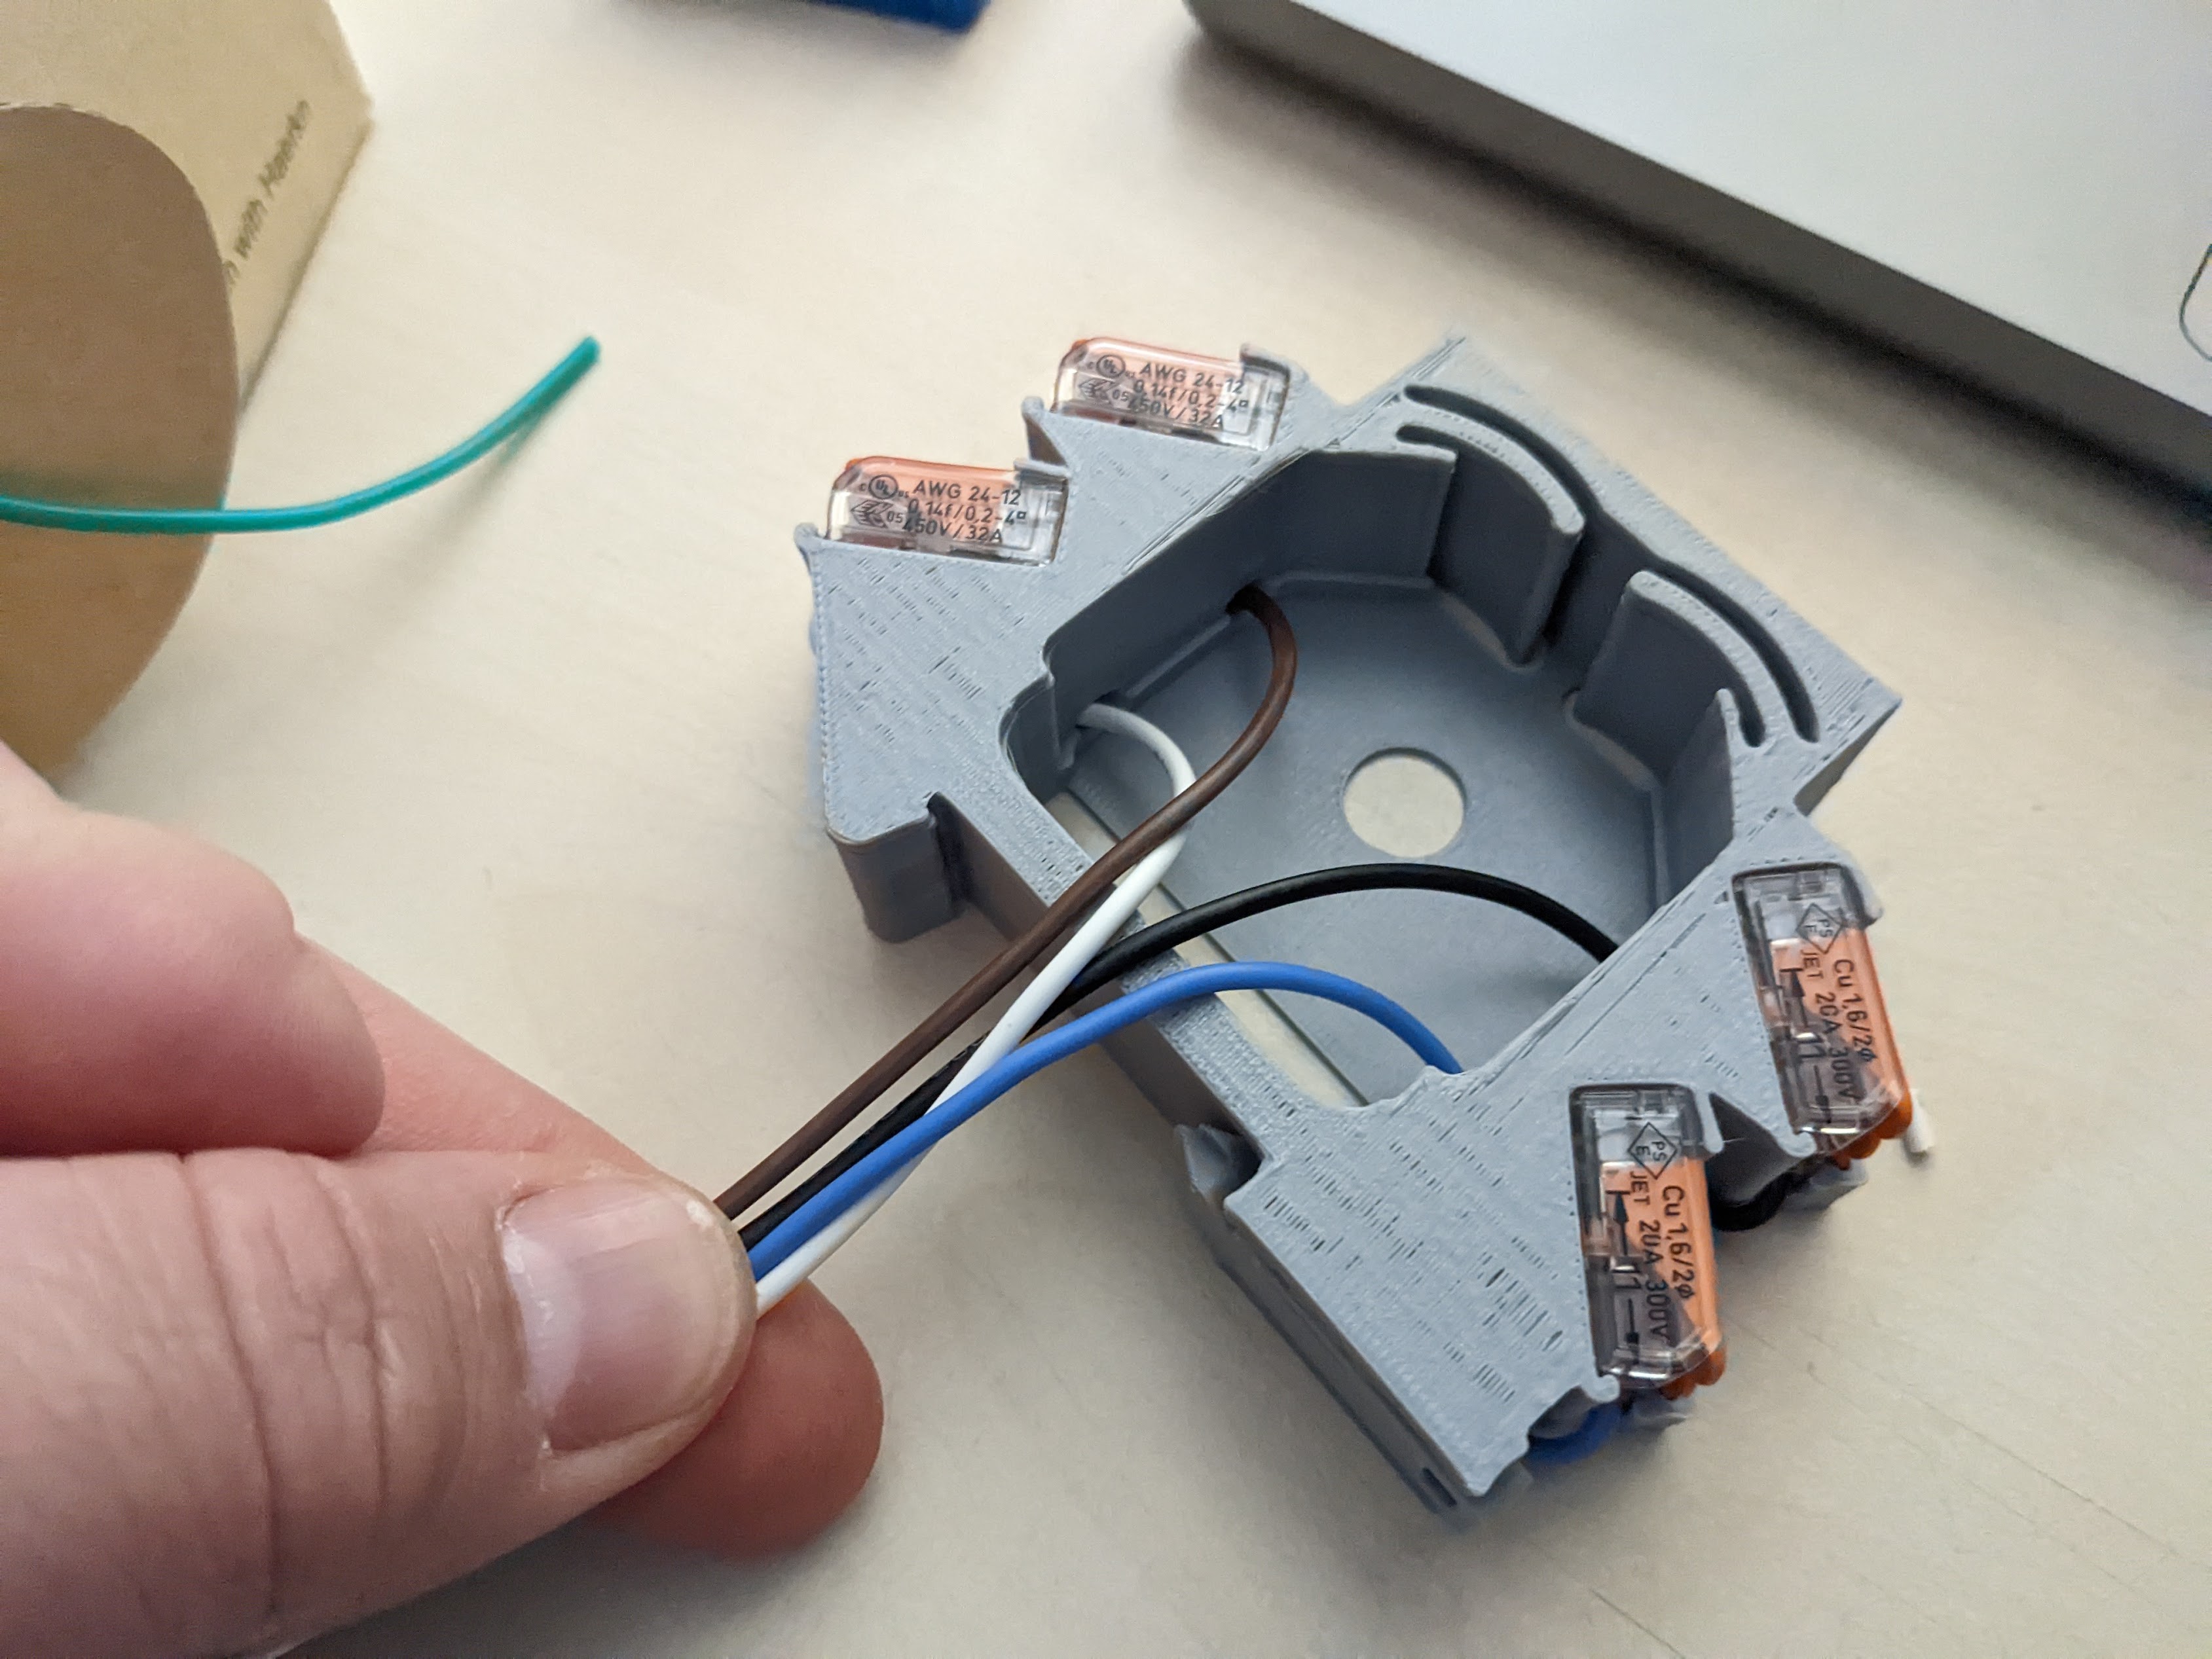
- Wire up the wires to the Shelly (O: Brown, L: Black, N: Blue, SW: White)
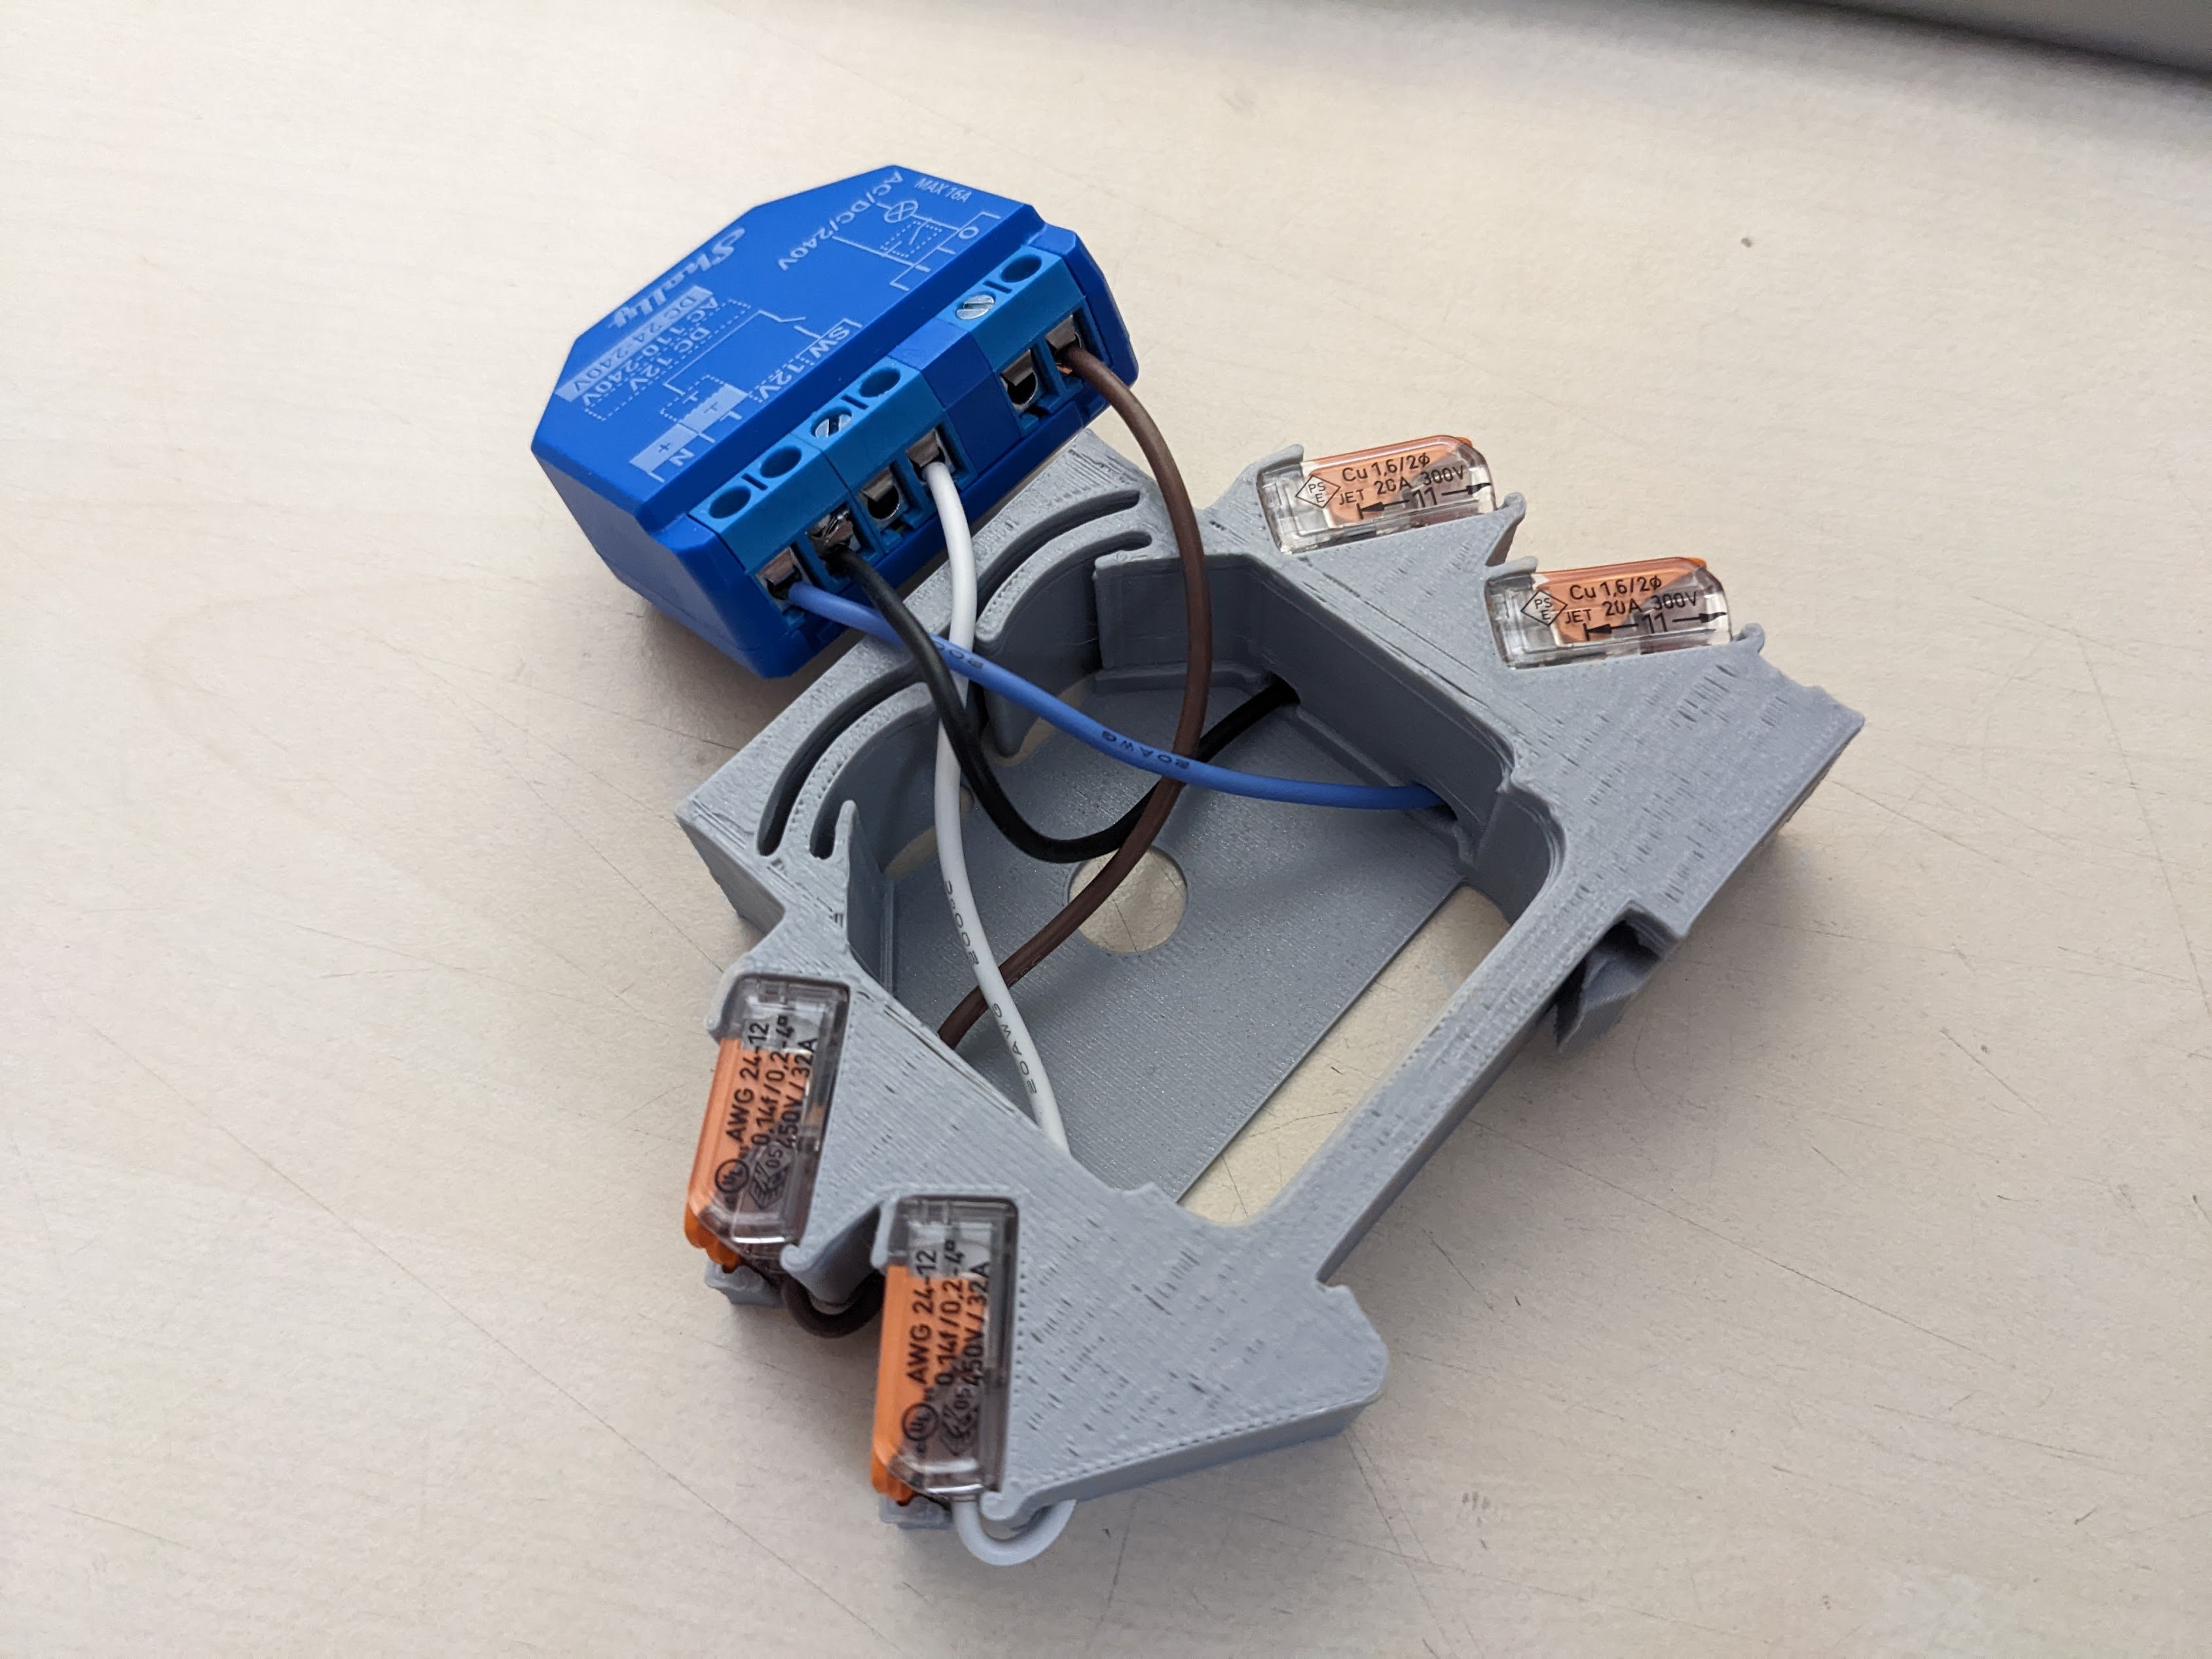
- Push the shelly into the cavity with the wires beneath it, make sure now wires stick out anywhere
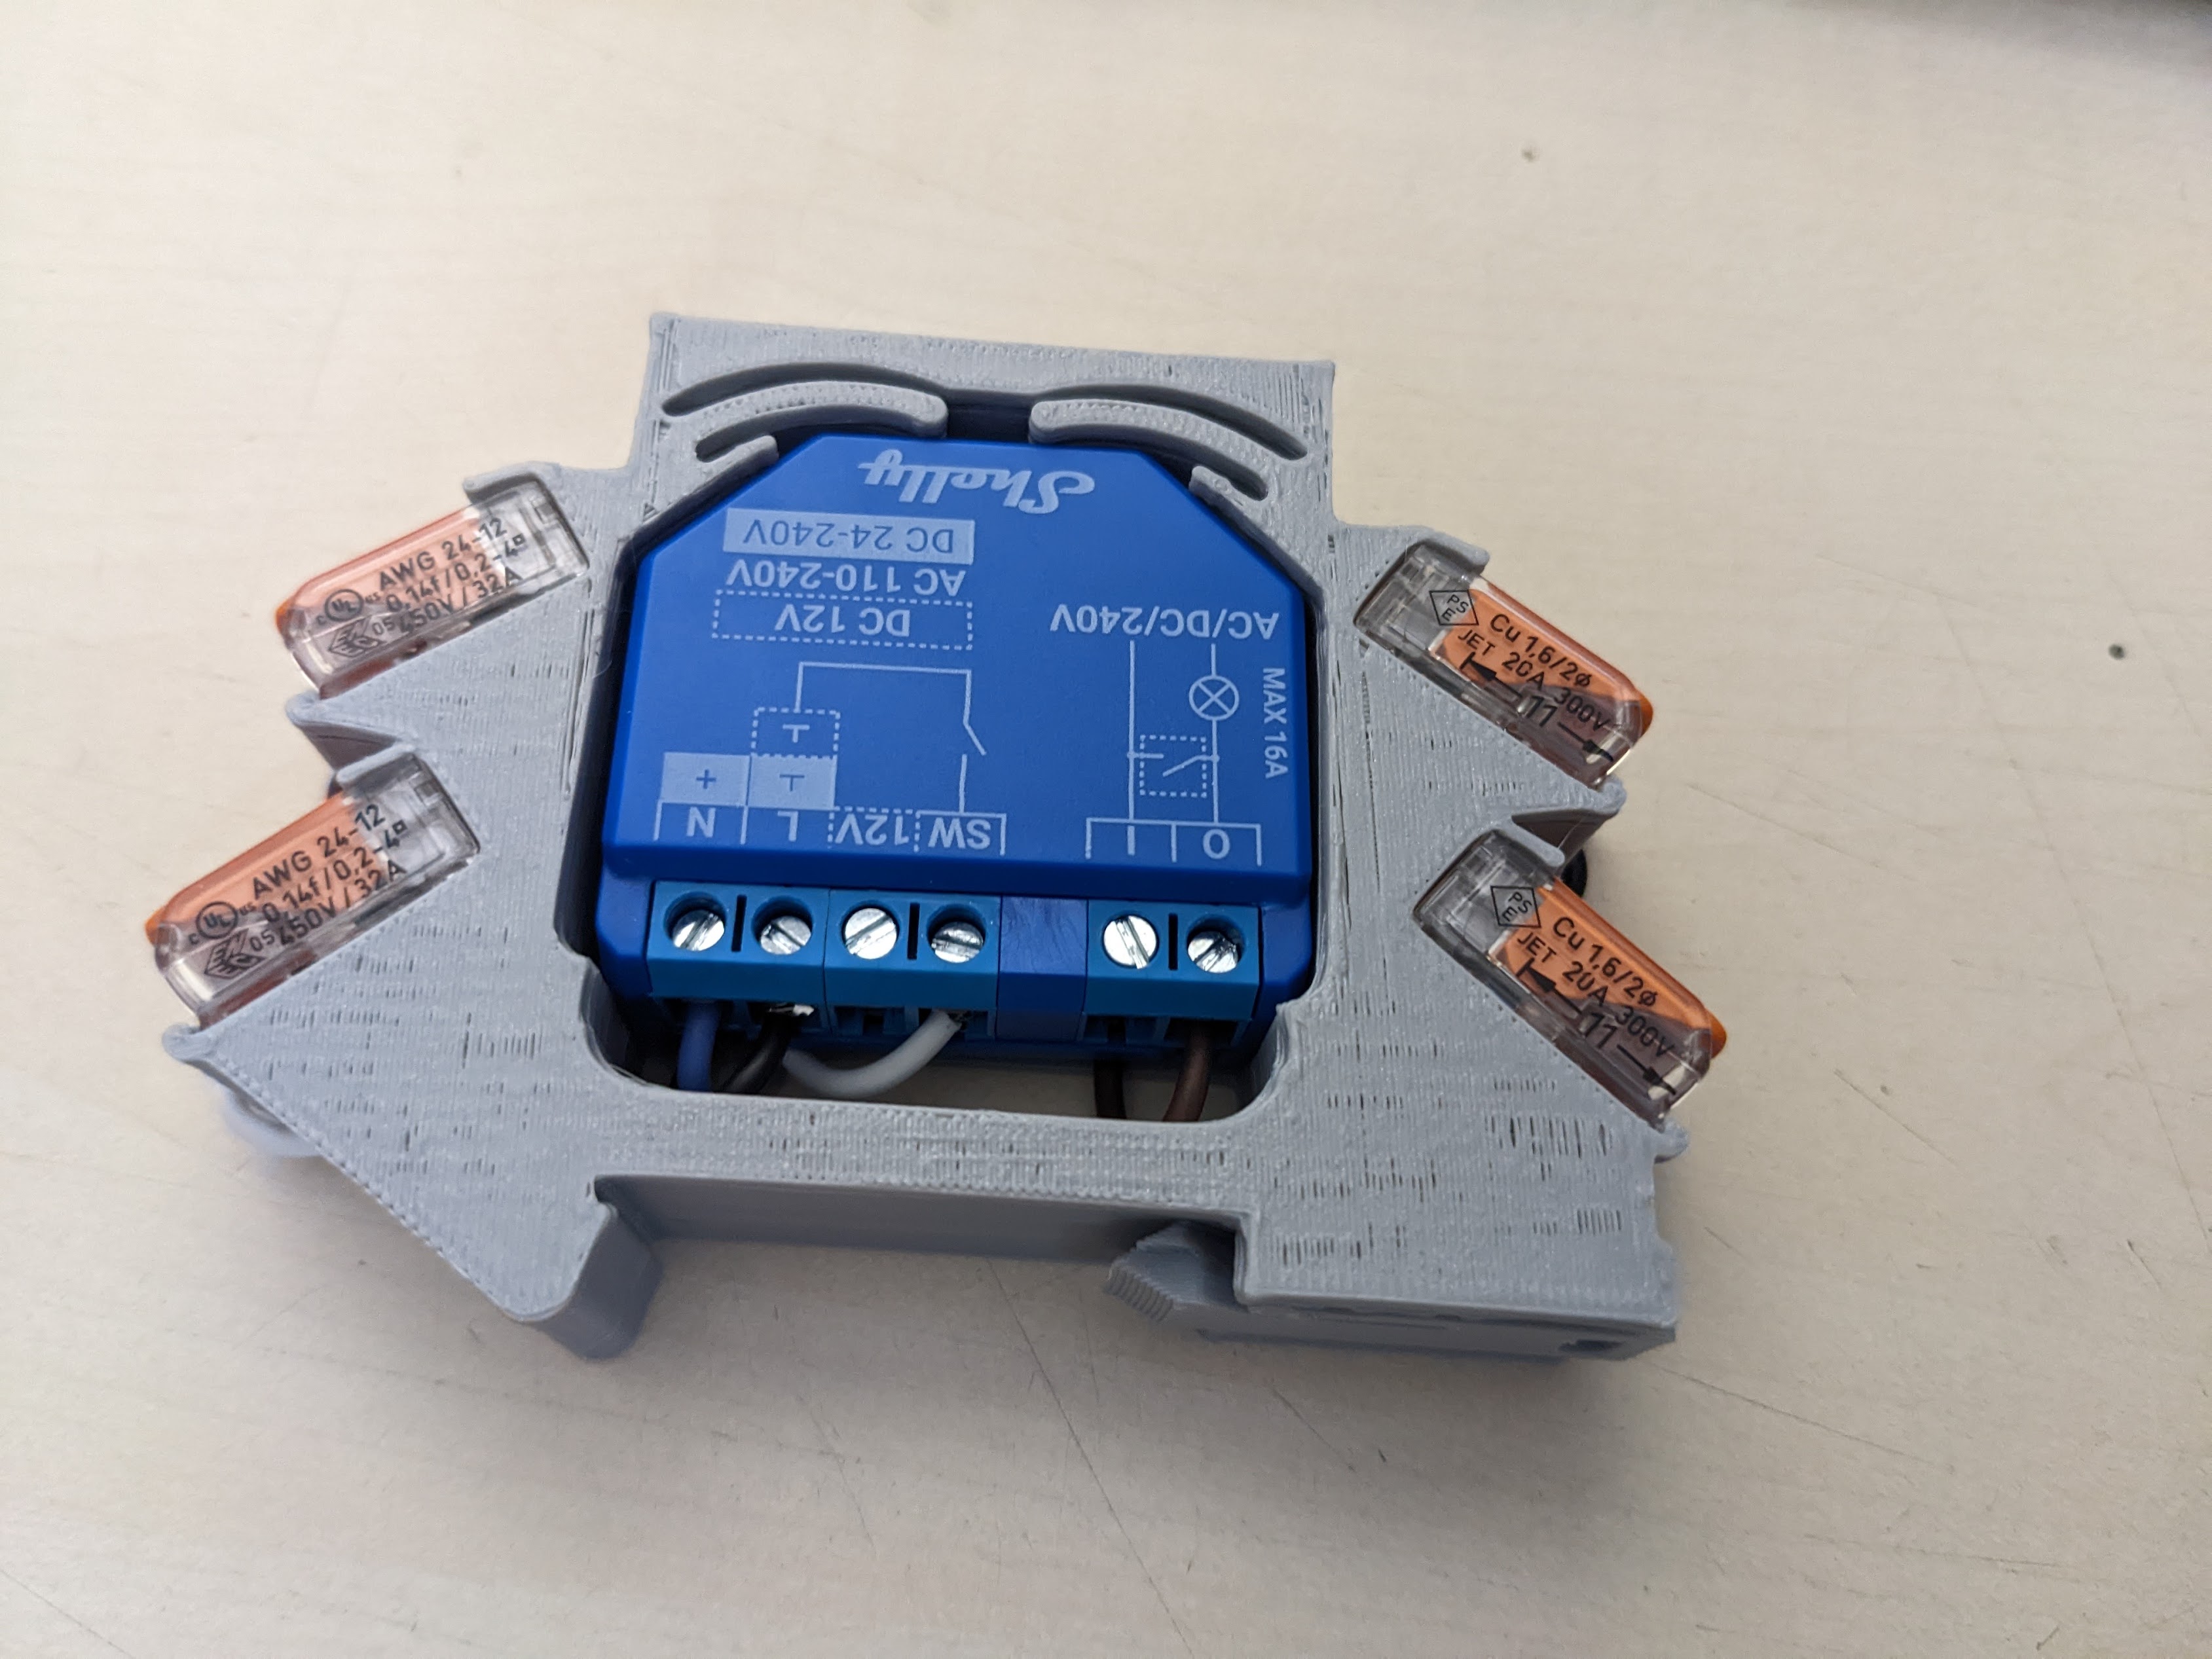

- Remove the support structure and slide in the Lock like this:

Geprint door de community
Bij de bron al 31 keer geprint. Laat hier als eerste zien hoe het bij jou werd.
Reacties 0
Ook handig in smart home
meer zoals dit
 past op Shelly Plus-serie
 past op Shelly Mini
 past op Shelly Plus 1 / 1L / 2PM / 2.5 / Dimmer 2
Smart home
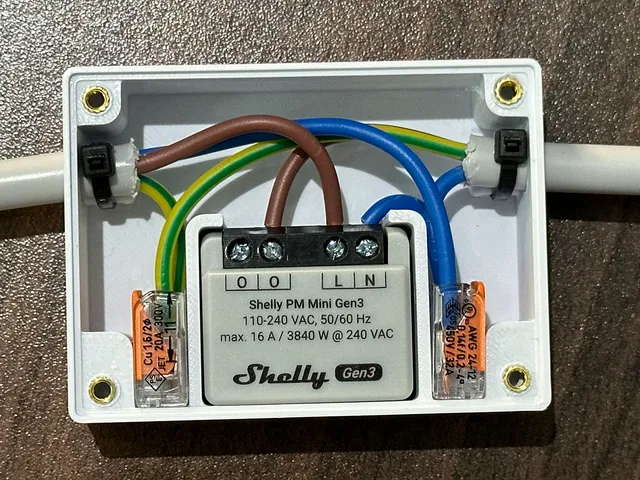
Inline-behuizing voor Shelly met Wago 221-klemmen
door pjvenda
PETGgeen support3 u 35 min
1,5k 11
 past op Shelly Mini Gen 3
 Externpast op Shelly Plus-relais / EM