 1 / 4
1 / 4Wat heb je nodig?
Naast de geprinte onderdelen:
- 1×Raspberry Pi
- 1×Raspberry Pi Touch Display 2 (7 inch)
- enkele×neodymium magneet
- enkele×schroeven
Beschrijving van de maker
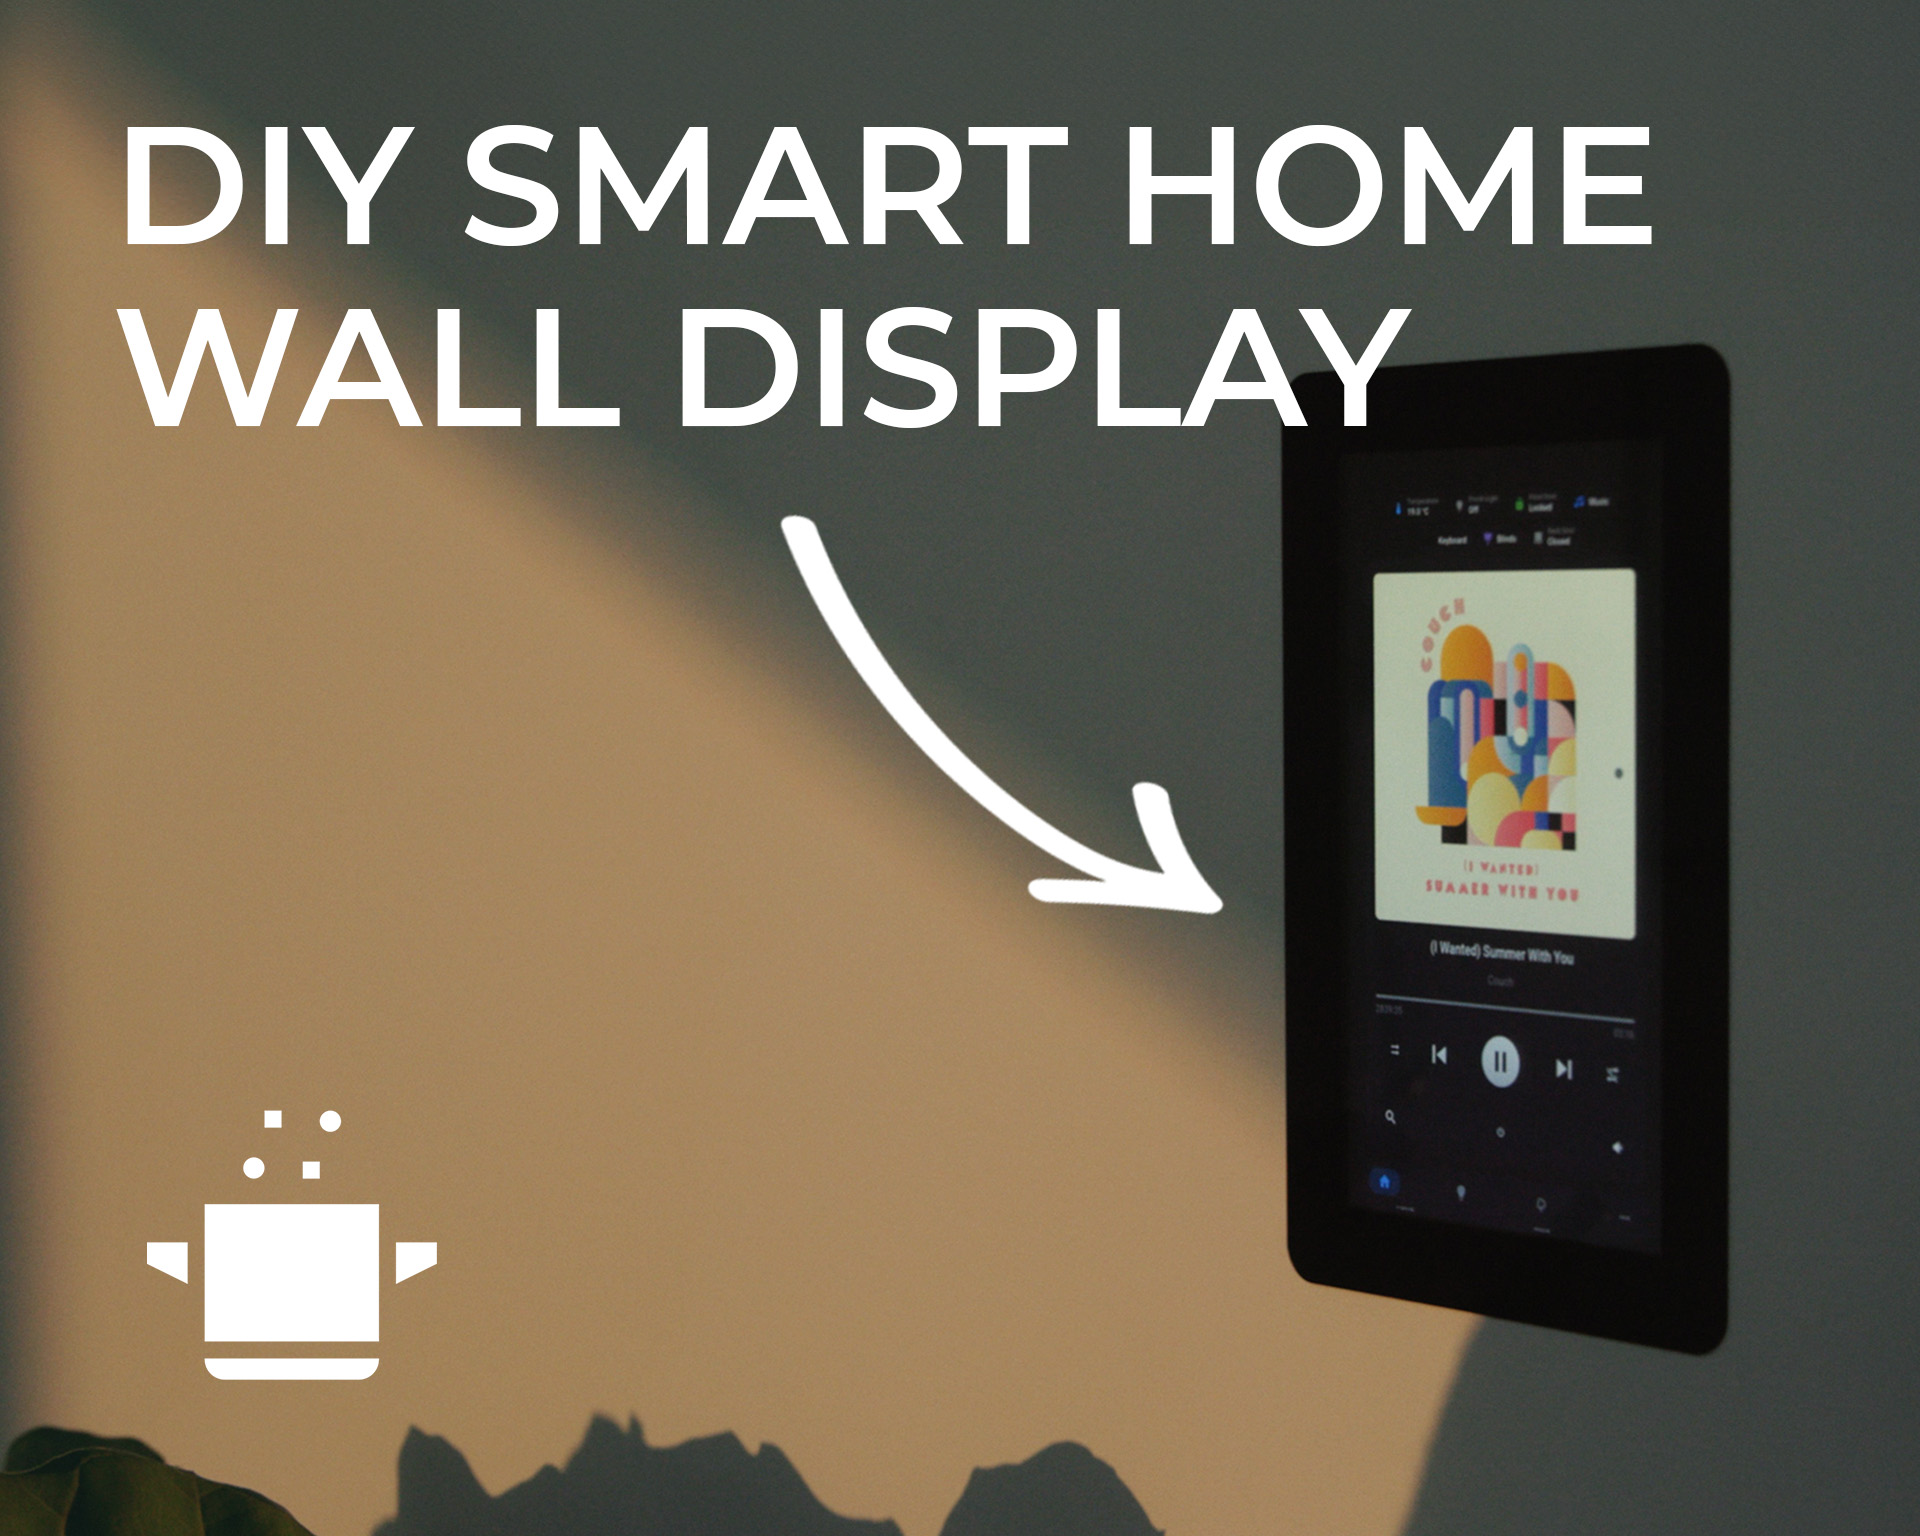
Origineel in het EngelsThis is the mount I designed to house a Raspberry Pi and display in the wall to control my Smart Home.
The idea was to get a flush, professional-looking installation that makes the display feel like it was always part of the wall — without being stuck with a clunky tablet mount.
Features
- Works with 7" Pi Touch Display 2
- Includes 3D printed cutting guide
- Fits standard 10mm plasterboard
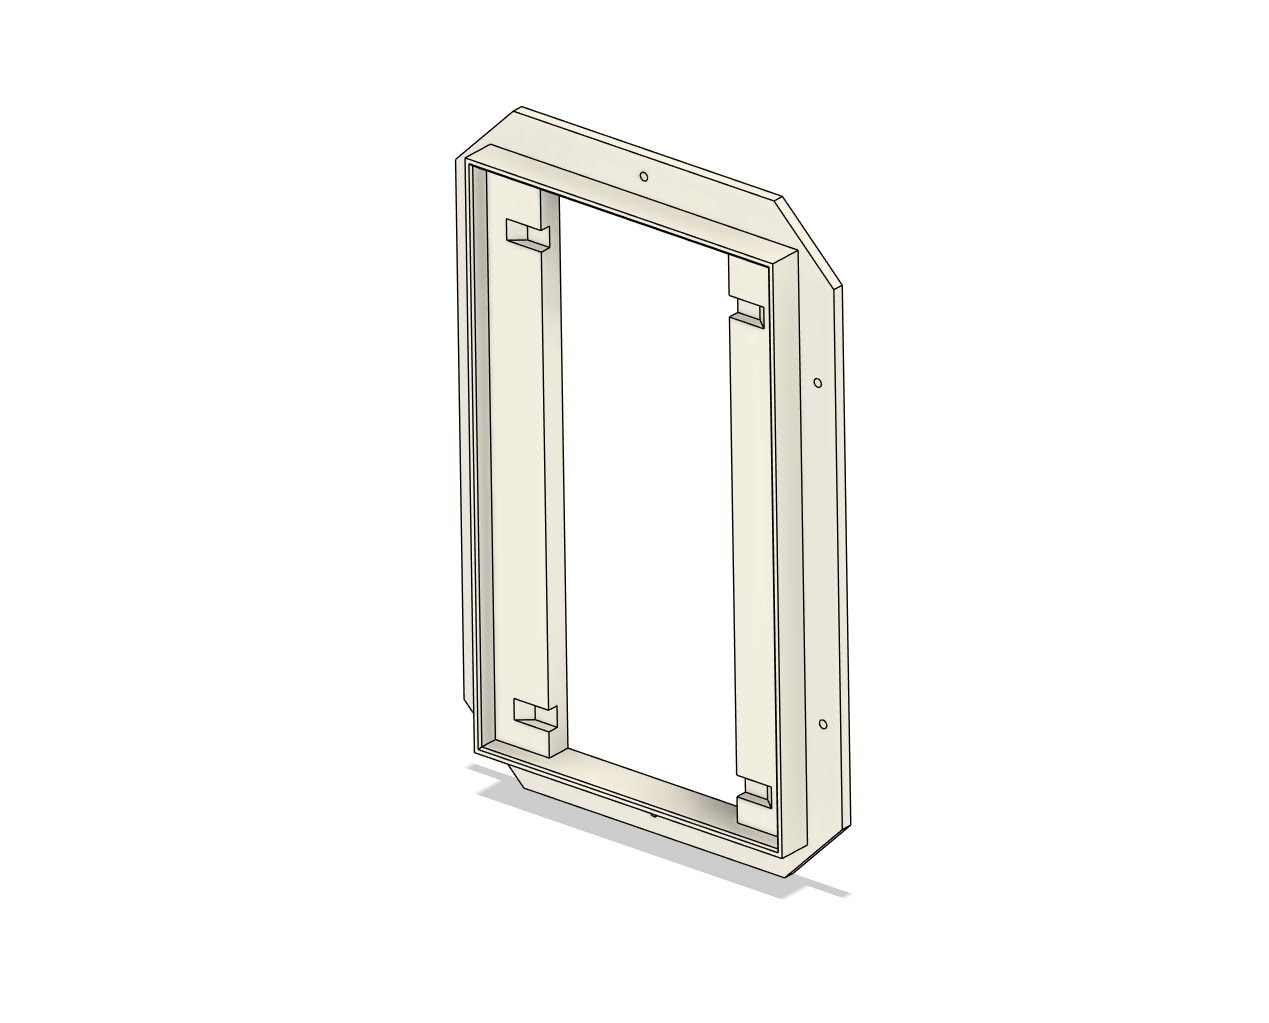
Flush Mount Version - The one in the video
- Flush mount: only the glass bezel is visible
- Hidden screw design — screw heads are sunk, then filled and painted for a seamless look
- Strong magnets keep the display secure but removable for maintenance, making tweaks etc.
- 10mm Plasterboard only
This version will require patching and painting over the screw holes for a seamless look.
Printing
- No supports required
- PETG is recommended, but PLA will work fine
Hardware
- Screen + Pi
- 6 x small wood / drywall screws (anything should work fine)
- 4 x 12mm magnets (any thickness will work fine, I used 3mm)
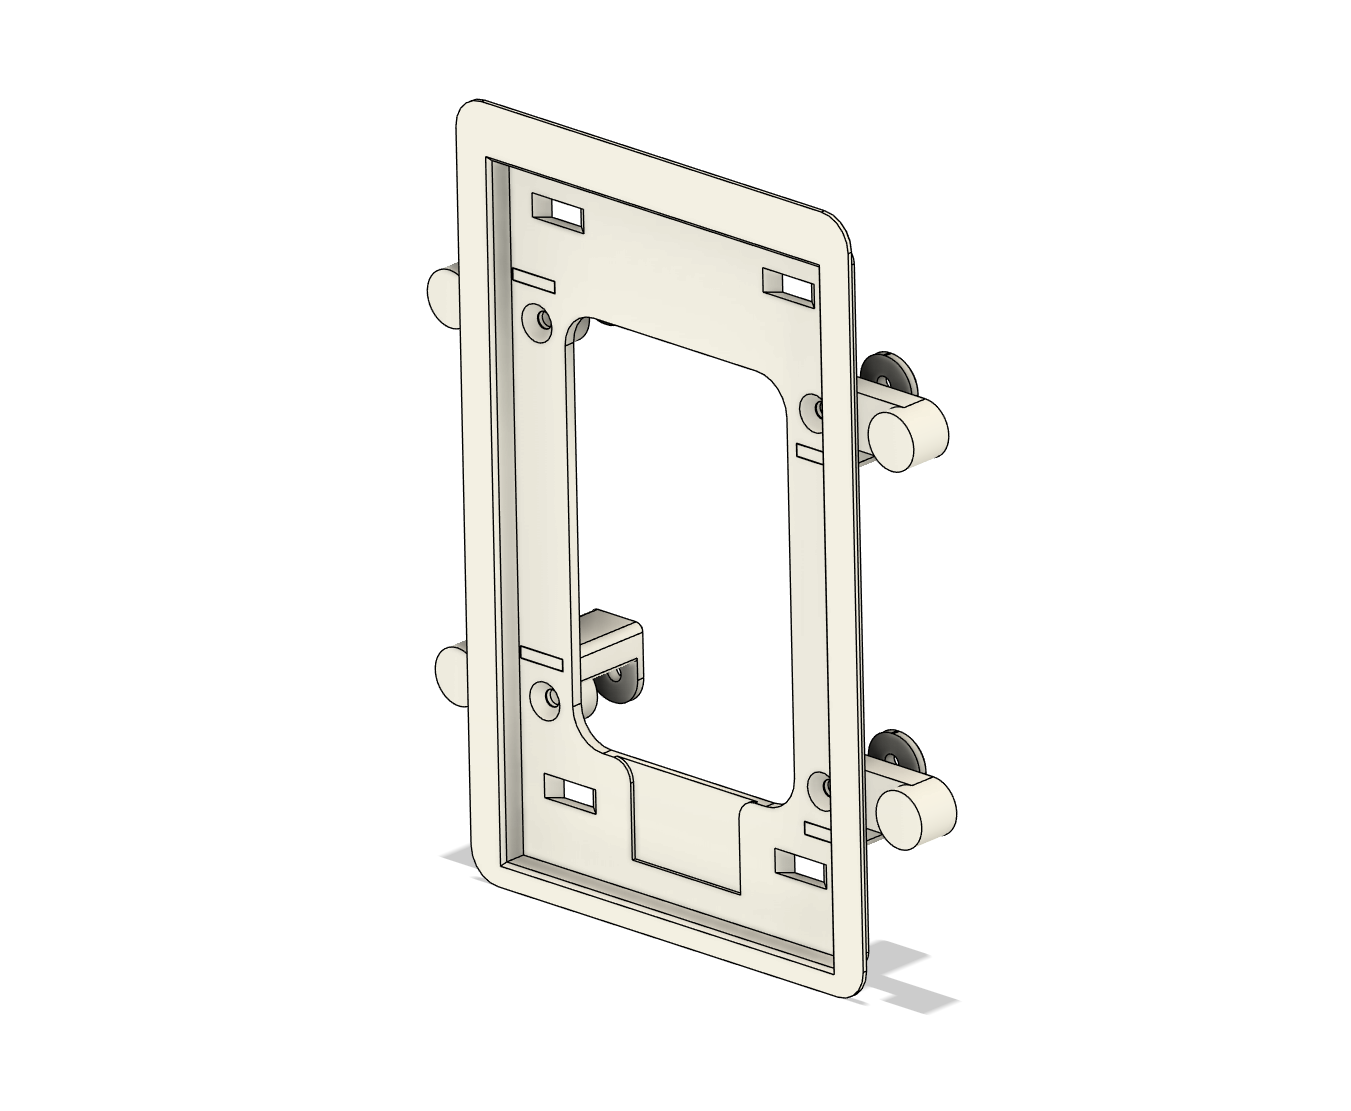
Arm Locking Version
- Mounts with removable, screw tightening clamps
- With display fitted, sits about 3mm proud of the wall's surface
- Strong magnets keep the display secure but removable for maintenance, making tweaks etc.
- Suits 10-15mm plasterboard
This version is better if you don't want to do any sanding.
Printing
- Supports required for flange
- PETG is recommended, but PLA will work fine
Hardware
- Screen + Pi
- 4 x M4 x 25mm countersunk machine screws
- Glue for attaching screw supports
- 8 x 6x3mm round magnets
- Springs to go between the back of the frame and the arm (if you want them)
The springs aren't totally necessary, just make sure your screw stays seated in the screw support as you tighten them down.
Geprint door de community
Bij de bron al 8 keer geprint. Laat hier als eerste zien hoe het bij jou werd.
Reacties 0
Ook handig in smart home
meer zoals dit




 past op Shelly Plus 1 / Dimmer 2